
The first thing you see when you log into your account is the Dashboard, though its main use is to provide you with a quick overview of how everything is going, it can feel impersonal or even boring. However, you can images to make it more dynamic and eye-catching.
By adding extra branding to your dashboard, hiding easter eggs for your team, or providing visual examples, images will make the dashboard your own. So let's check how to do it.
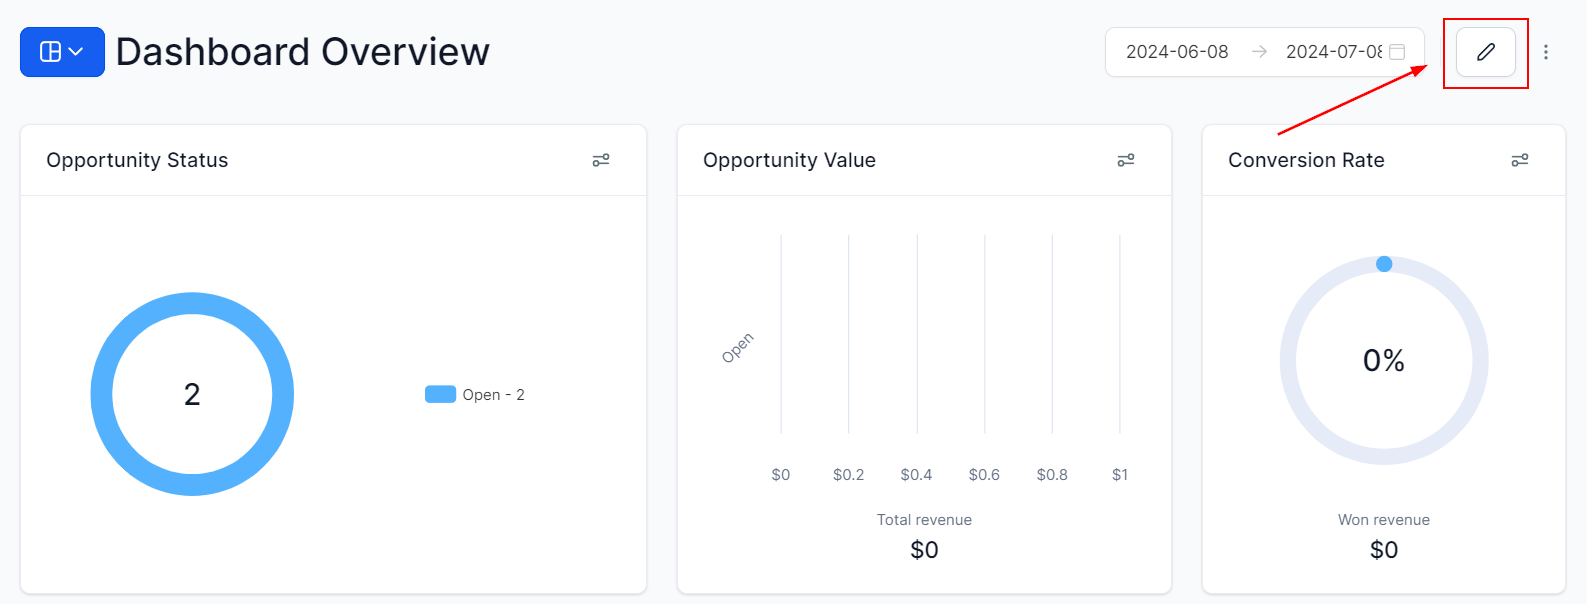
To start click the Pencil Icon on the top right corner, this will open the editing mode for you to switch your dashboard around.
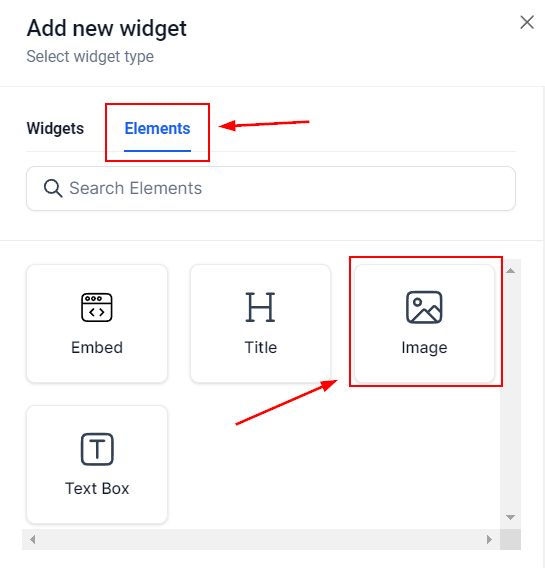
Now, click Add Widget, this will open the left-side menu with the available widgets and elements. Head to the Elements tab and select the Image element.
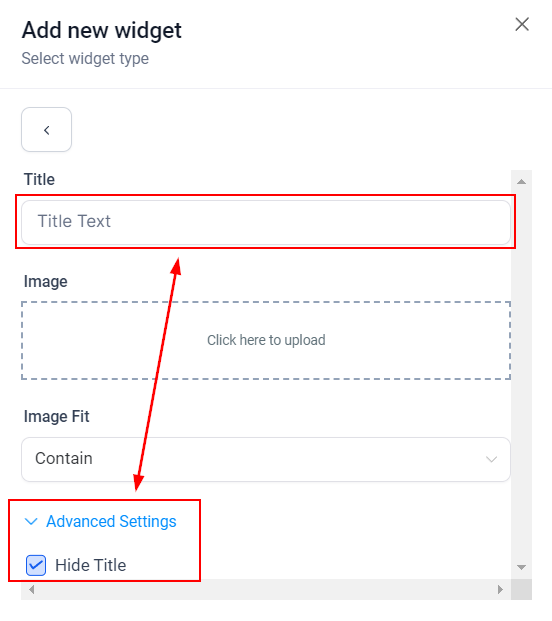
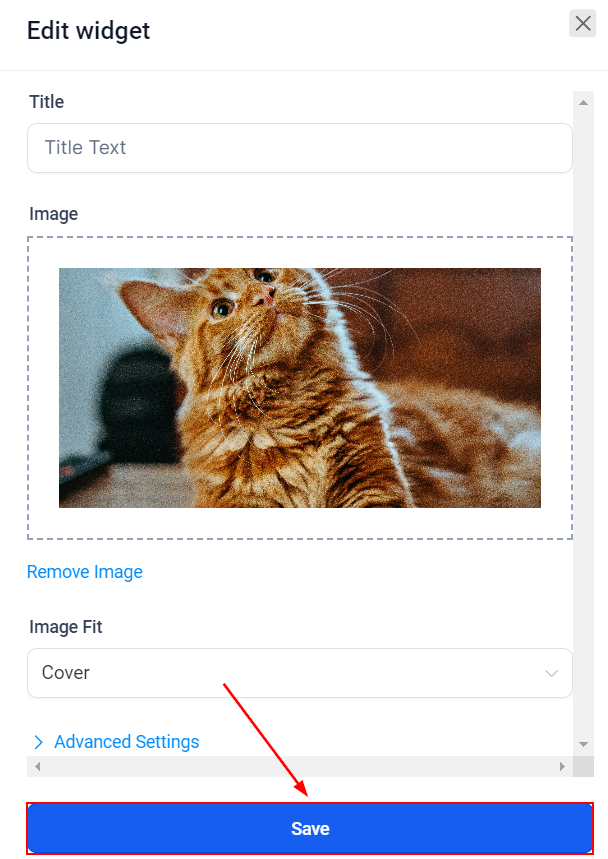
Start by adding a Title Text, this will identify your image on the dashboard but you can hide it if you wish by opening advanced settings and checking the box.
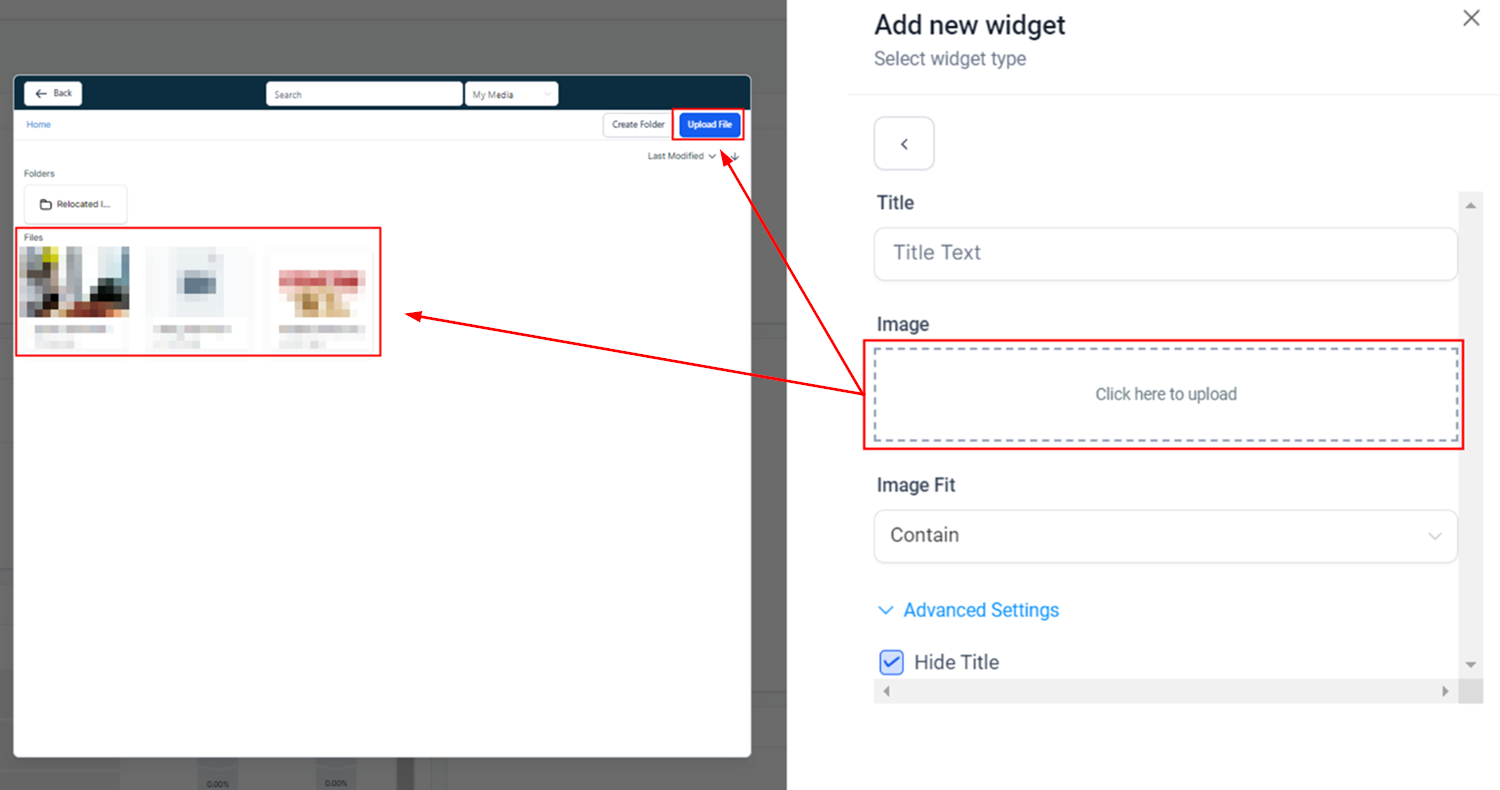
To add the image click the lined box, this will open up a small version of your media library for you to select or upload your image. Once you have the desired image double click to add it.
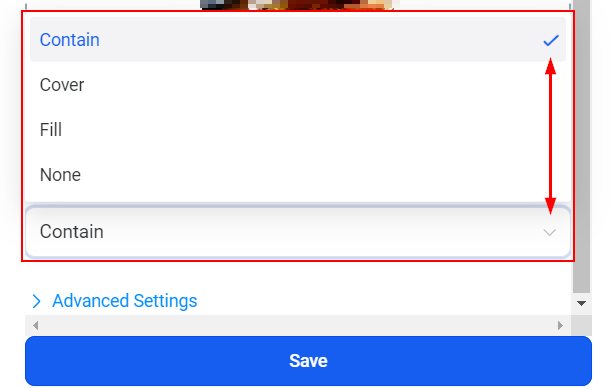
Decide how you want the Image Fit to be by clicking on the drop-down menu. The fit will define how the image looks inside the image box.
Once you're happy with it click Save, this will add the Image to your Dashboard.
Additionally, you can move the title around by dragging it to a new place or change the size of it by moving the right corner.
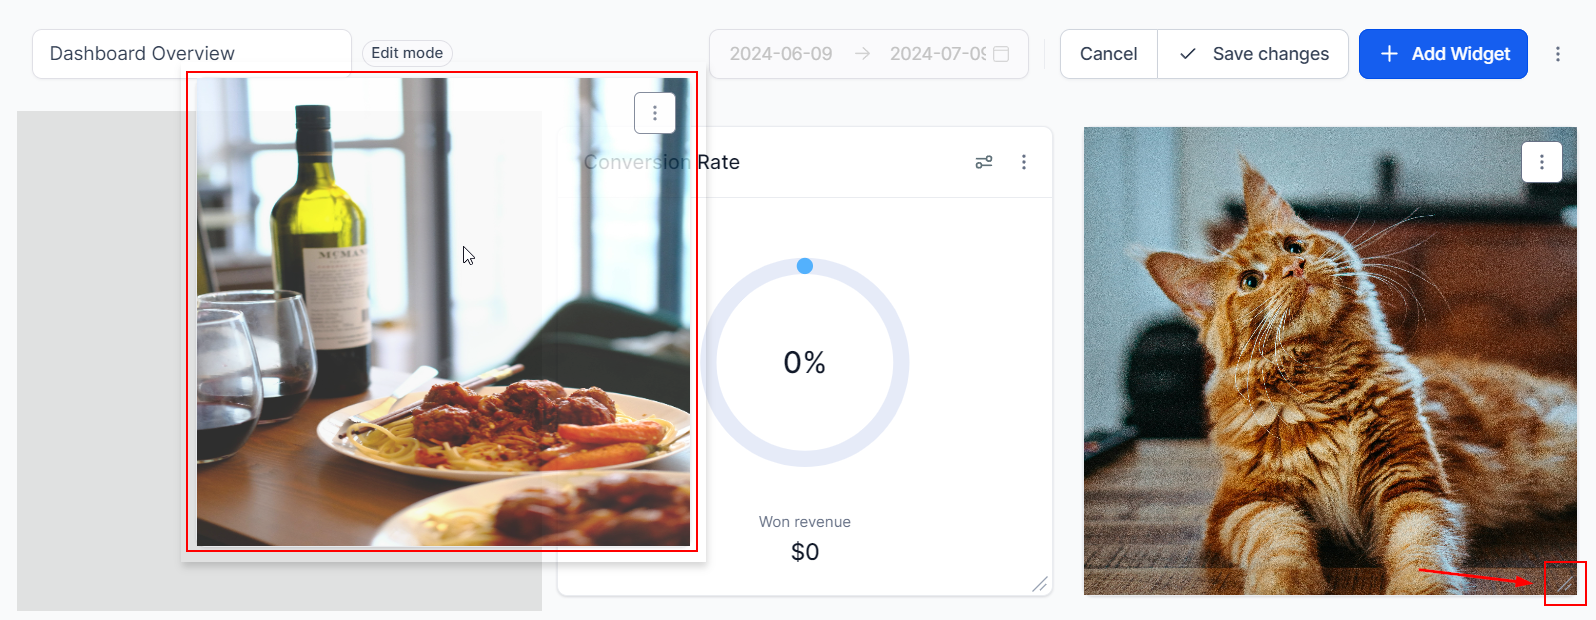
Once you're all set with the position and appearance, click Save Changes and there you go! Now you can add Images to your Dashboard. If you're interested in customizing your dashboard further, please check the rest of the articles under this section!