
The ability to load snapshots with custom objects streamlines the setup process across multiple accounts. By creating custom objects within one account, you can easily replicate these configurations in new or existing locations. This feature enhances the onboarding experience and ensures a consistent user experience for your clients. Follow the steps outlined below to successfully load a snapshot containing custom objects.
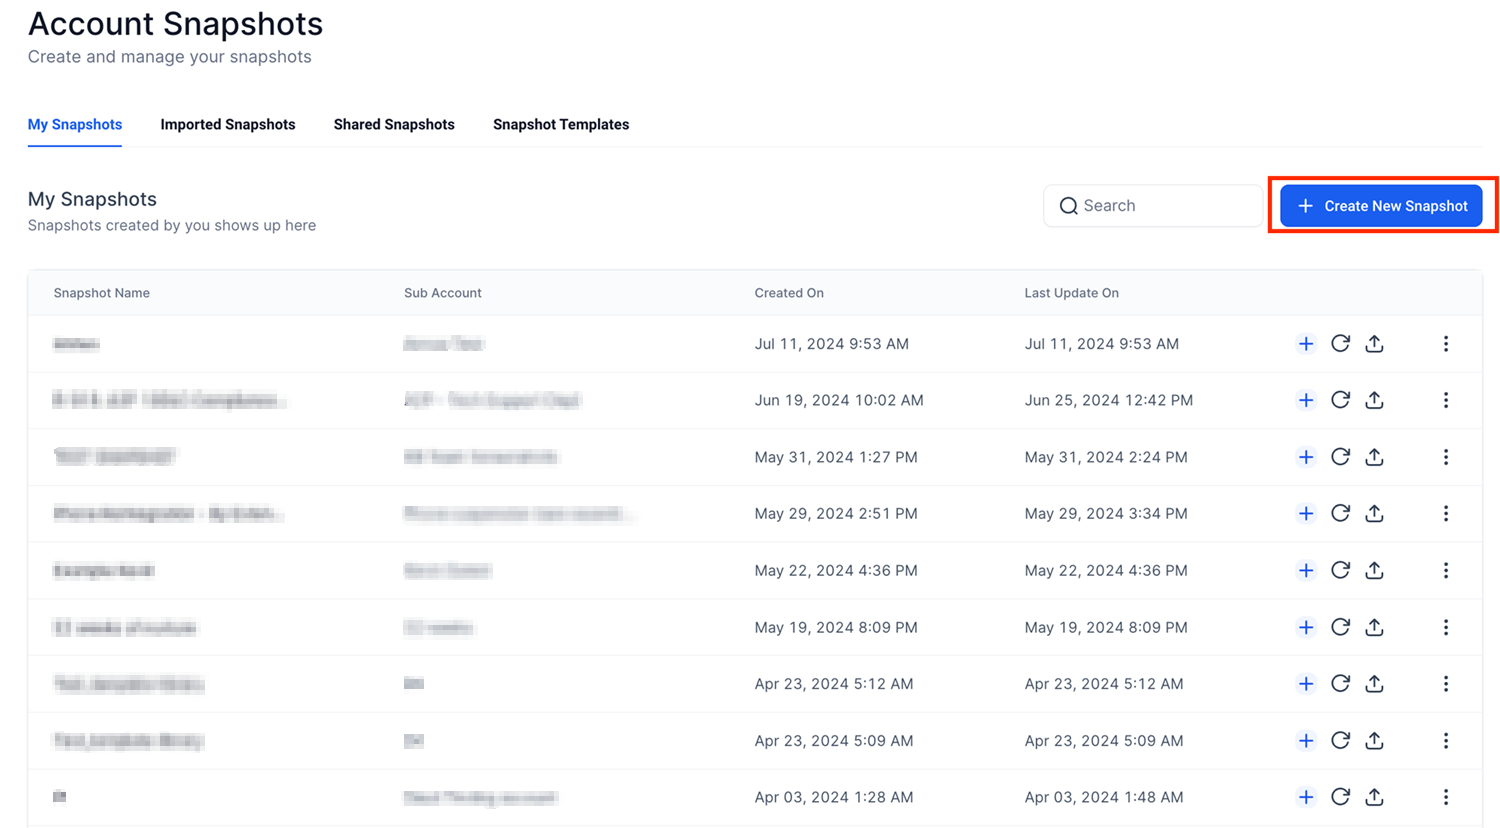
Account Snapshots
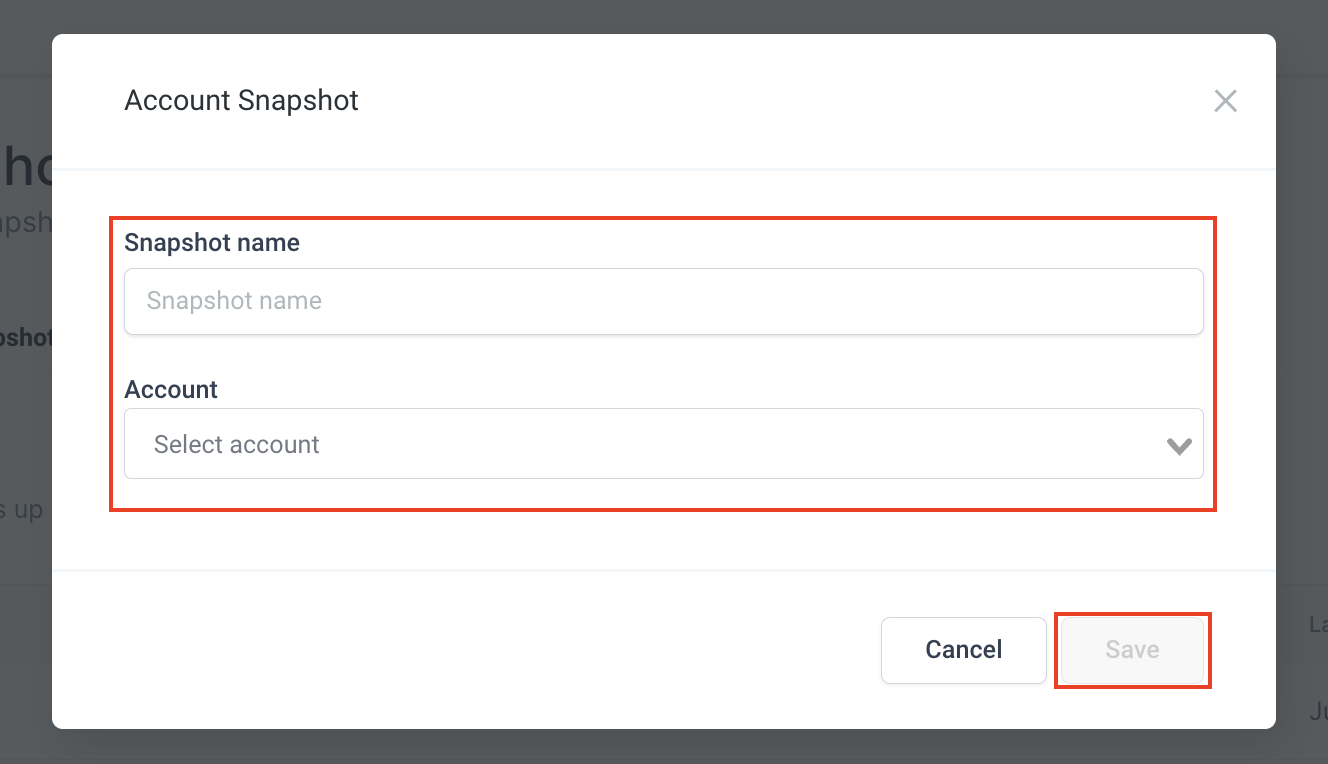
In the popup window, assign a name to your snapshot and select the account from which you'd like to pull the data for the newly created snapshot.
Verify that all required custom objects are selected in the List of Assets, then click Create to finalize the process.
📌Note: The custom object’s associated custom fields and its associations with other objects, such as contacts, will be automatically included.

The snapshot will now appear in your list of available snapshots, ready for use across different locations.
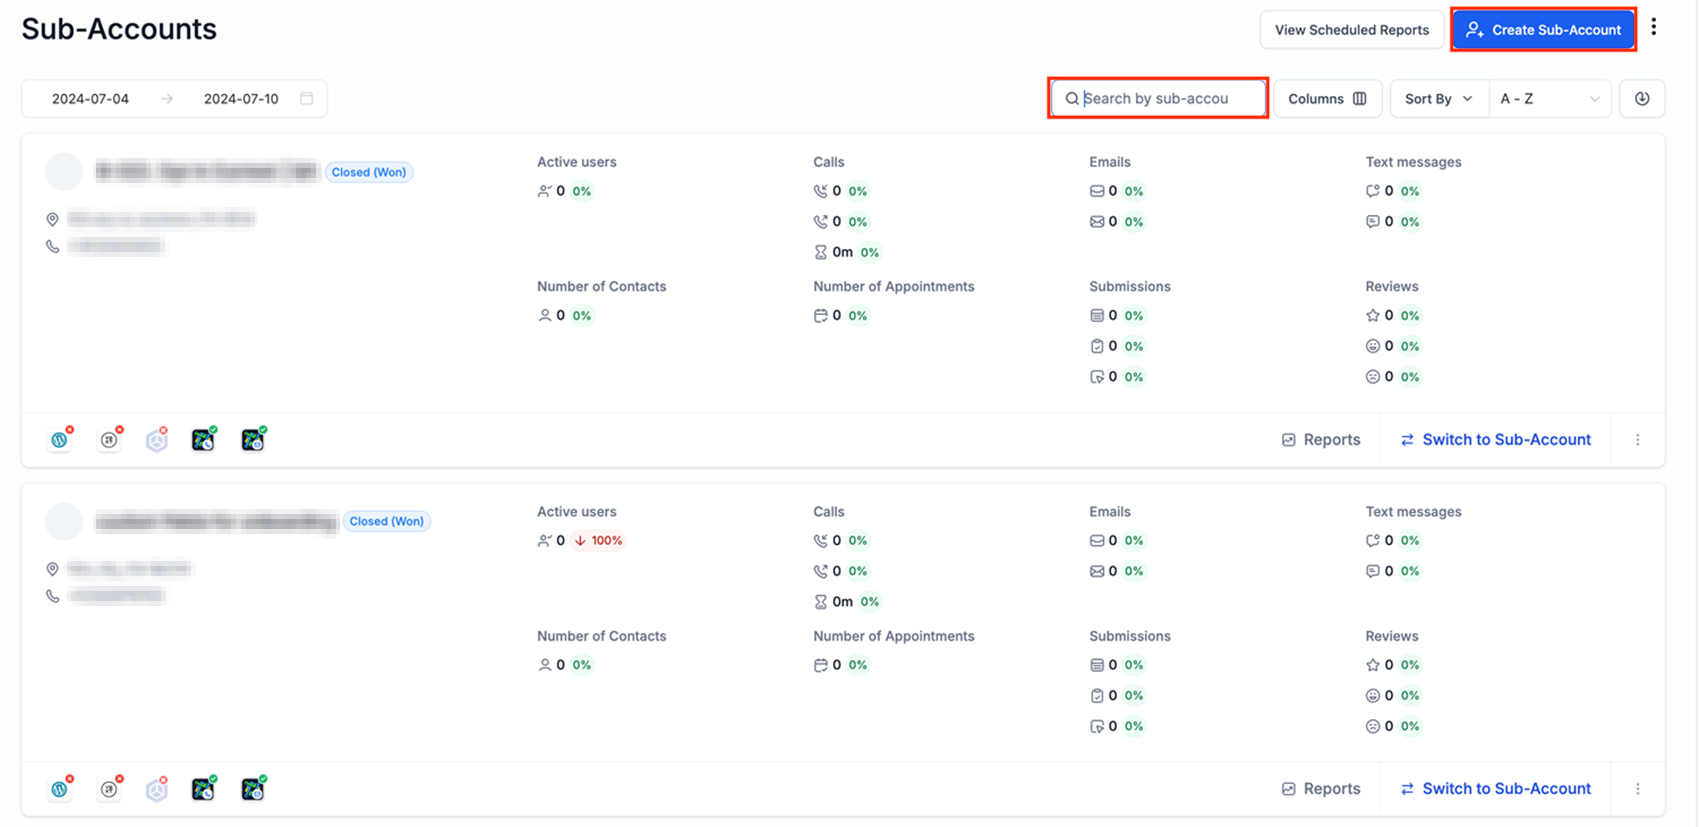
Navigate to Sub-Accounts
Within the “Sub-Accounts” tab, you can either search for an existing sub-account or create a new one to load your snapshot into.
Once you have chosen your selected sub-account, click “Load Snapshot” under the Actions dropdown.

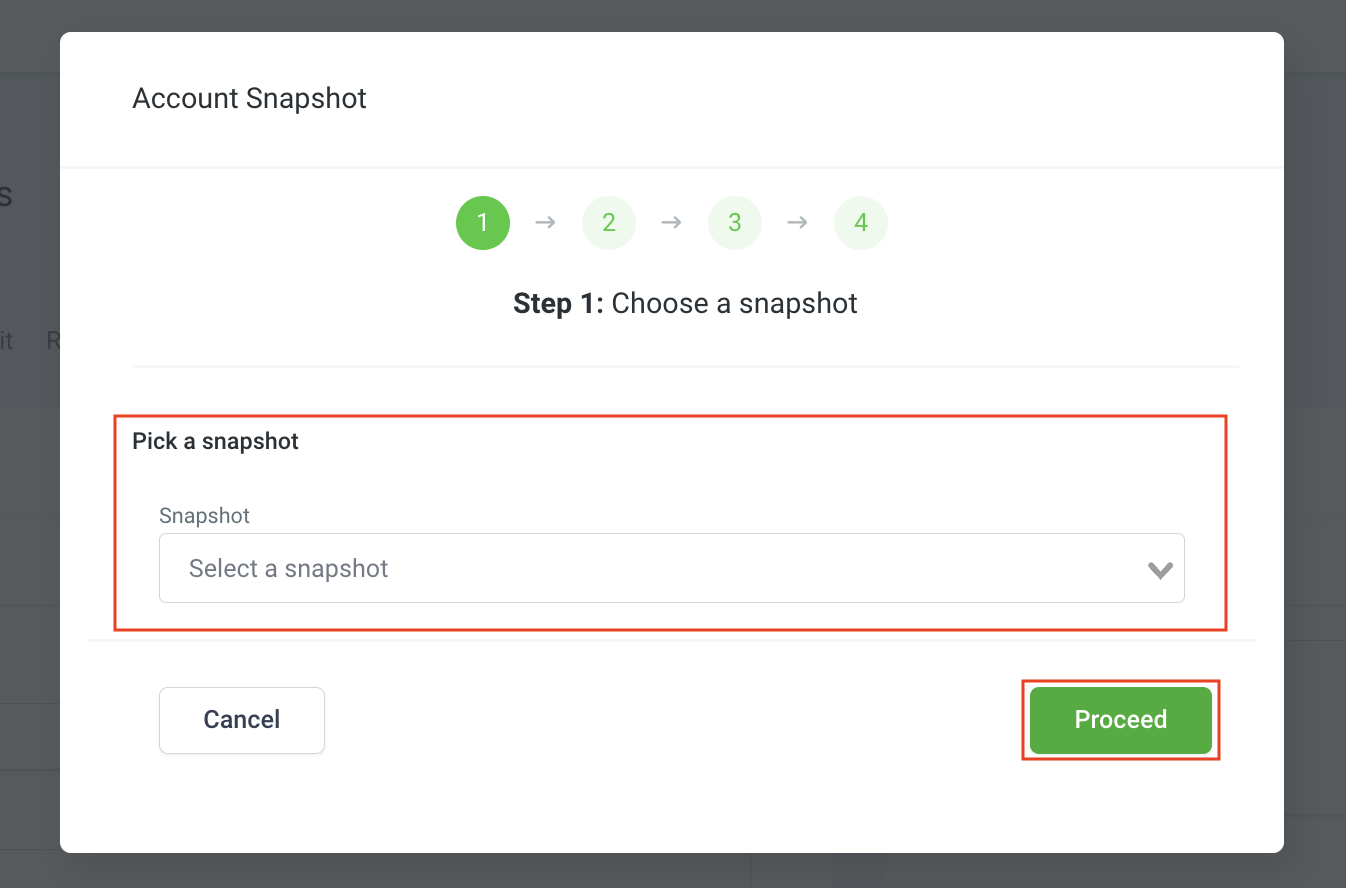
Select the desired snapshot from the dropdown menu to load to the chosen sub-account, then click proceed.
While in the asset list associated with the selected snapshot, click the Custom Objects category. Here, you can decide whether to skip or select specific custom objects to load into the sub-account.
📌Note: A maximum of three custom objects can be included in a snapshot for a sub-account. If the total number of custom objects exceeds three upon importing the snapshot, no custom objects will be created in the sub-account.

Once you have verified the assets to be added, click Proceed at the bottom right of the modal.

After all the steps have been completed, you will receive a notification when your snapshot upload has been completed. You can find this in the top right corner through the bell icon.

Finally, navigate to Settings > Objects in the receiving location to view the newly imported assets. To view or modify the connected associations, click the name of the object. Additionally, you can add custom fields to the object by selecting the associated actions menu.

By utilizing this process for copying custom objects and their associations between sub-accounts, you enhance operational efficiency and ensure a cohesive experience across locations. Follow the outlined steps to ensure a smooth transfer and maintain valuable insights for your audience.