The ability to control email tracking is crucial for tailored email marketing strategies. This article will guide you through the process of enabling or disabling open and click tracking, offering enhanced management of your email campaigns.
Access the Email Settings
- Navigate to Settings -> Email Service.
- Select Dedicated Domain and IP.

Adjust Domain Settings
- Go to Domain settings under your dedicated domain.

Manage Click Tracking
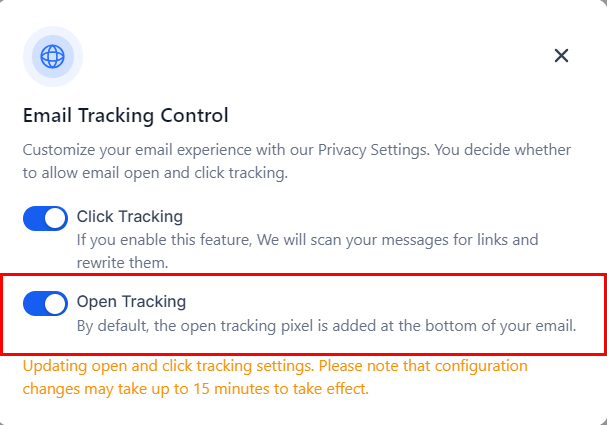
- Click tracking is enabled by default. When this feature is enabled, we will scan your messages for links and rewrite them. To disable this feature, toggle the switch next to the option.

Manage Open Tracking
- Open tracking is enabled by default. When this feature is activated, an open tracking pixel is appended to the footer of your email to enhance the monitoring of recipient engagement, specifically to ascertain whether your contacts are accessing the emails you have dispatched. To disable this feature, toggle the switch next to the option.

By following these steps, you can easily manage email tracking settings, tailoring your email campaigns to better meet your objectives.
Frequently Asked Questions
Q: What is email tracking?
- Email tracking involves monitoring whether emails are opened and links within them are clicked.
Q: How can I disable open tracking?
- You can disable open tracking by adjusting the settings in the dedicated sending domain section.
Q: How can I disable click tracking?
- Similar to open tracking, you can disable click tracking by modifying the settings in the dedicated sending domain section.
Troubleshooting Steps
Email Tracking Not Working Properly
- Ensure that tracking settings are correctly configured in the dedicated sending domain section.
- Verify that the domain is properly set up and has the correct DNS configurations.
Changes Not Reflecting
- Allow some time for the changes to take effect.
- Refresh your email service settings and double-check configurations.