
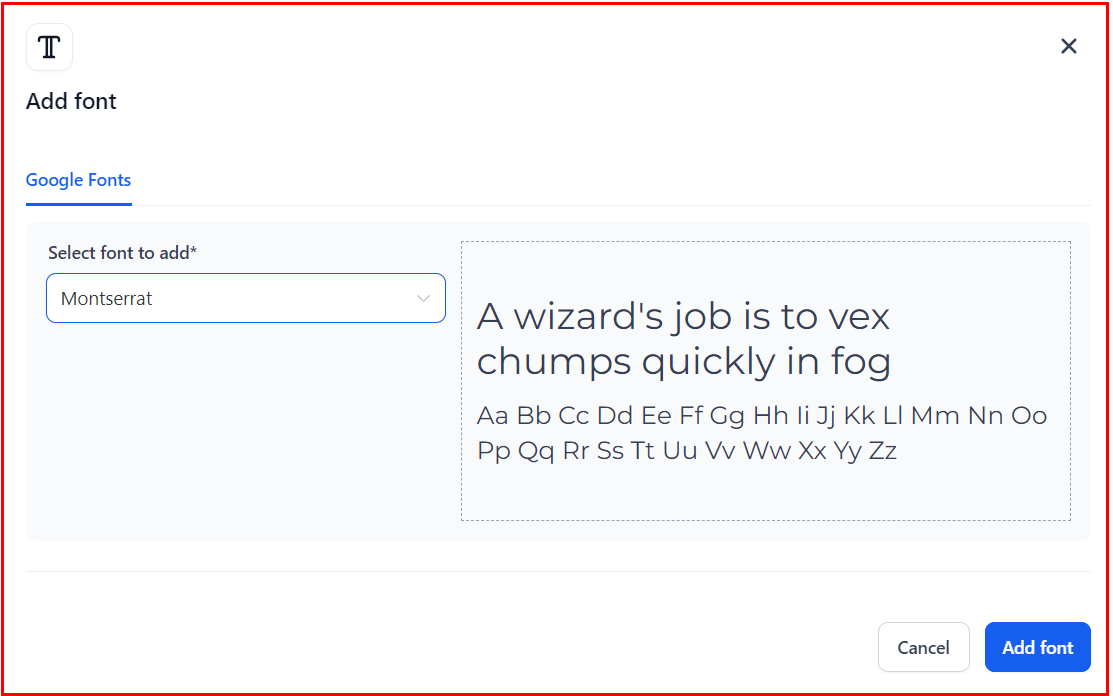
Why Google Fonts?
Google Fonts offer versatility and aesthetic appeal, allowing marketers and designers alike to enrich their email content with distinctive typefaces that align perfectly with their brand identity. With hundreds of font families available, each meticulously designed for readability and visual impact across various devices, users can now craft emails that resonate more effectively with their audience.
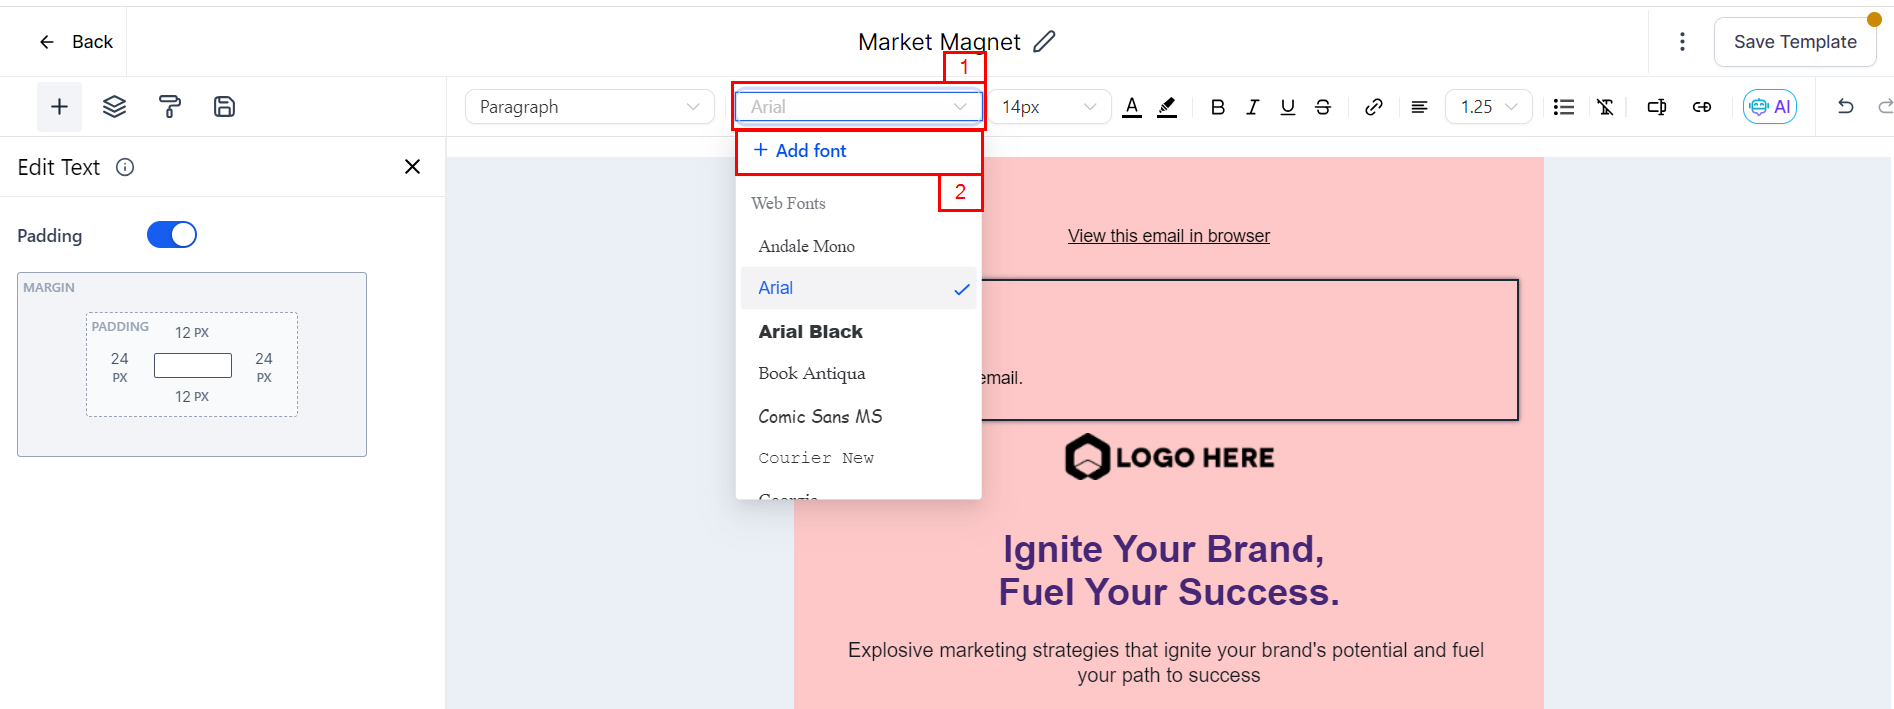
Accessing Google Fonts within the Email Builder is seamless. Users can browse and select fonts directly from the interface, previewing how each typeface complements their email design before implementation. This integration simplifies the process of creating visually compelling emails without the need for additional coding or external tools.
Navigate to the Email Builder
- Go to Marketing -> Emails, then access the Campaigns or Templates section.

- Open any existing campaign or template or start from scratch.
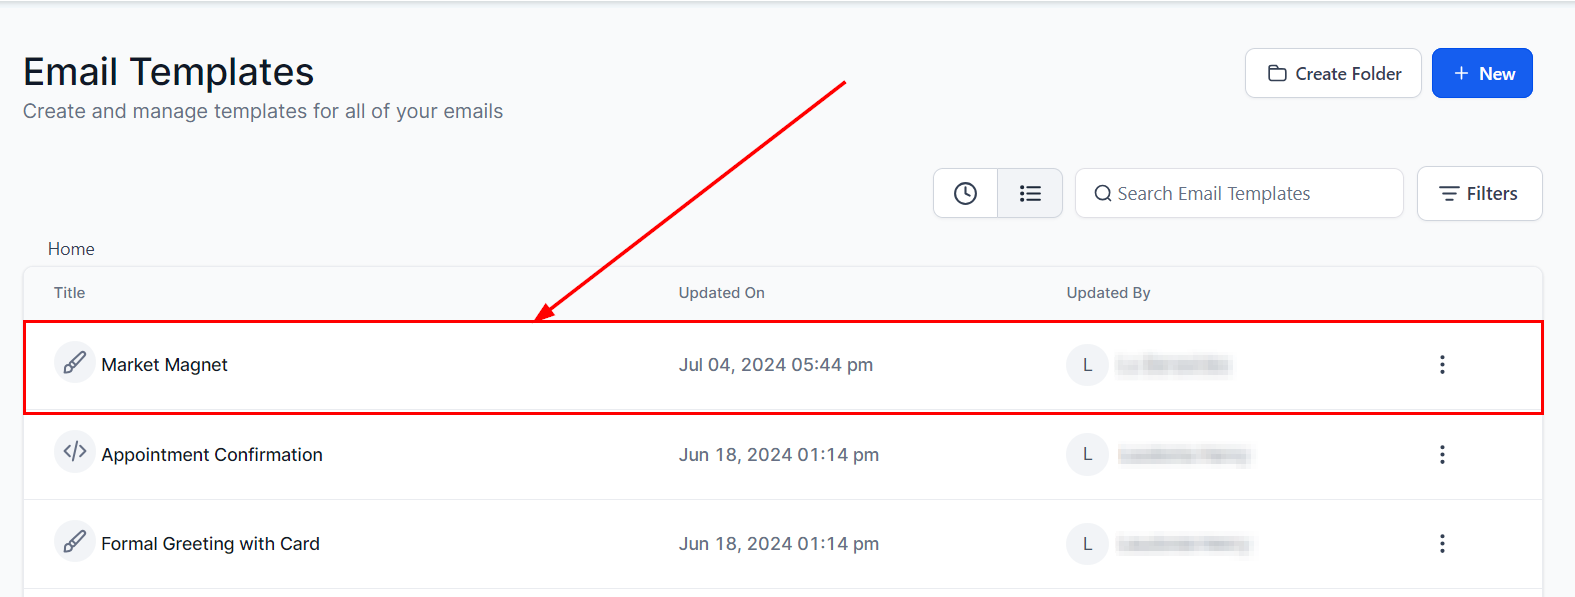
Select a Text Element
Identify the text element within your email builder where the Google Font should be applied, then proceed to select it to open the text editor. If no text element is present in the builder, drag and drop a text element to the desired location and enter the text accordingly.


Frequently Asked Questions
Q: Can I use any Google Font in my emails?
- Yes, the Email Builder provides access to a wide range of Google Fonts, ensuring compatibility and ease of use across different email clients.
Q: Will using Google Fonts affect email load times?
- Google Fonts are optimized for web use, including email environments, to ensure minimal impact on load times while maintaining visual quality.
Q: How do I ensure consistency across devices when using custom fonts?
- The Email Builder automatically handles font rendering across devices, ensuring consistent display and readability for recipients.
Troubleshooting Tips
Font Display Issues: If fonts appear differently than expected, ensure the selected Google Font is supported by major email clients.
Loading Delays: Optimize font usage by selecting fonts that balance aesthetics with performance, minimizing load delays.
Preview Functionality: Use the preview feature in the Email Builder to review how fonts render across various devices and adjust as needed.