
Your Courses allow you to create learning opportunities for your clients, they offer extra value to your audience so why not leverage them into revenue for you and your business? That's where Offers come in, they allow you to assign a price to your products, whether individually or in bundles of multiple products.
Creating an Offer
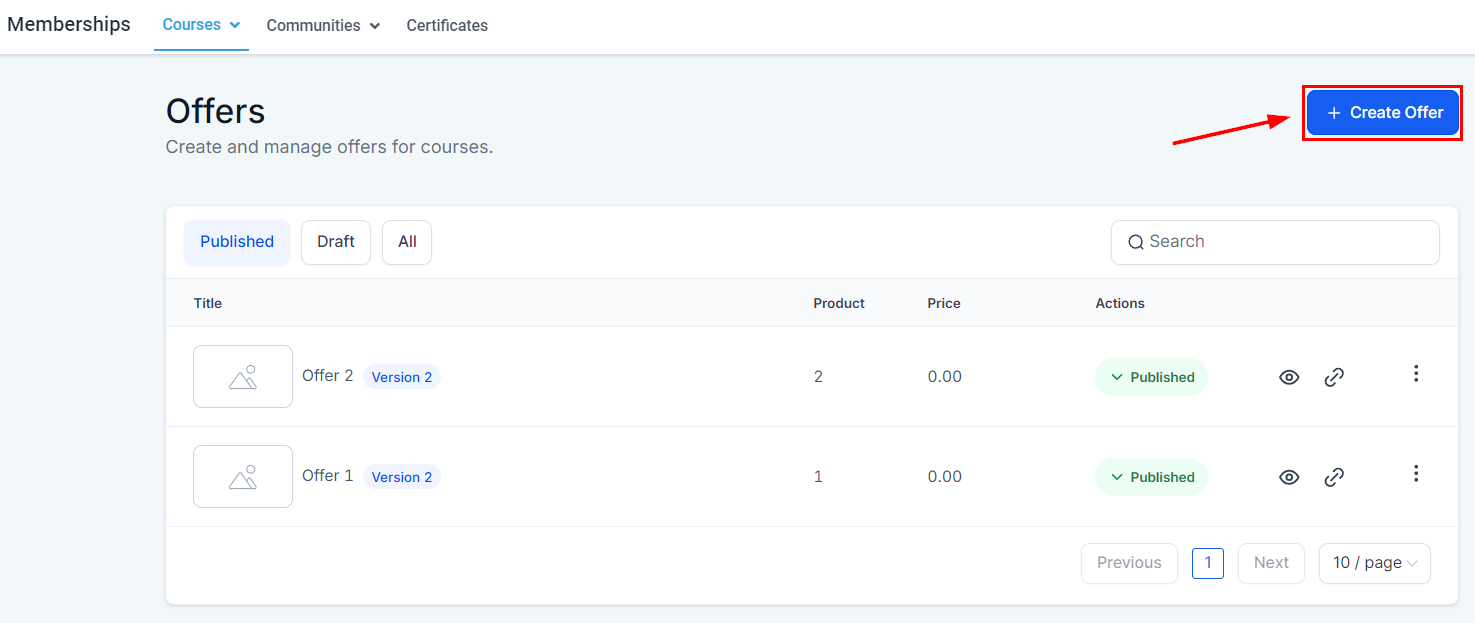
For new offers start by going to the Offers Tab inside your Memberships section under Courses.

Click + Create Offer this will direct you to a page to add the details of your product.
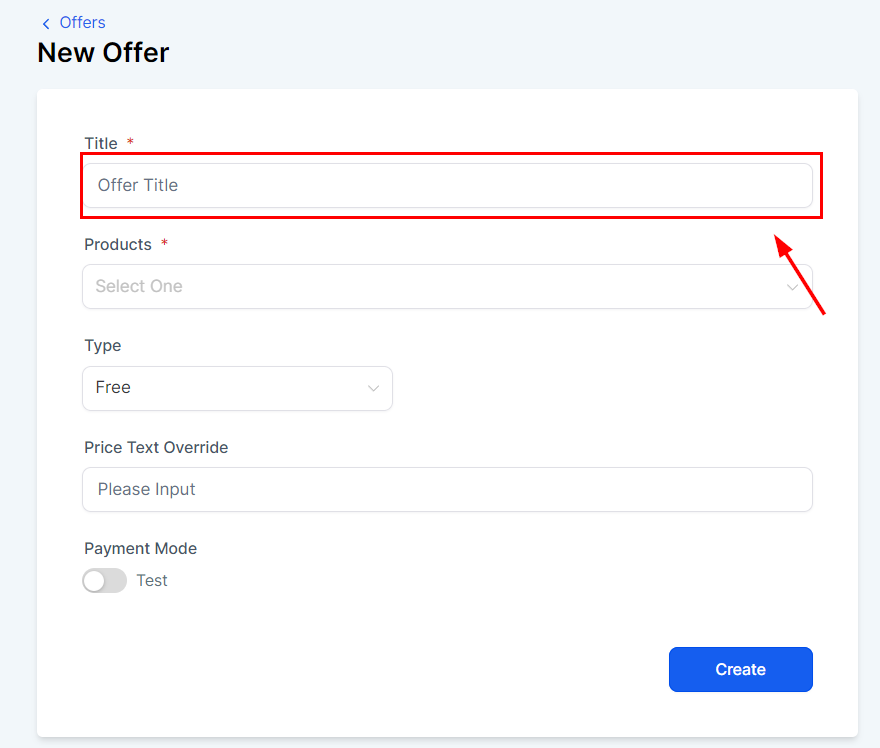
Add the title of your product, this will be used when selling the product.
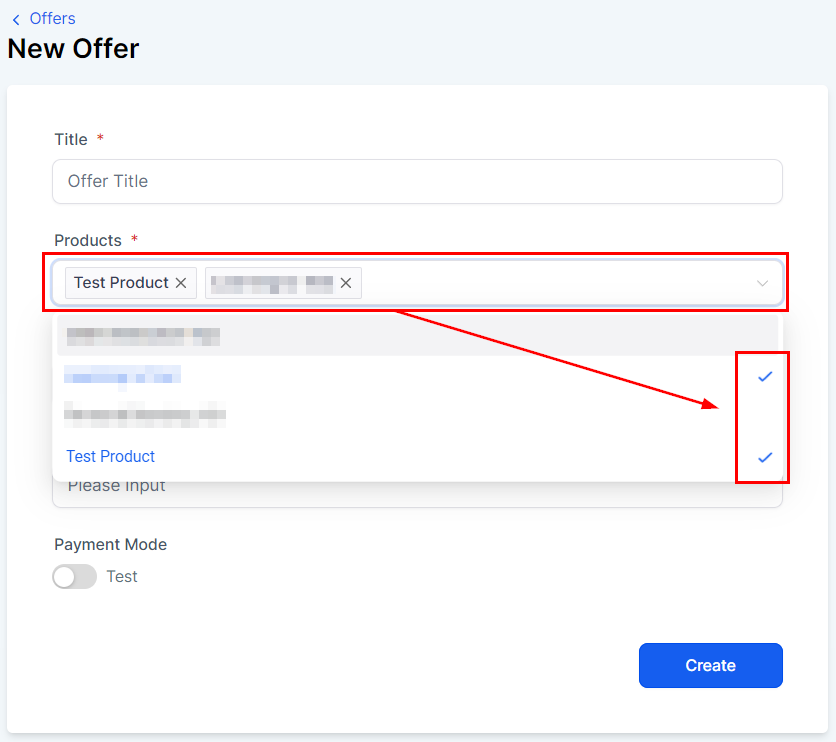
Select the course(s) you want to create an offer for, remember you can select more than one.
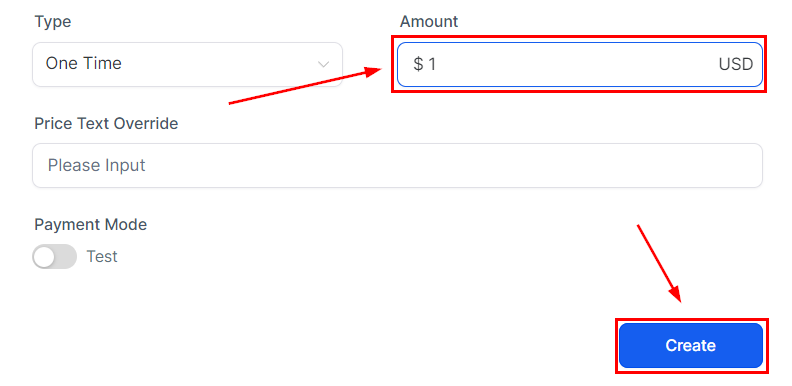
Select the payment type and if you're charging for it add the price (If you are not connected to a payment processor like Stripe, you won't be able to add a price offer).
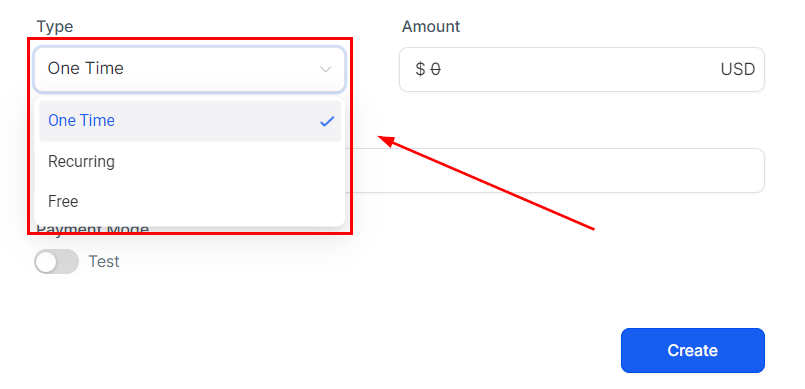
Add the price for the offer then click Create to save the offer.
Offers Details
Once you finish the "New Offer" page, you will be directed to this page where you can edit the general details of the product you are creating here. Starting with the title and description of the offer.

By opening Advanced you can add code to your Memberships for customizing and tracking.

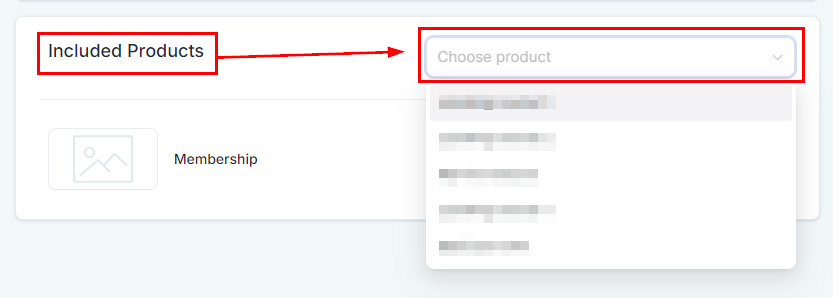
By scrolling down to Included Products you can manage and add products to this offer.
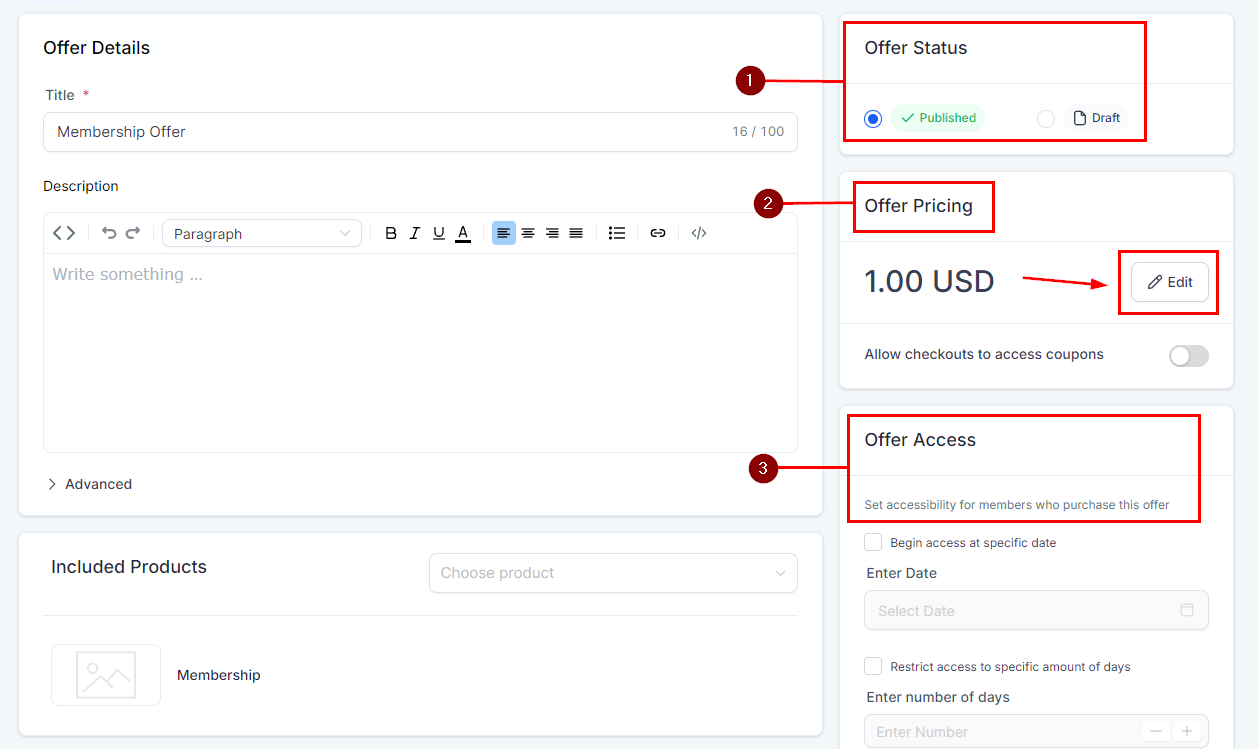
- Offer Status: You can toggle between the publish and draft modes here.
- Offer Pricing: You can edit the price here by clicking on the "Edit" button which directs you to the "Pricing Plan" popup notification where you change the type of plan and price you want for this product.
- Offer Access: This allows you to manage the start and end of the customer's access to the product
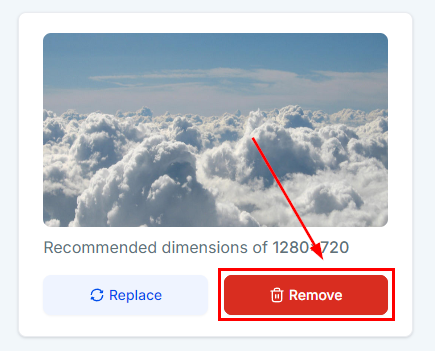
In the Image section, you can select the image to display on the offer page. To add a file, click the "Select Image" button and upload it to your device.

If you want to delete an uploaded image, click "remove" on the right side of the "Select image" button.
Upsell
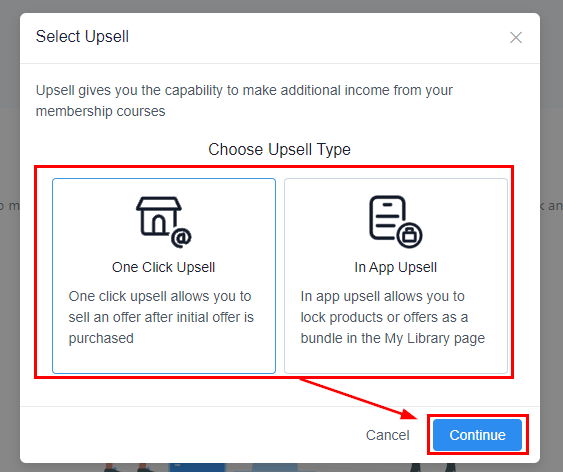
You can use upsells to generate additional income using one-click deals directly after the first purchase is made. It gives you the capability to add an optional offer that members can purchase during checkout. The upsell checkout page will be prompted after the initial offer is purchased. Simply click on "Add an Upsell" if you want to add one.

Select the Upsell type then click Continue.
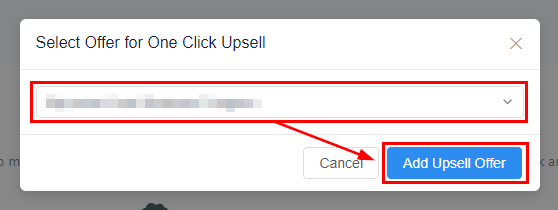
Select the Offer you want to upsell with then click Add Upsell Offer
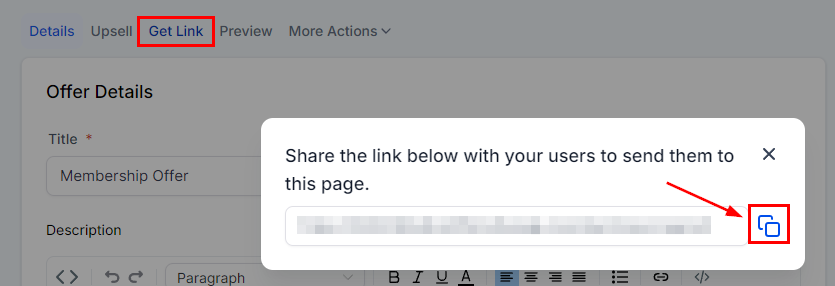
Get Link
To copy/share the URL link of a course product, simply click on the "Get Link" icon and then click the "Copy" button.
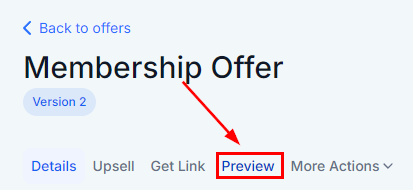
Preview
If you want to see what the course you are creating looks like, you simply click on the "Preview" icon and you will be directed to the preview page.
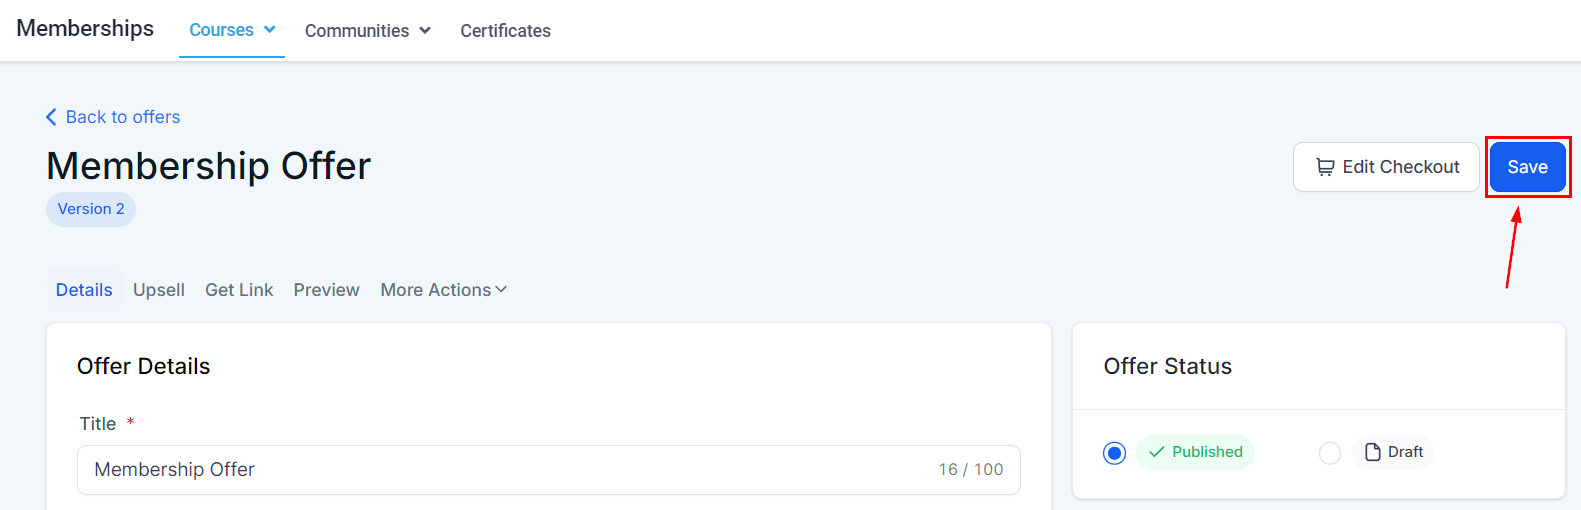
Once you're happy with all the details of your offer click on Save at the top right corner so you can start sending it to your contacts.
More Actions
If you'd like to delete the offer here's where to do so.

Edit Checkout
If you'd like to change the look of the page click “Check out customization”

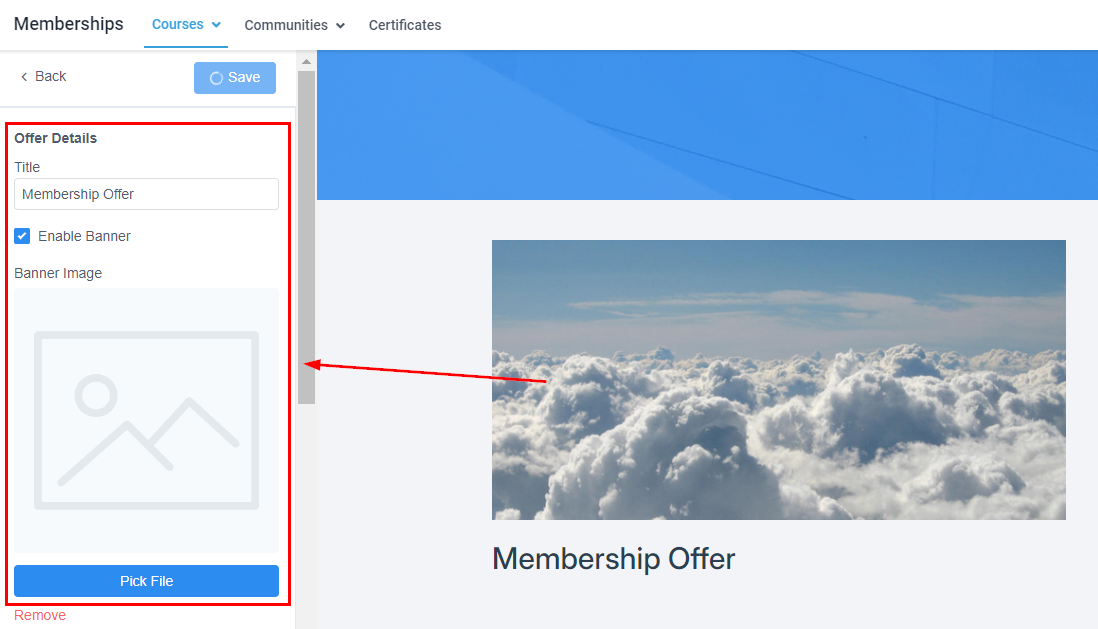
Offer Details
Here you can customize how the Offer is presented, you can add videos, and check the Checkout Copy.

That includes most elements regarding how the offer is perceived, including its title, images, video, and Checkout Copy.
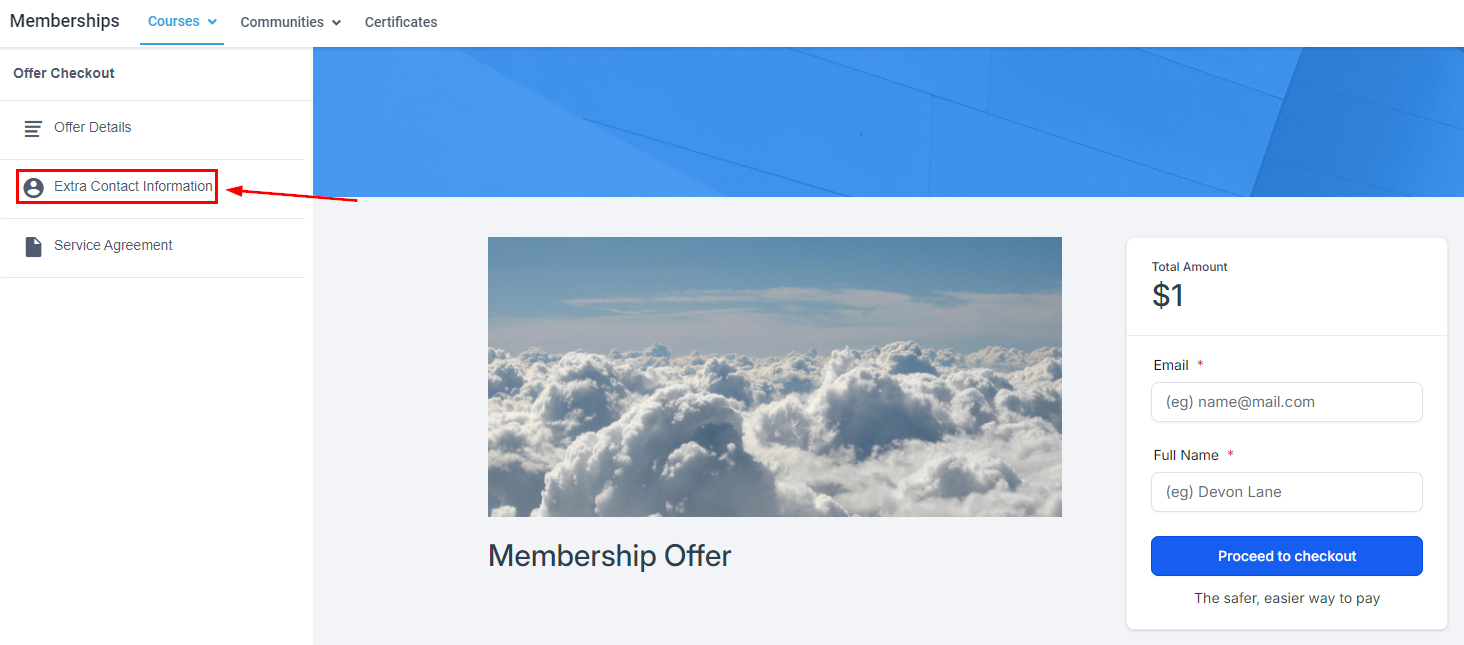
Extra Contact Information
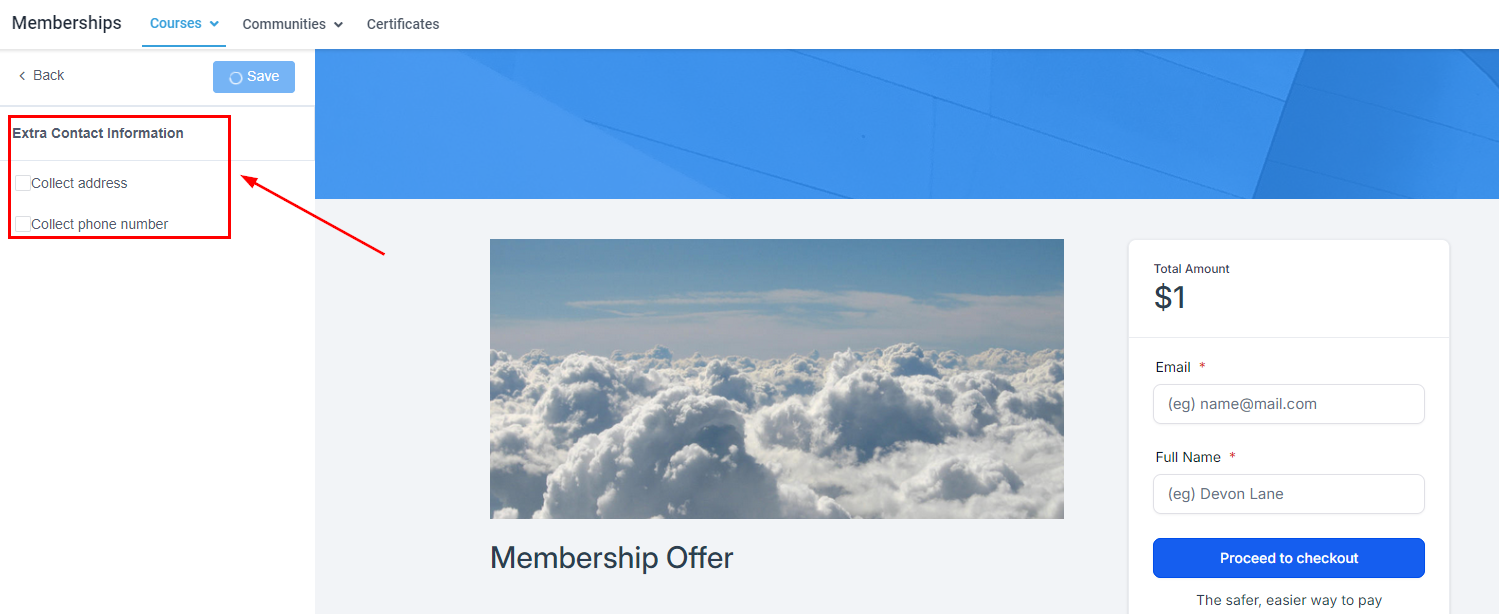
Here you can enable the fields to request extra contact information to complete the sale.
Check the box next to the fields you'd like to require.
Service Agreement
Here you can add the Terms and Conditions you members to adhere to, this can be marked as required and customized as needed.
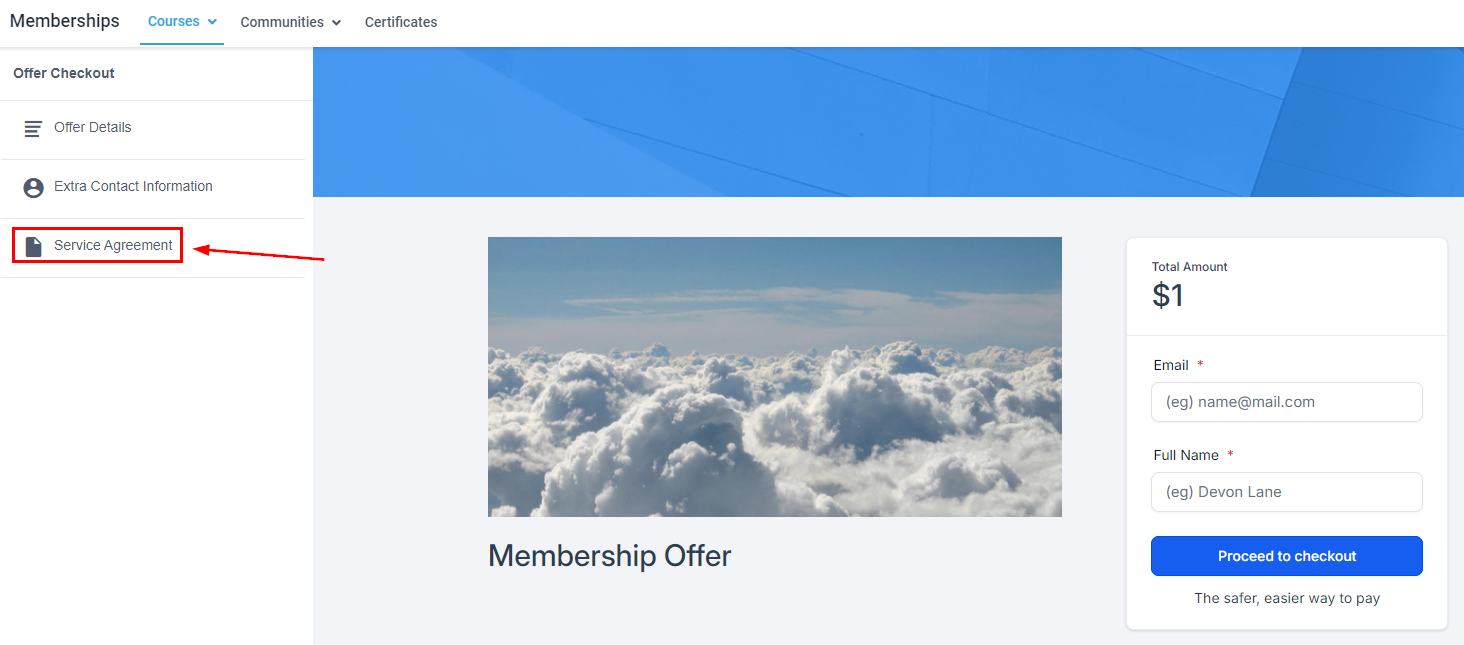
Select Custom agreement text to add your desired terms and conditions.

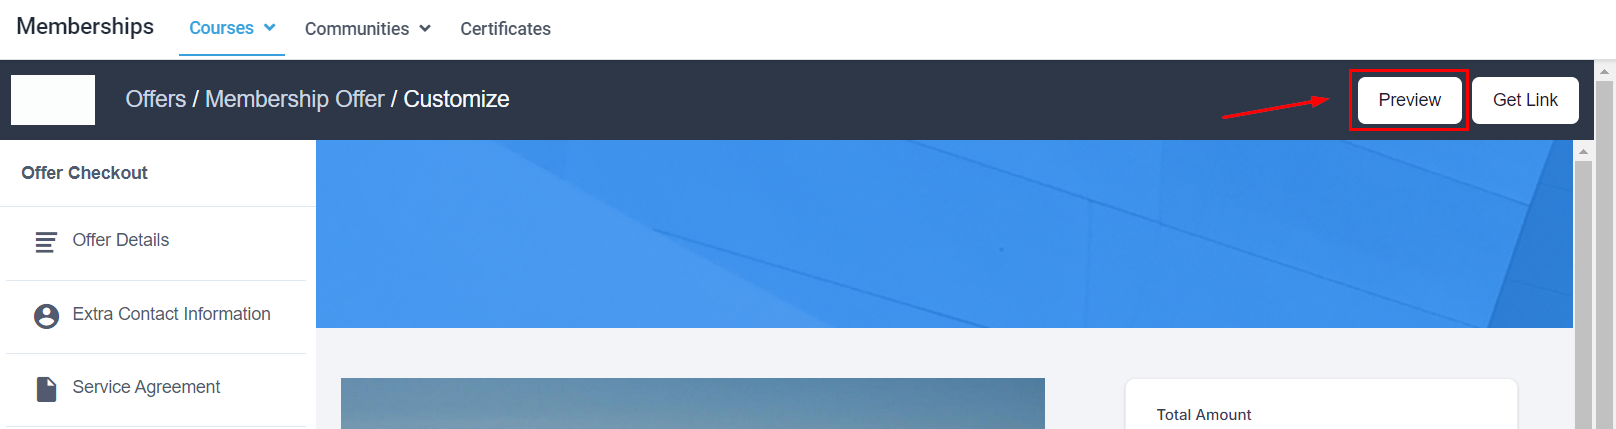
Preview
This will redirect you to a preview of the Checkout page.
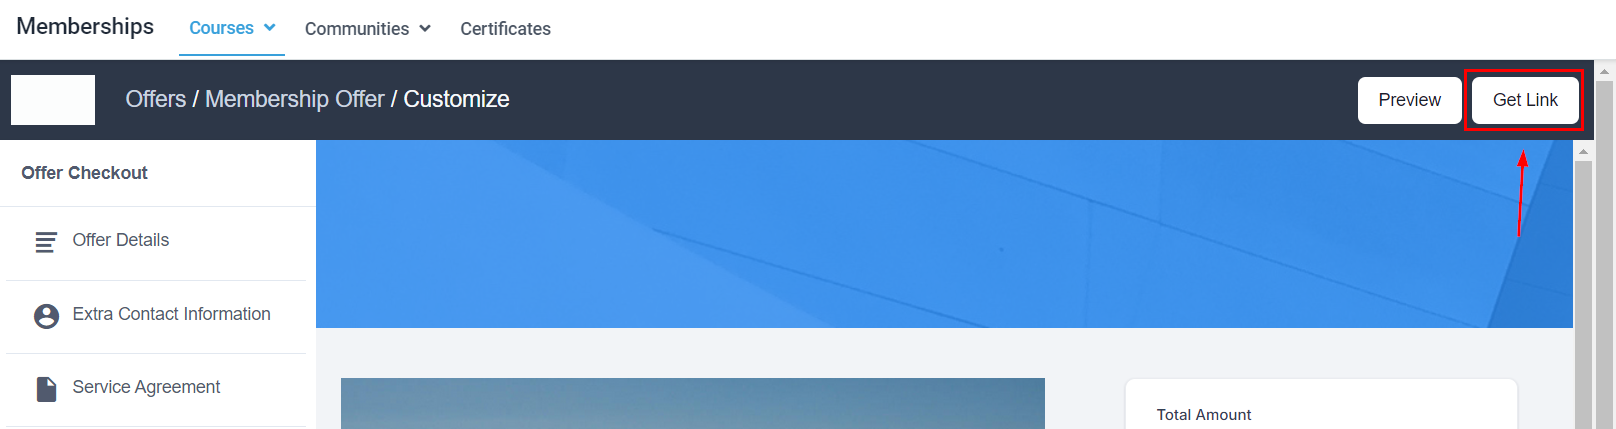
Get Link
This will copy the Link to access the membership offer to your click board.
There you go! Now you can set and customize your membership offers ensuring your members feel the appeal of the exclusive learning opportunity you're giving them access to, while you boost your earnings from your Courses.