Easily add or manage your Stripe information within the Payment Integrations section. Moreover, don't forget to double-check if live mode or test mode is enabled – this will go a long way toward ensuring successful transactions!
Stripe Live Mode
Enable Stripe live mode when you are prepared to begin processing genuine transactions from your customers. This mode ensures that your payment gateway is fully operational and equipped to handle real-world purchases, providing a seamless shopping experience for your clients. Once activated, live mode enables you to accept and process customer payments, monitor order fulfillment, and manage all aspects of your e-commerce business effectively.
Stripe Test Mode
Utilize the test mode when experimenting with new products to avoid unintentional charges. This mode allows you to simulate transactions, ensuring that your product setup and payment processes are functioning correctly without actually processing any real payments. By using test mode, you can identify and resolve potential issues before they affect your customers while safeguarding yourself from accidental charges during the testing phase.
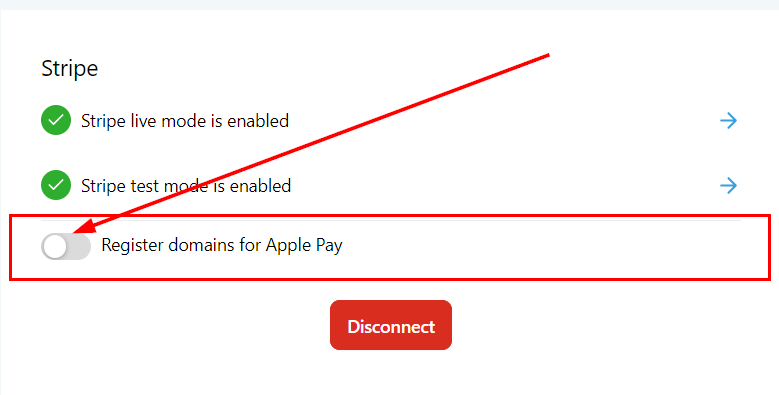
Google + Apple Pay
If you are looking to accept payment methods from Apple Pay or Google Pay, leveraging Stripe is the way to go! Stripe allows you to show Apple Pay and Google Pay by default next to the credit card option during checkout.
To display Apple Pay and Google Pay, enable the toggle on the integrations page and register your domains with Stripe as an additional requirement. When this option is enabled, Apple Pay and Google Pay are automatically integrated with branded domains for the Invoice, Text2Pay, and Payment Link features.
All the payments made through Apple Pay or Google Pay will be visible under the Orders and Transactions table.

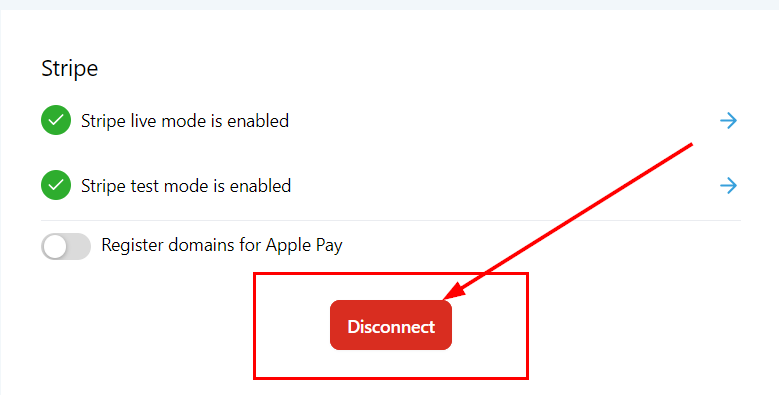
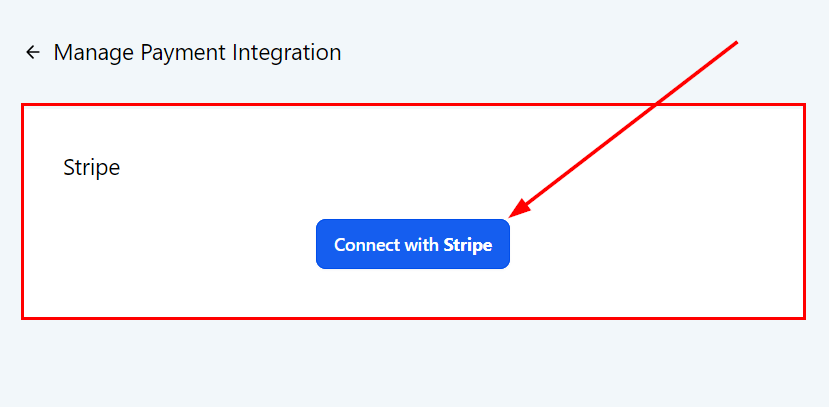
Connect or Disconnect Stripe
To begin linking your Stripe account, navigate to the Payment Integrations section, then select the Connect with Stripe button.

This will redirect you to a page where you can establish a connection with your Stripe account. Follow the on-screen prompts such as inputting your email address and password to complete the verification process. After successful integration, you will have the ability to accept payments through Stripe.

If your account is already connected and you wish to disconnect it, the Disconnect button will be displayed, allowing you to easily remove the Stripe integration from your account.