
By creating and utilizing custom fields, you can ensure that the information collected is aligned with your business needs, enabling more personalized interactions and targeted communication with your customers. This customization helps you better understand your audience, refine your strategies, and ultimately improve customer satisfaction and loyalty. In this guide, we will walk you through the process of creating a new custom field, using the "Single Line" custom field as an example. This step-by-step approach will ensure a smooth and efficient setup for incorporating custom fields tailored to your specific needs.
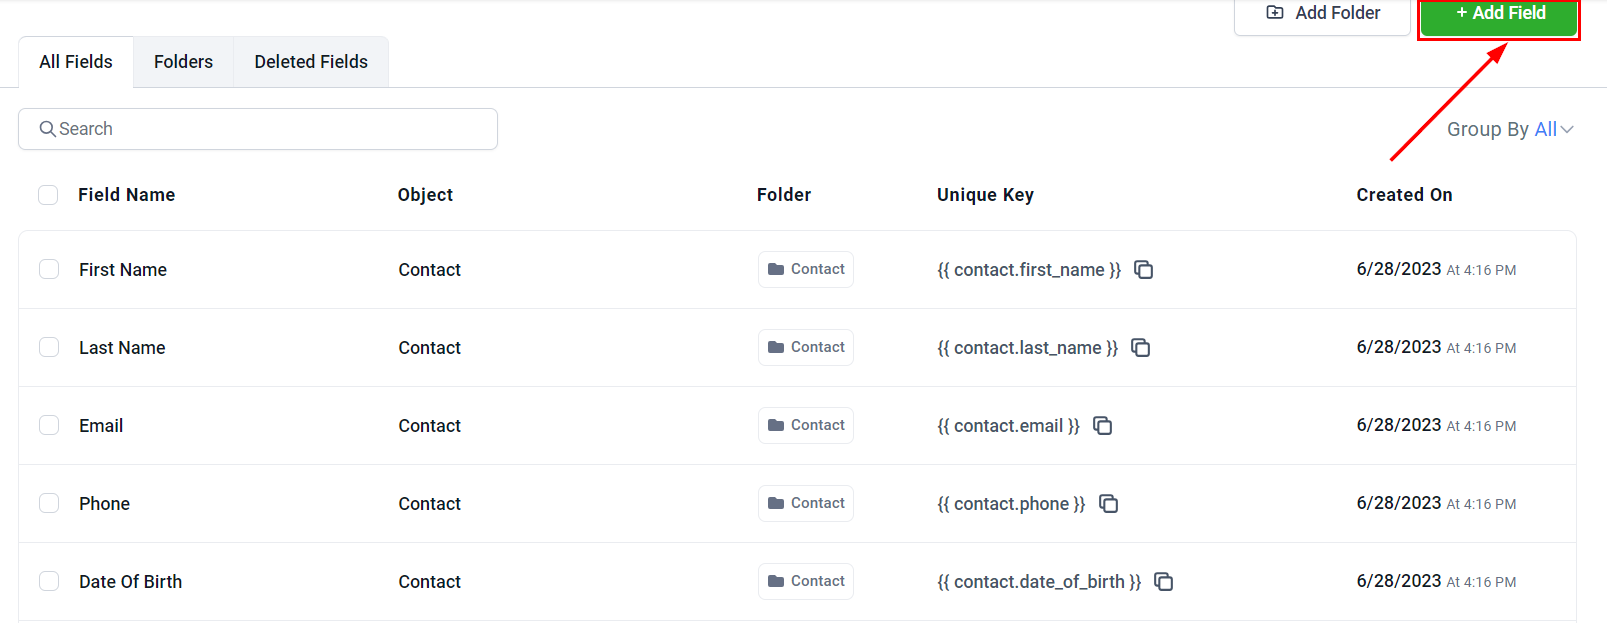
Begin by selecting the “Add Field” button in the Custom Fields Settings.
Custom Field Options
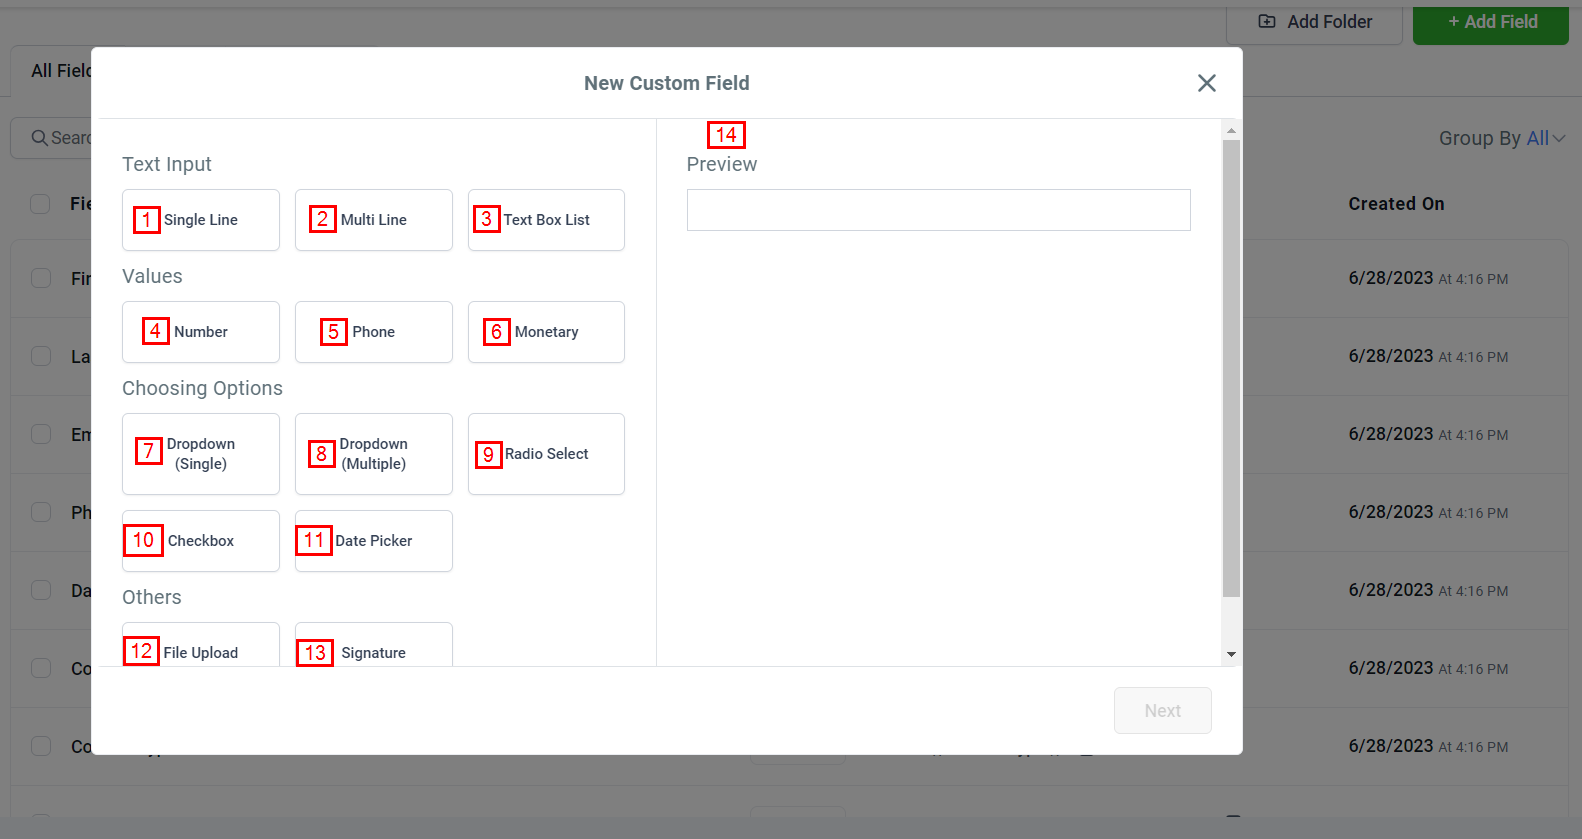
Select the “Next” button to continue.
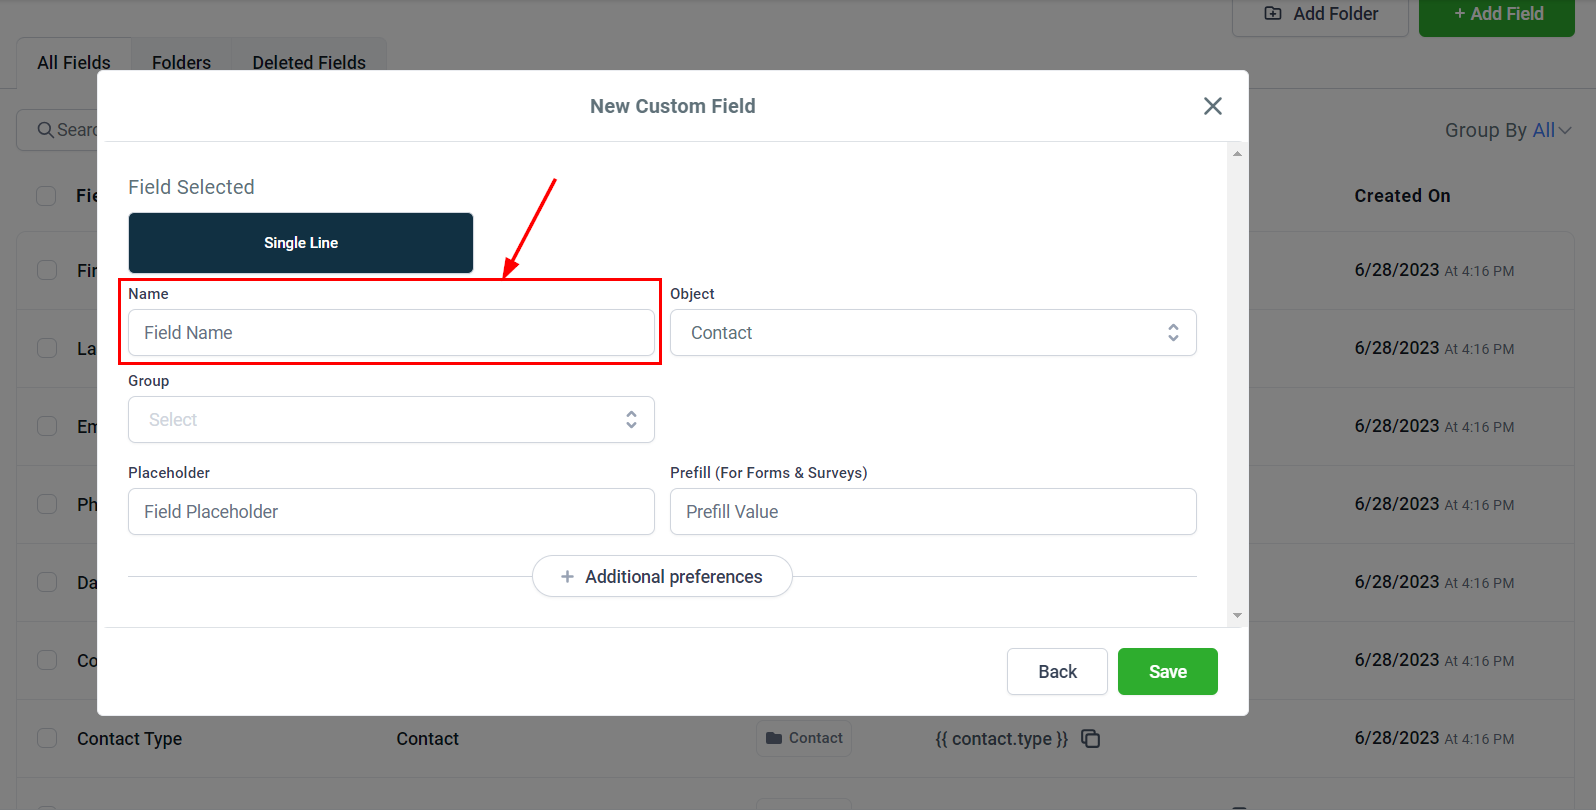
Field Selected
In this section, the selected custom field type is shown. For this example, we are creating a "Single Line" custom field, designed to allow users to input brief text simply and efficiently.

Name
Assign a suitable name to your field that aligns with your intended purpose.
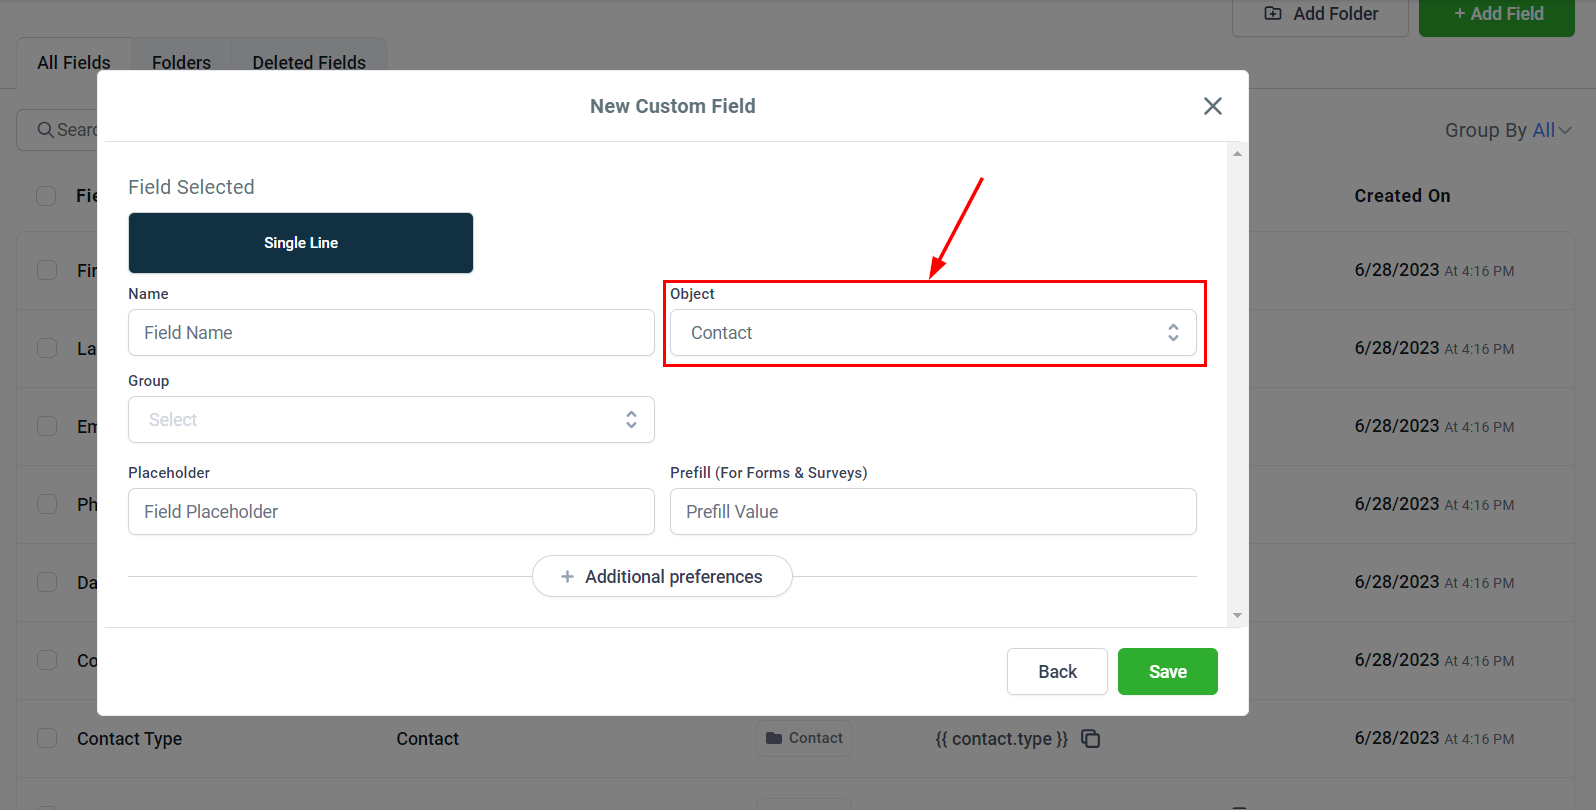
Object
Utilizing the dropdown menu, you can easily choose the desired object to be associated with the custom field.
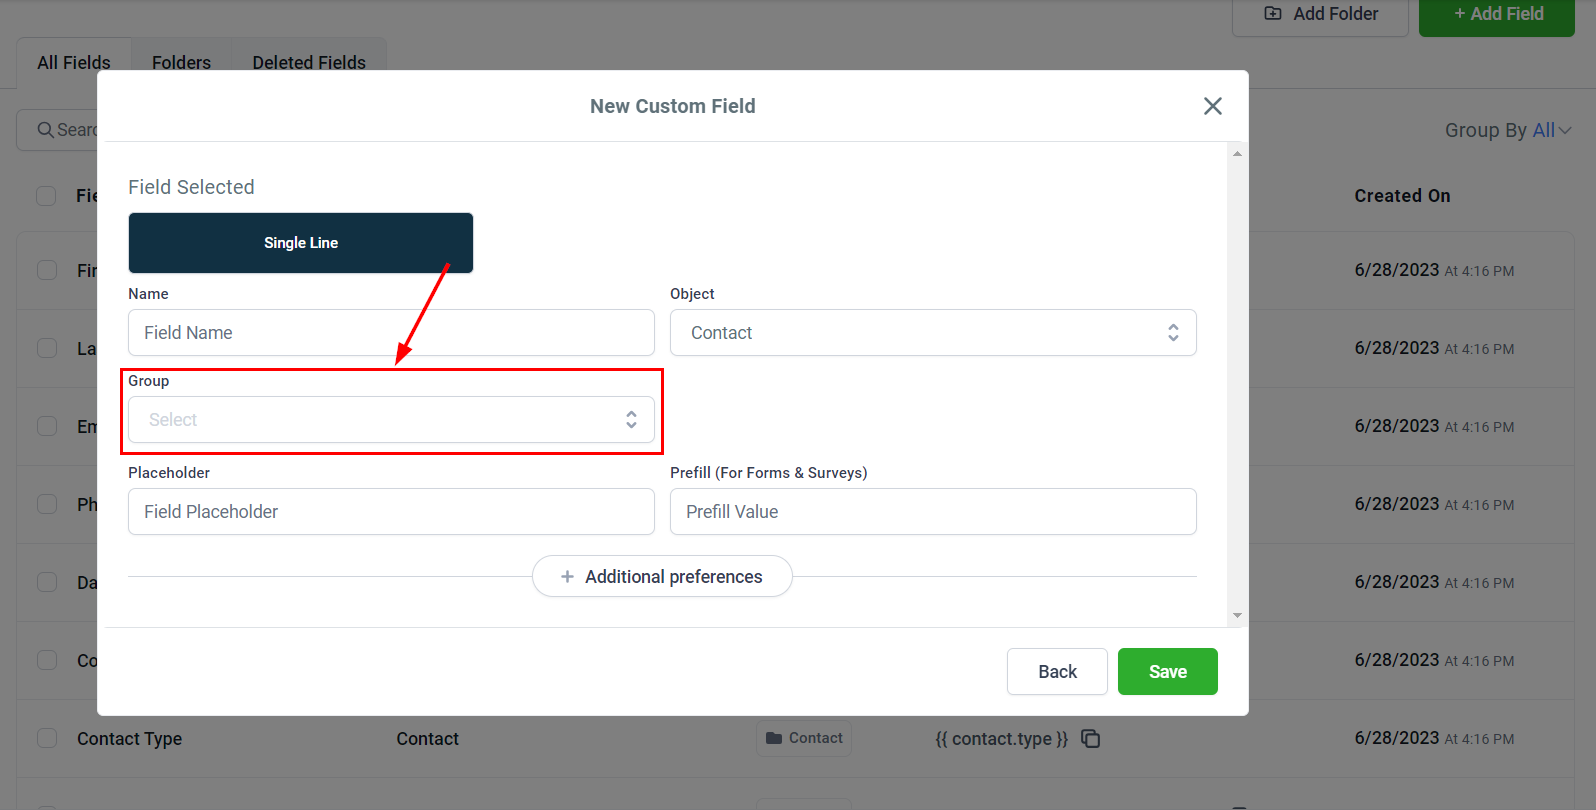
Group
In this section, you can select the appropriate group for the custom field. The dropdown menu provides options to add the field to a Contact group, General group, or any other specific group you have created.
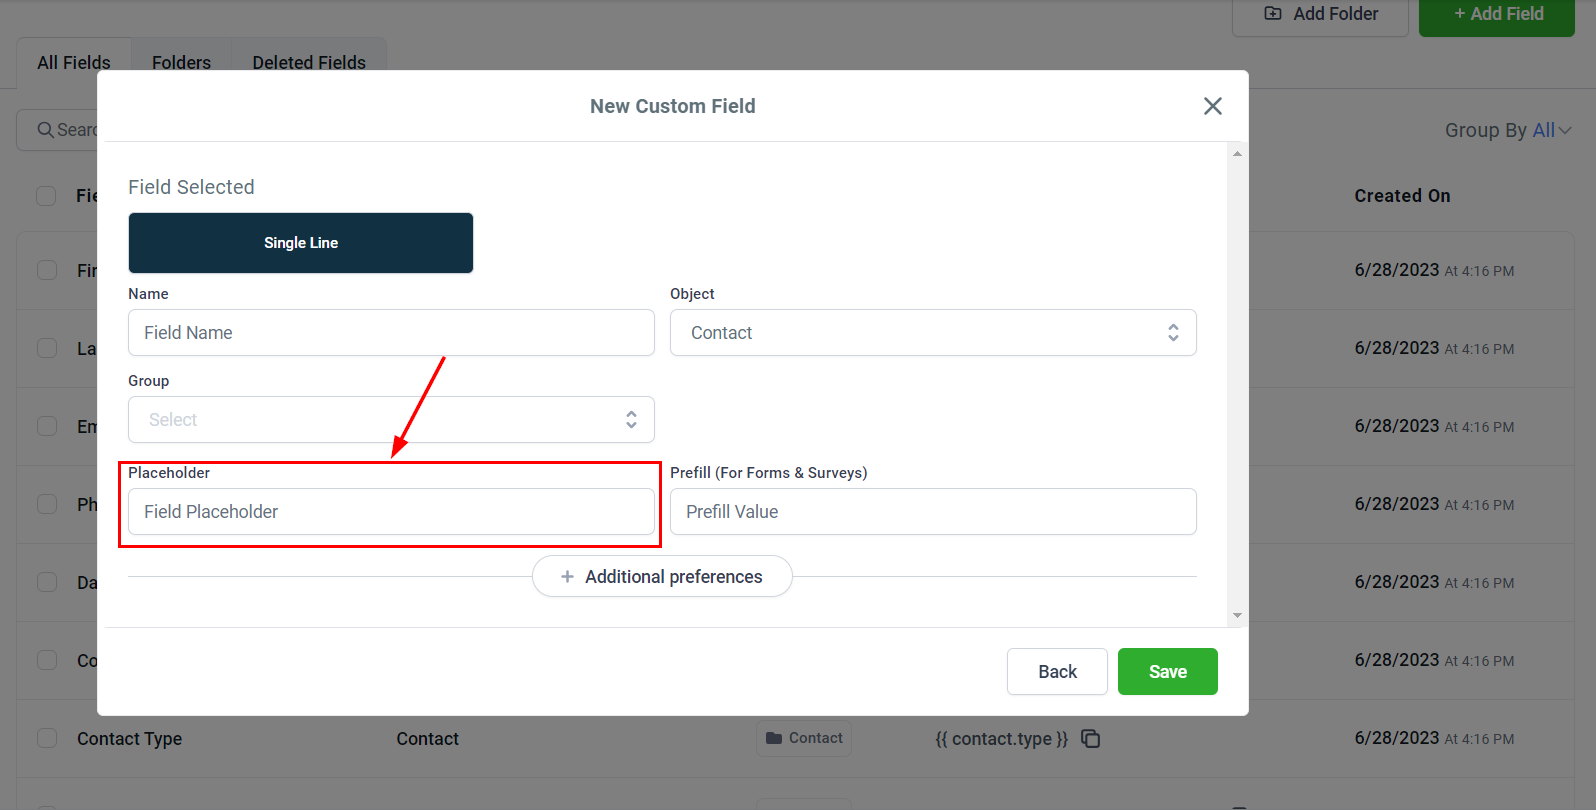
Placeholder
In this area, you can set a placeholder for your custom field. A placeholder offers a brief hint or example to guide users on the expected input format or content.
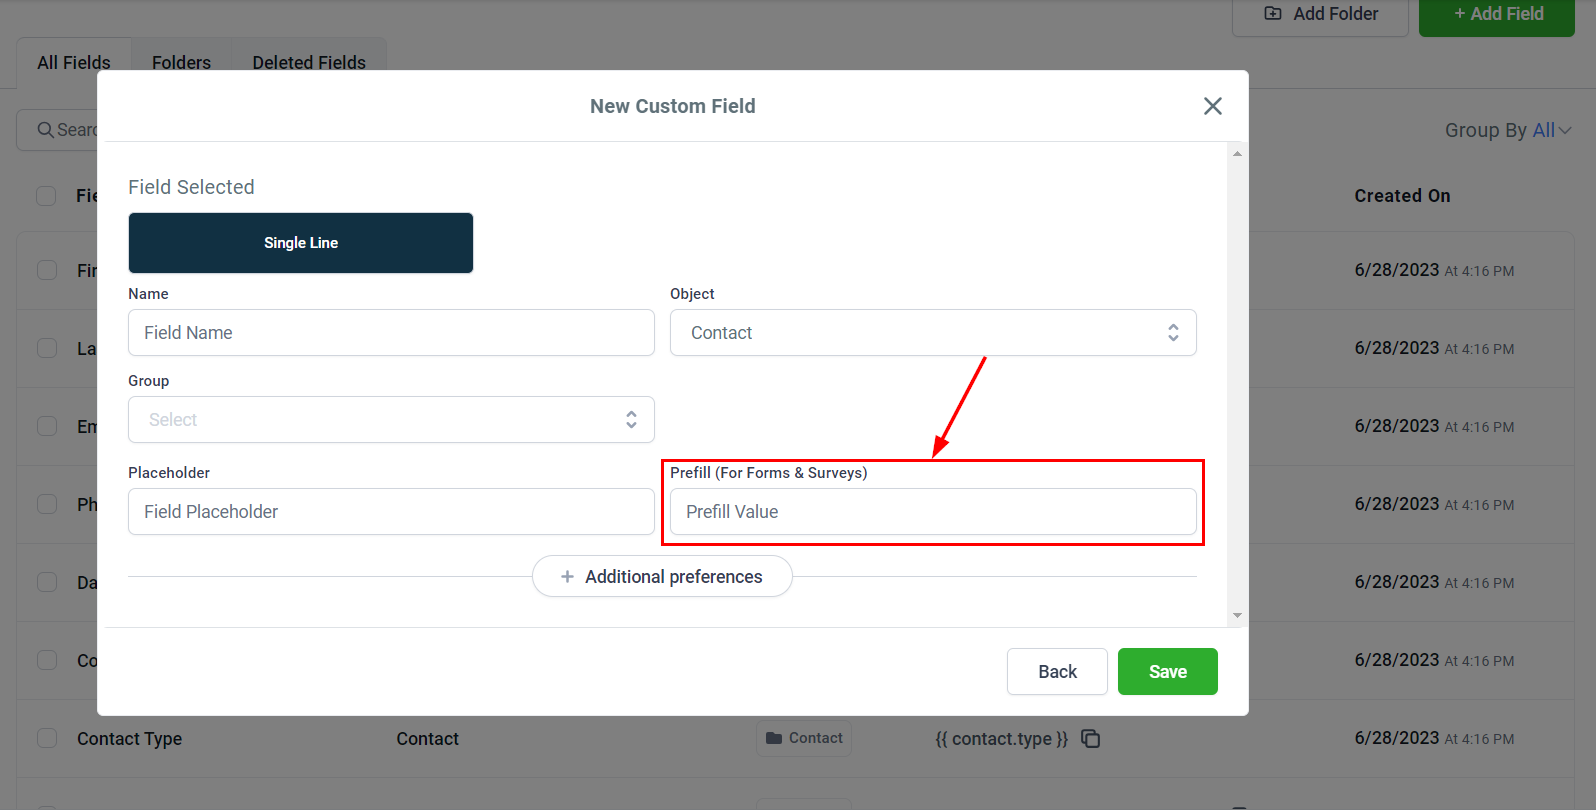
Prefill
You can also set a prefill value for your custom field, which automatically populates the field with a default input when users interact with it. This feature helps simplify the process, particularly when most entries share a common value or format, saving time and effort for users.
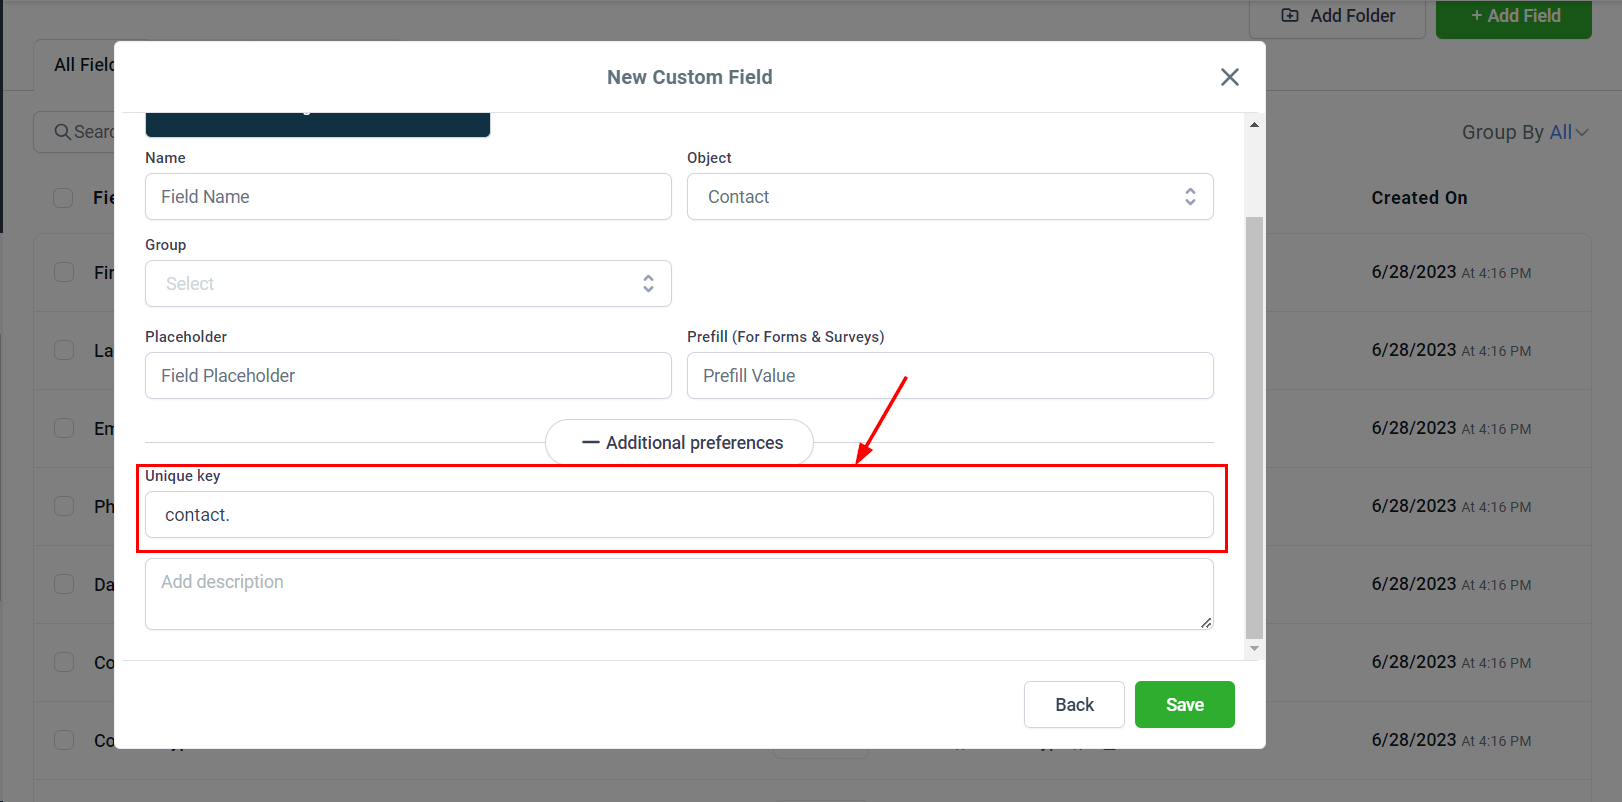
Additional Preferences
This tab offers additional preferences for configuring your custom field, allowing you to further tailor its functionality to meet your needs.

Unique Key
Upon entering the custom field information into the system, a unique identifier key will be automatically generated for each custom field. This key will be displayed in this section and serves as a distinct reference for each field.
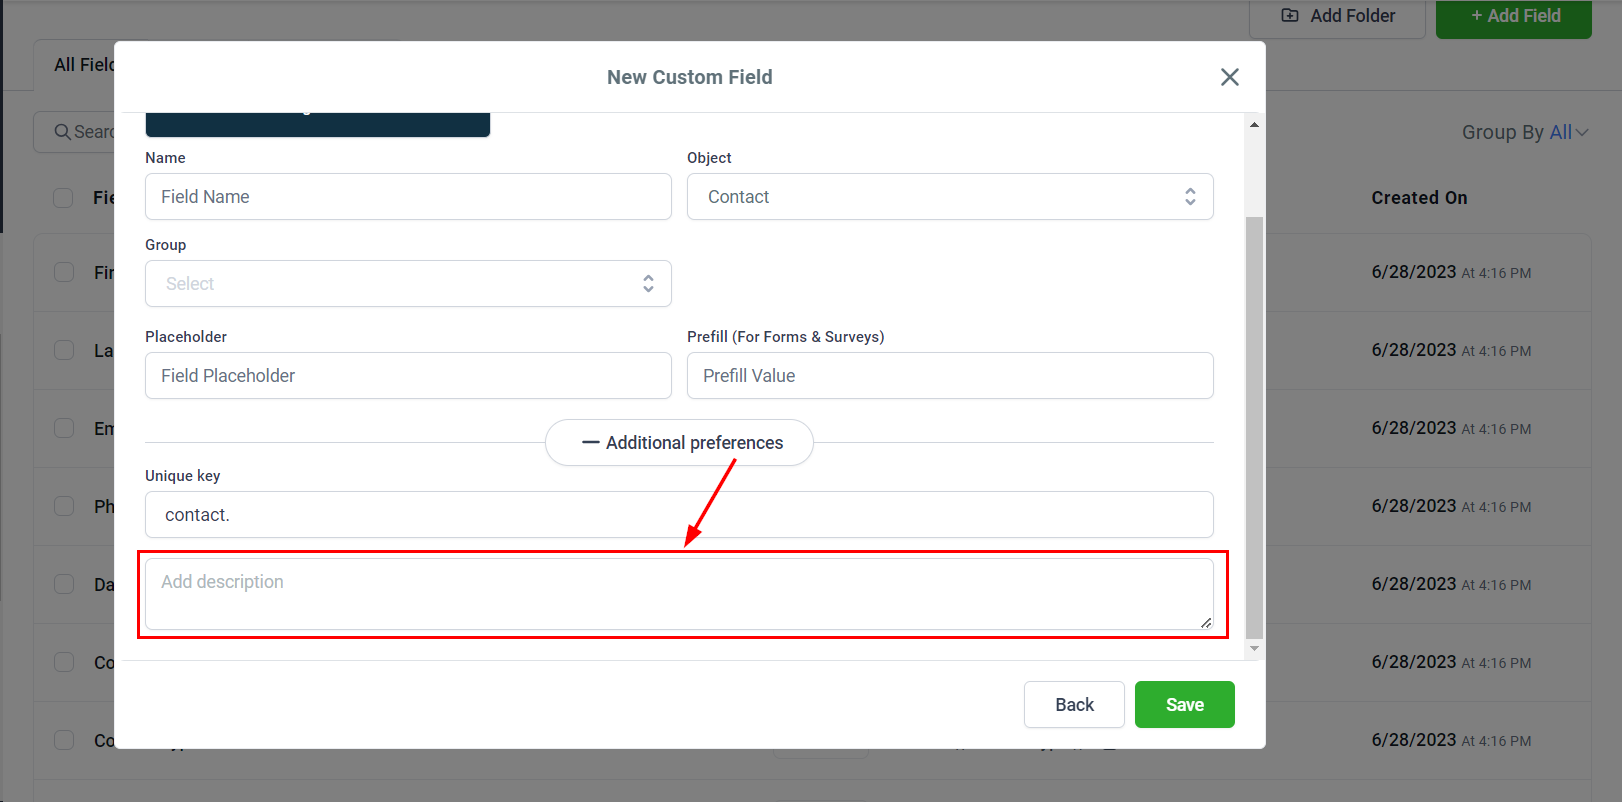
Add Description
In this section, you have the opportunity to provide additional details about your custom field. You can describe its purpose and the specific objectives it aims to achieve within your platform.
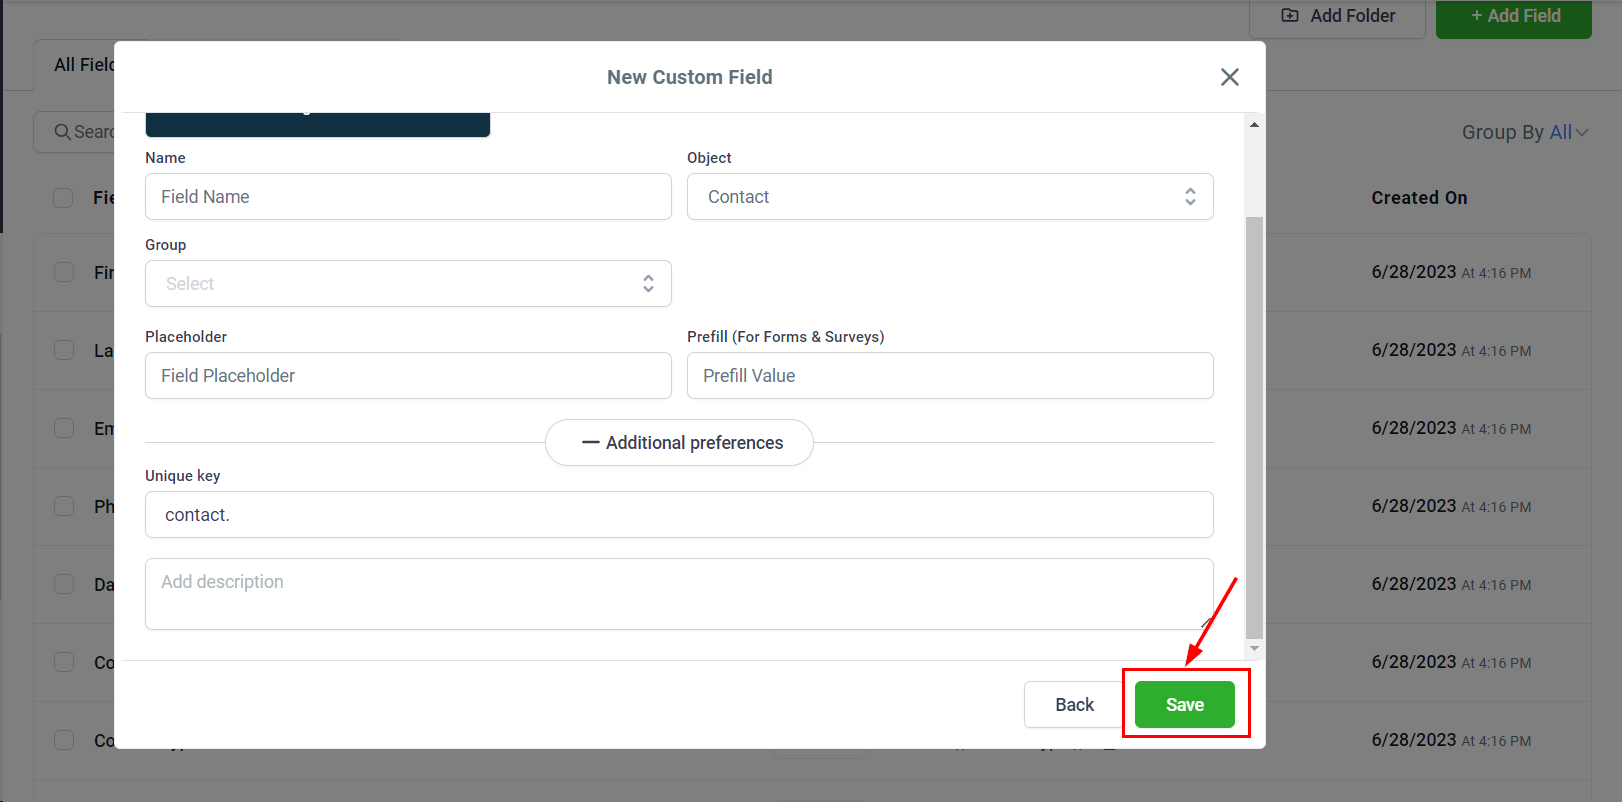
Save
Confirm the addition by clicking the save button!
By following this guide, you can efficiently set up and utilize custom fields, ensuring they align perfectly with your organizational objectives!