
Having a business Phone Number allows you to communicate with customers, and your CRM Number not only creates that bridge but allows you to personalize it to your particular needs further ensuring customer satisfaction.
How to Configure It?
To start, head to your Settings and open the Phone Numbers section. By default, this should open the Manage Phone Numbers tab.

Of your desired phone number, click on the three-dot icon to open the options and select Edit Configuration.

Here, you can configure the Phone settings.
- Name Your Number: Enter a name for your team members to easily identify the number by. This name will not be visible to your contacts.
- Pass called number as Caller ID: This shows the number that you are calling as the ID.
- Forward Calls To: This allows you to set up a phone number to redirect the CRM calls to.
- Use your Verified Number as callerID for outbound calls: This shows your verified number as the phone number.
- Enable Call Connect Feature: This will ask you to press a key before connecting the call if you're responding on an external phone. For example, when redirecting the calls to your cellphone.
- Whisper Message: The robot voice will read this message to the redirect number.
- Call Recording: Enable this feature to keep a record of the incoming and outgoing calls you have with the CRM phone number. Once enabled, you can choose whether to play a message or not. Before configuring this feature, please check your state's laws regarding phone call recording.
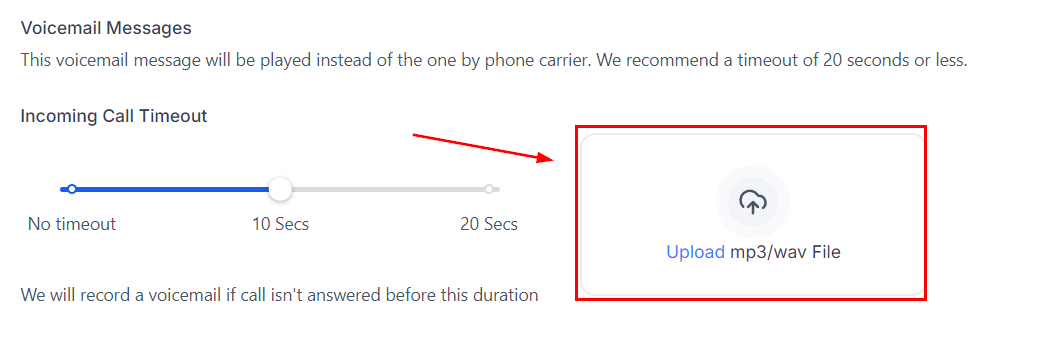
- Incoming Call Timeout: This will be the time, in seconds, that incoming calls should ring before going to voicemail.
- Outgoing Call Timeout: This will be the time, in seconds, that outgoing calls should ring before the system hangs up.
- Ring Incoming Call to Selected Users: Here you can select the staff members you want incoming calls to be forwarded to.

When a user is assigned a phone number, you can see it reflected at the top of the Phone Number settings. Clicking “View” will redirect you to the section My Staff to handle the user's phone settings.

My Staff - Call & Voicemail Settings
If a user needs a dedicated number, you can set it by heading to the My Staff section under your settings, or when the phone number has been assigned to a user, you can handle their settings here. Click the pencil icon next to the user whose settings you want to edit or assign the phone number.

Head to the Call & Voicemail Settings section.
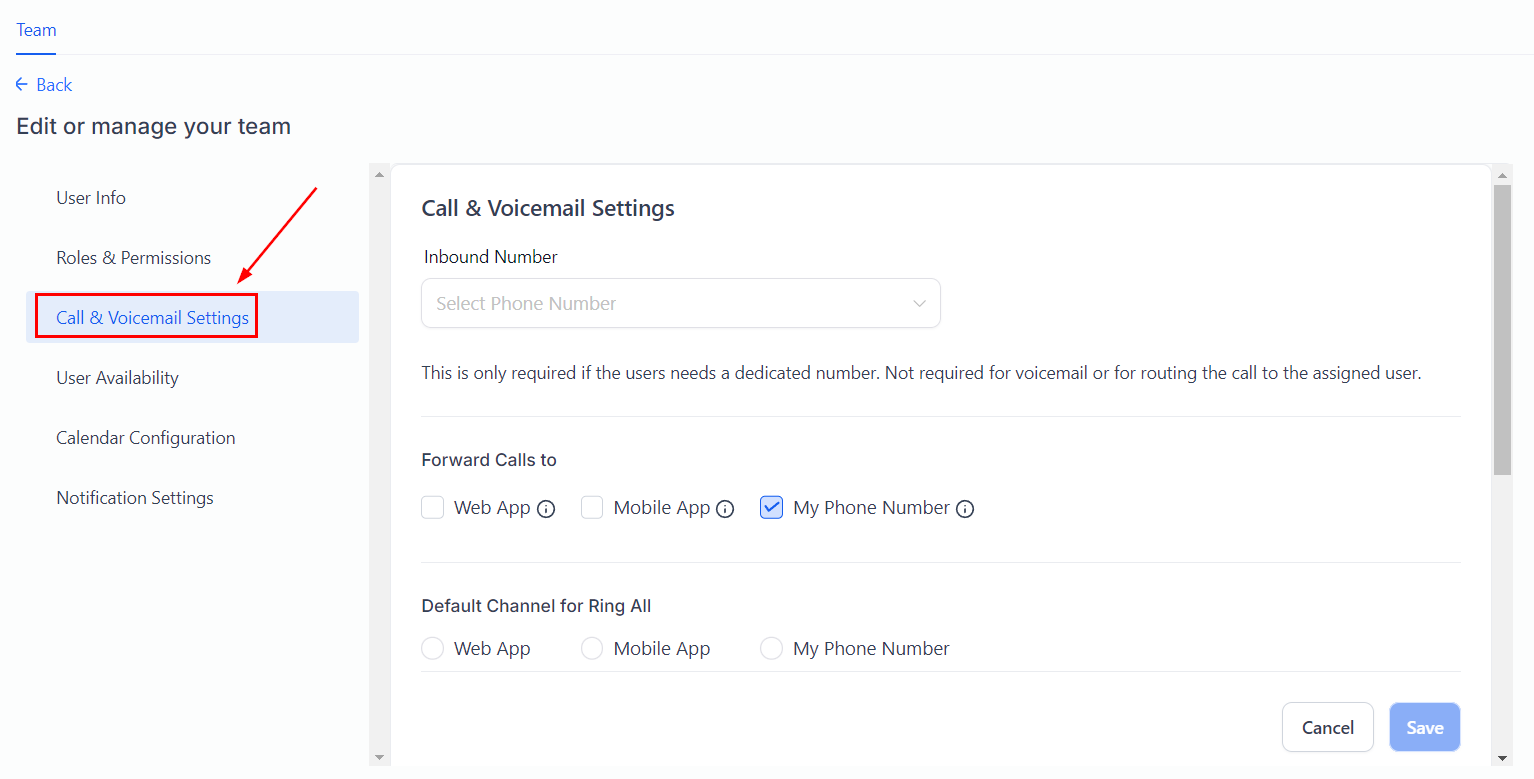
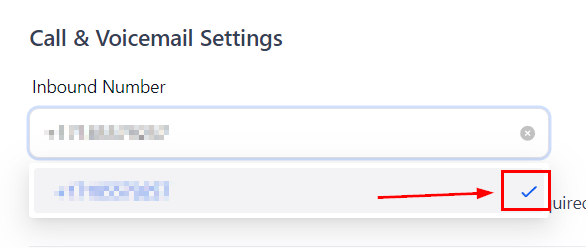
Under Inbound Number select the CRM phone number you want to assign to the user.
Besides assigning the phone number to a specific user, you can also set:
- Forward Calls to: Here you can select the channel(s) you want the user to receive the calls in.

- Voicemail Message: This voicemail message will be played instead of the one by the phone carrier when the user receives a call.
Once you've set up your phone number, it will be ready for you to start reaching out to customers. Whether via SMS, call, or WhatsApp, this configuration will ensure you maintain a professional image while keeping your contact process streamlined inside the system, creating plenty of opportunities for data analysis, internal collaboration, and customer care.