Effective calendar management is crucial for streamlining appointments and maintaining organization. The Simple Calendar provides a flexible solution, allowing you to create individual calendars without tying them to a group calendar. This functionality is ideal for users who require a stand-alone calendar to manage their appointments efficiently. In this guide, we'll walk you through setting up a Simple Calendar and configuring its essential settings to optimize your scheduling process.
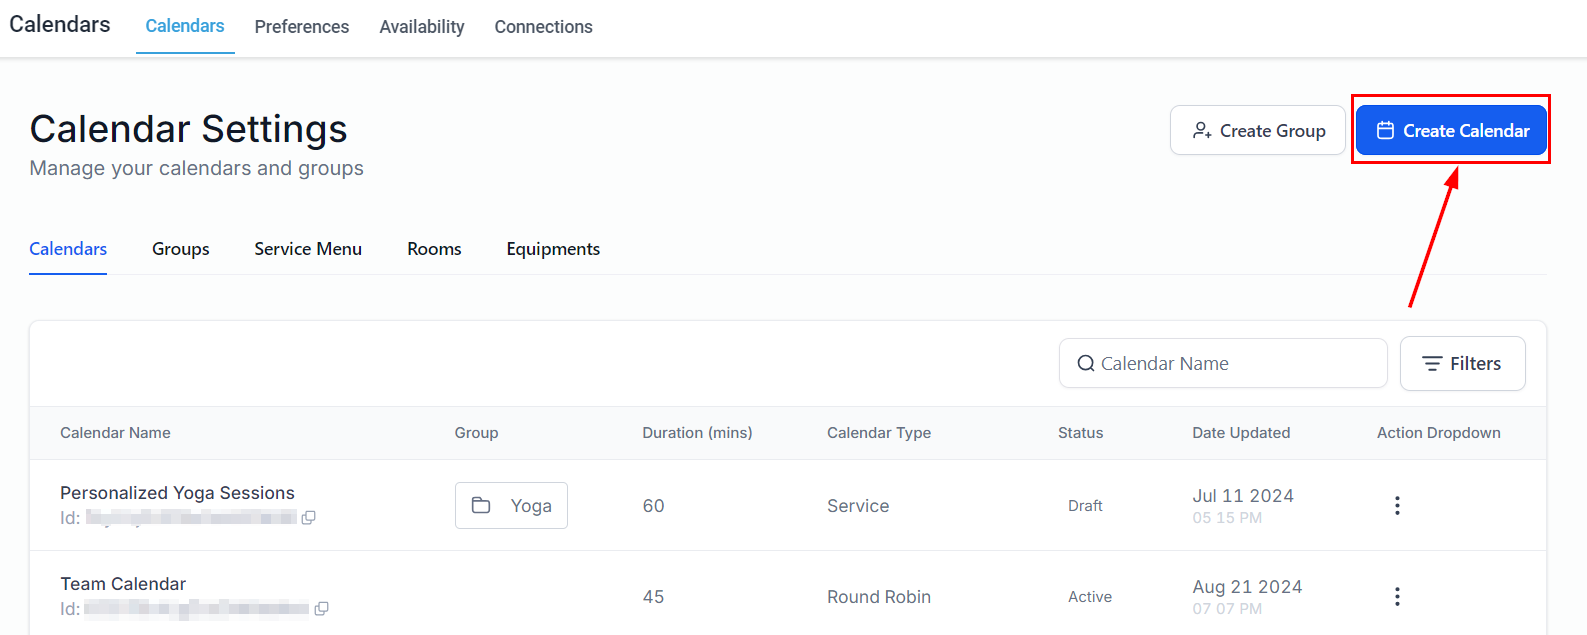
Begin by navigating to the Calendar Settings section.
Creating a Simple Calendar
Select the Create Calendar button located in the upper right-hand corner.
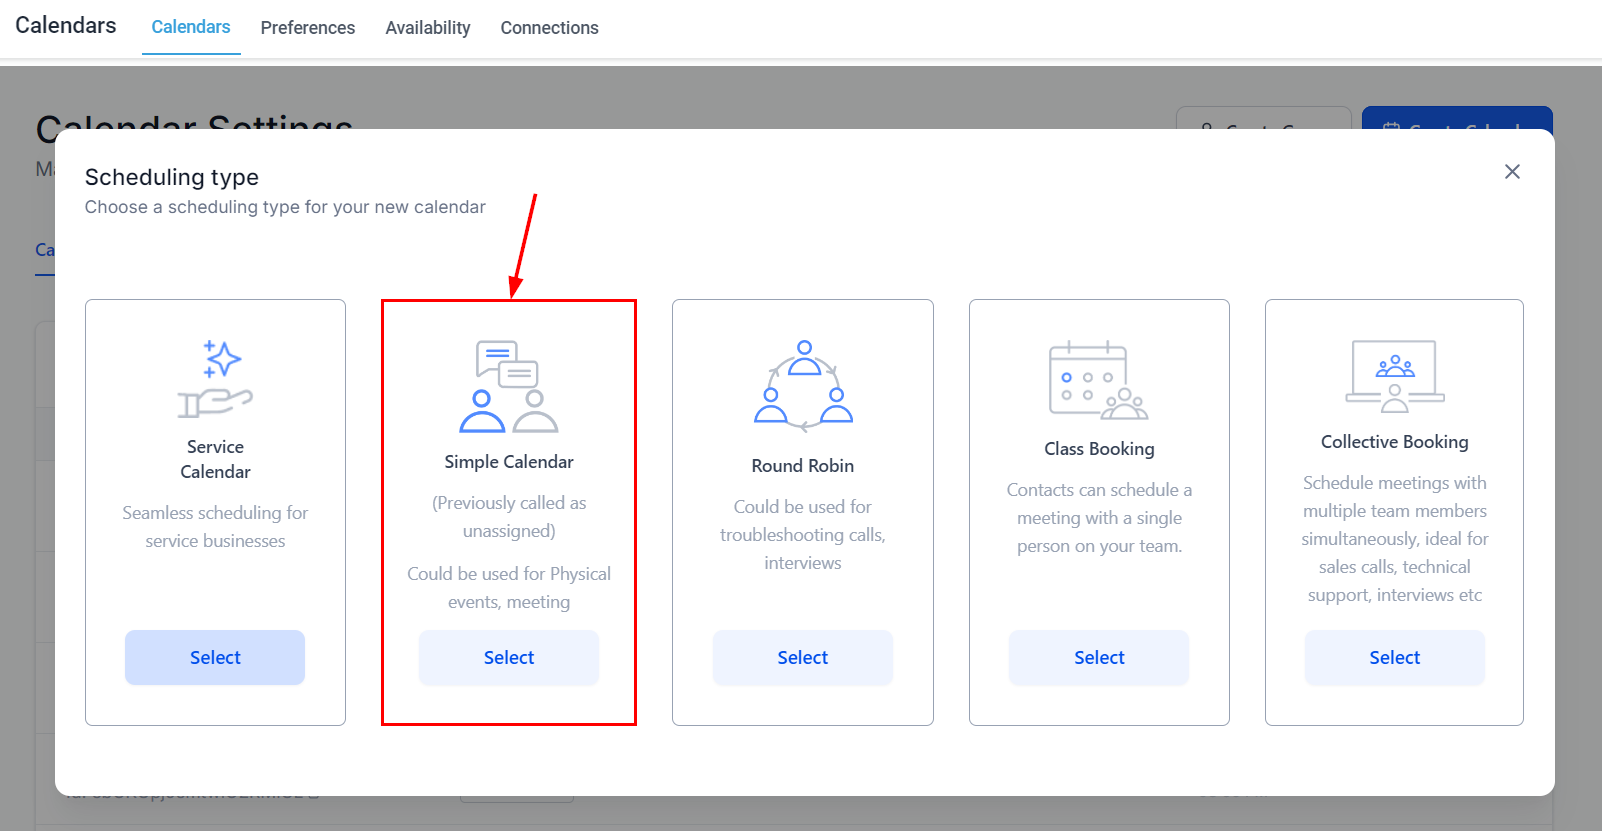
Next, choose the "Simple Calendar" option. The Simple Calendar feature allows you to create a single calendar that operates independently from group calendars.
Calendar Setup
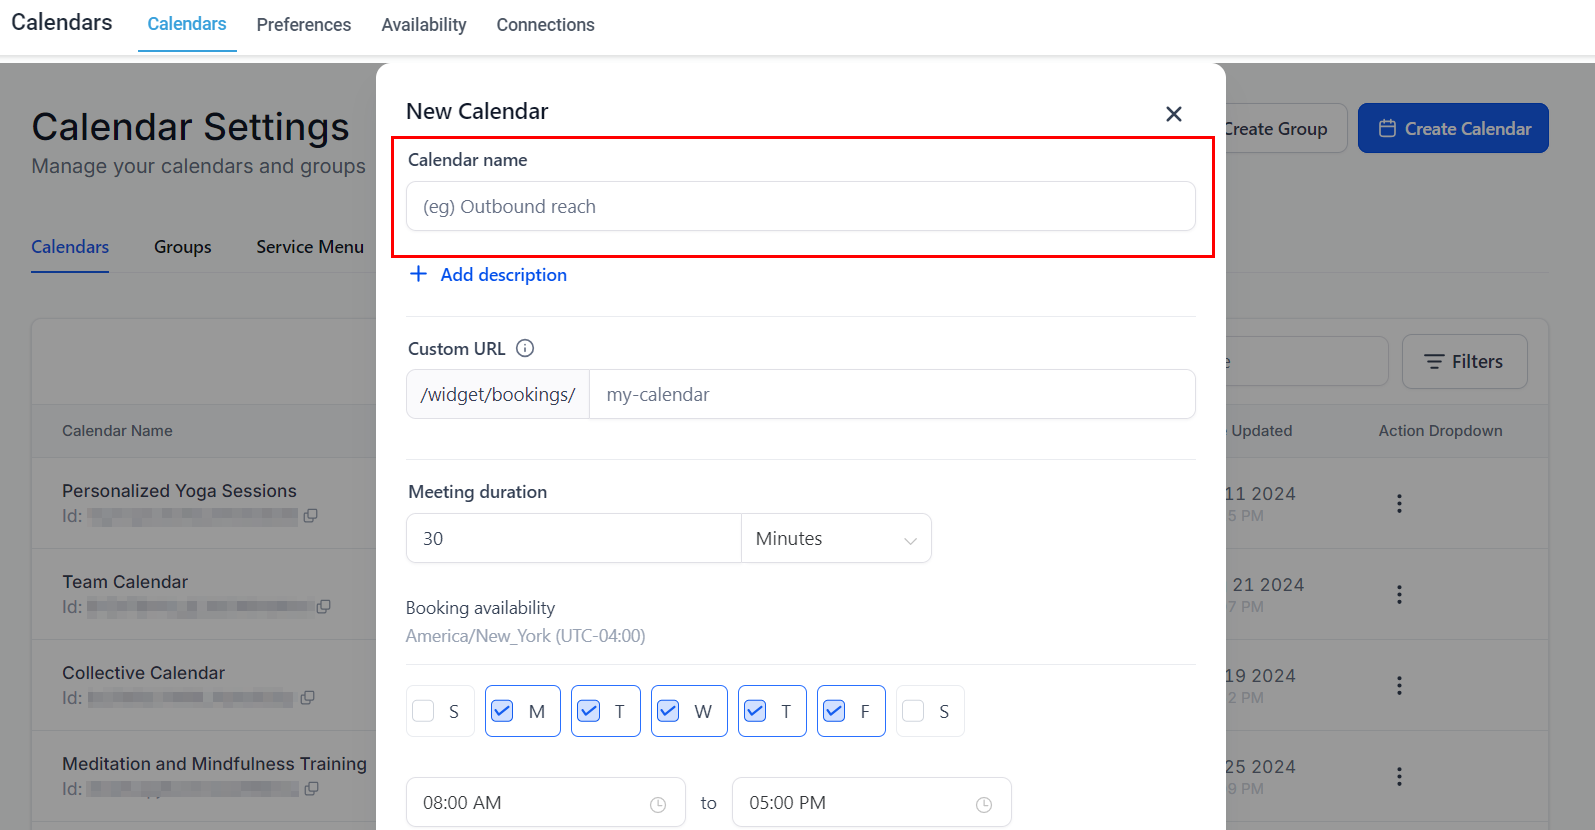
After choosing the Calendar group, you'll be directed to fill out key components of the Calendar configuration such as its name, meeting duration, and booking availability.
Calendar Name
Provide a title for the calendar that accurately reflects its intended purpose.
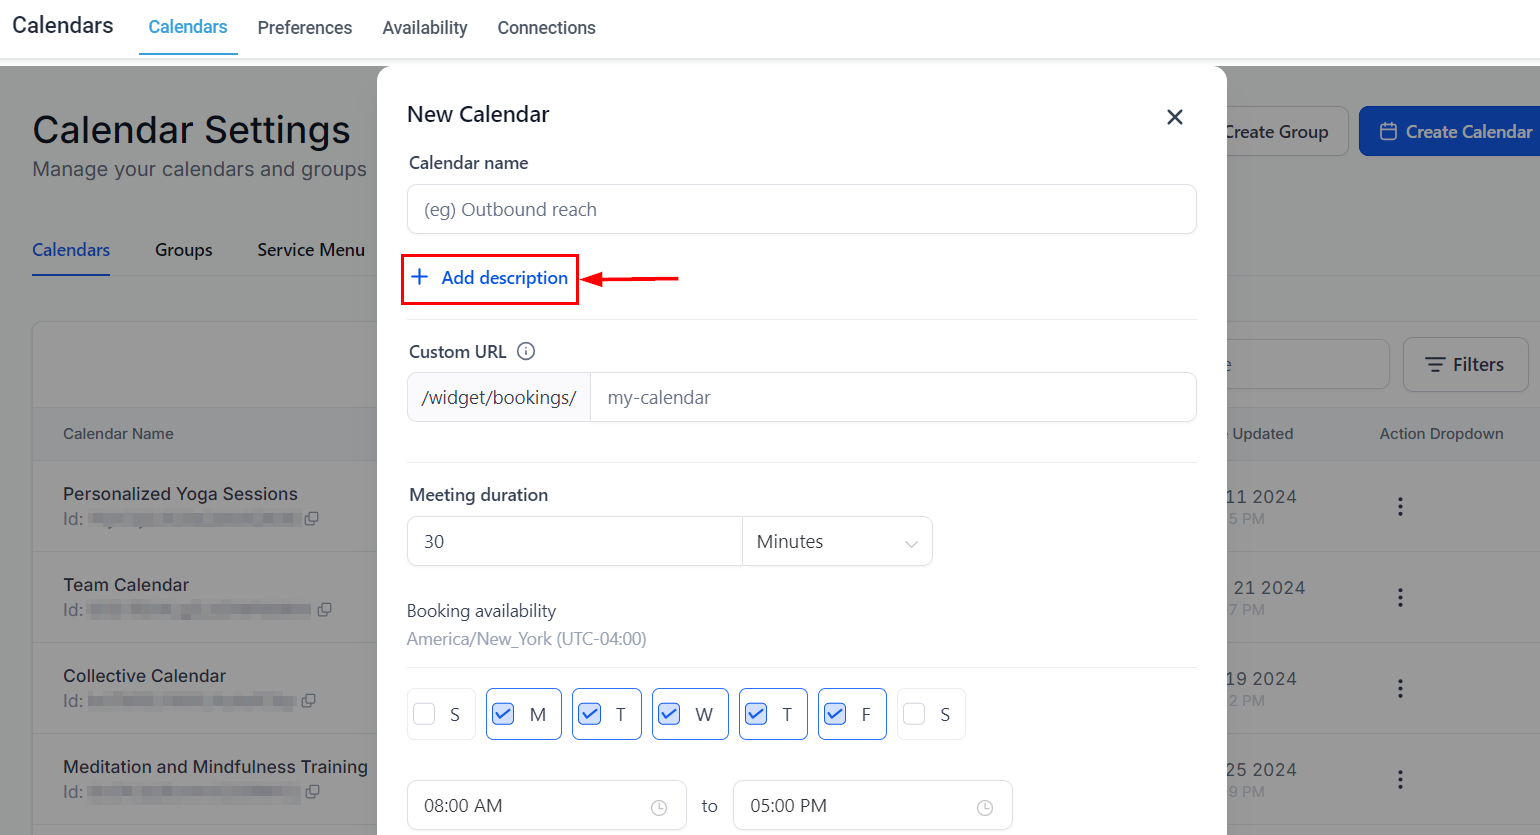
Add a detailed description to clearly outline the purpose and objectives of the appointment, ensuring that all participants understand its significance.
Custom URL
Enter a memorable and relevant slug for easy reference.
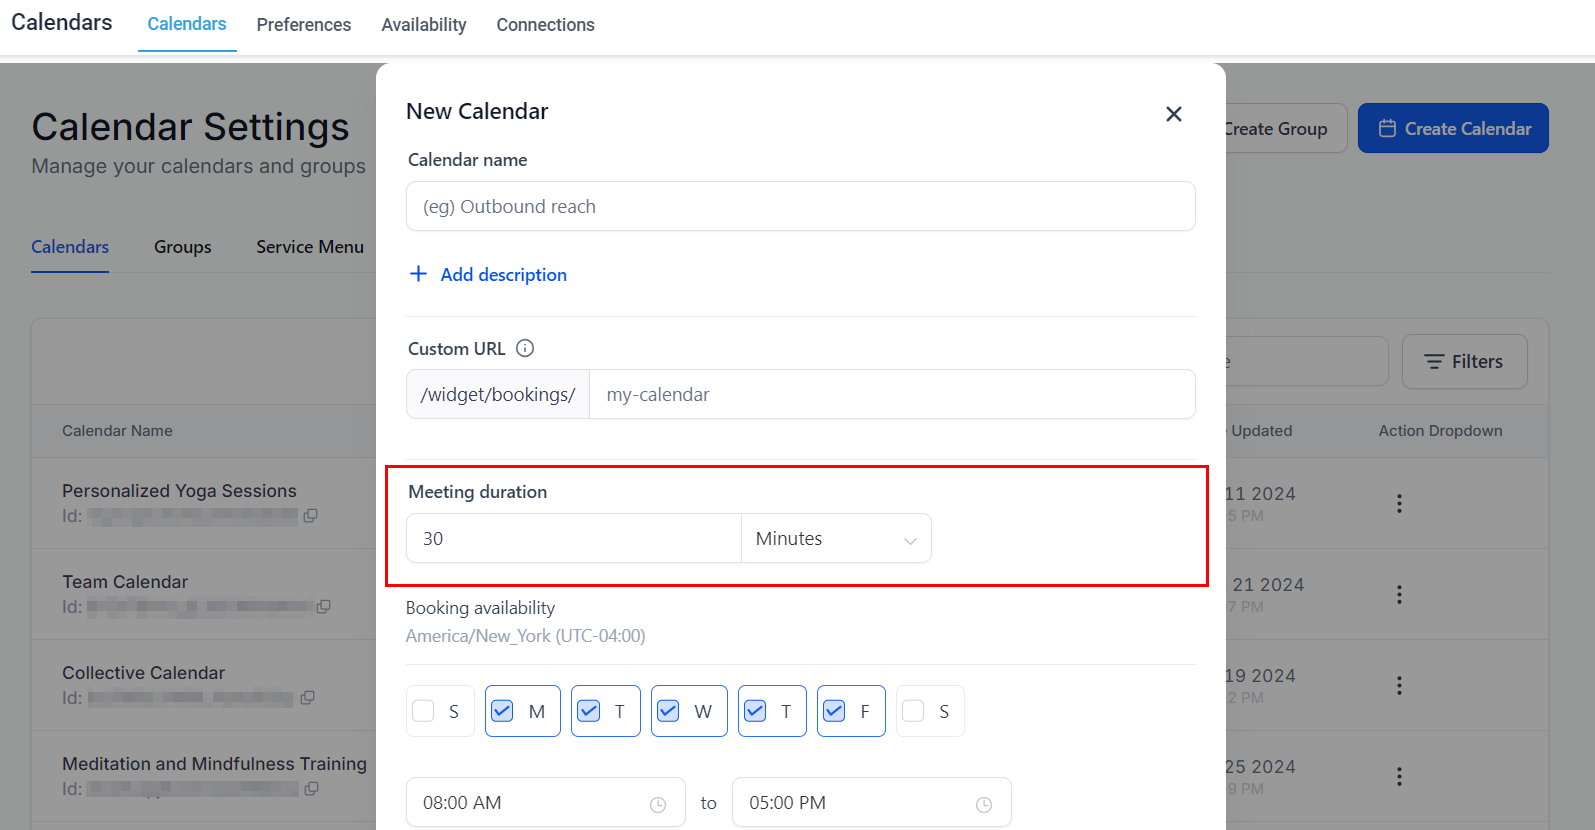
Meeting Duration
Specify the duration for each appointment to ensure proper scheduling and time management.
Booking Availability
Set the specific days and time slots during which appointments can be scheduled.
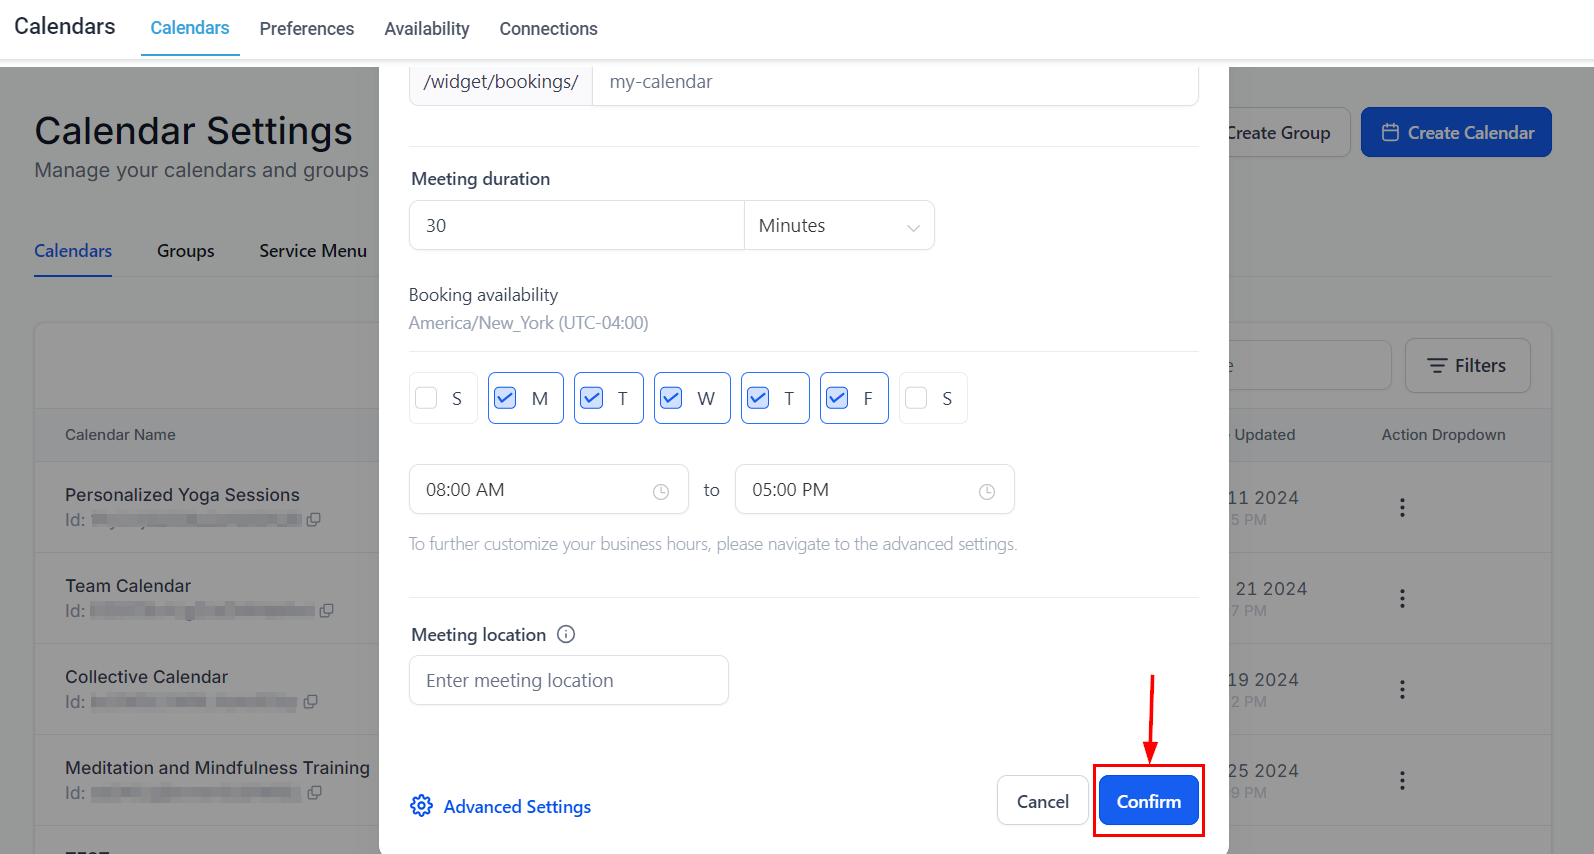
Meeting Location
Indicate the location or platform where the appointments will be conducted, such as a physical address, virtual meeting link, or phone call.
Confirm
To immediately save your calendar configurations, click the Confirm button.
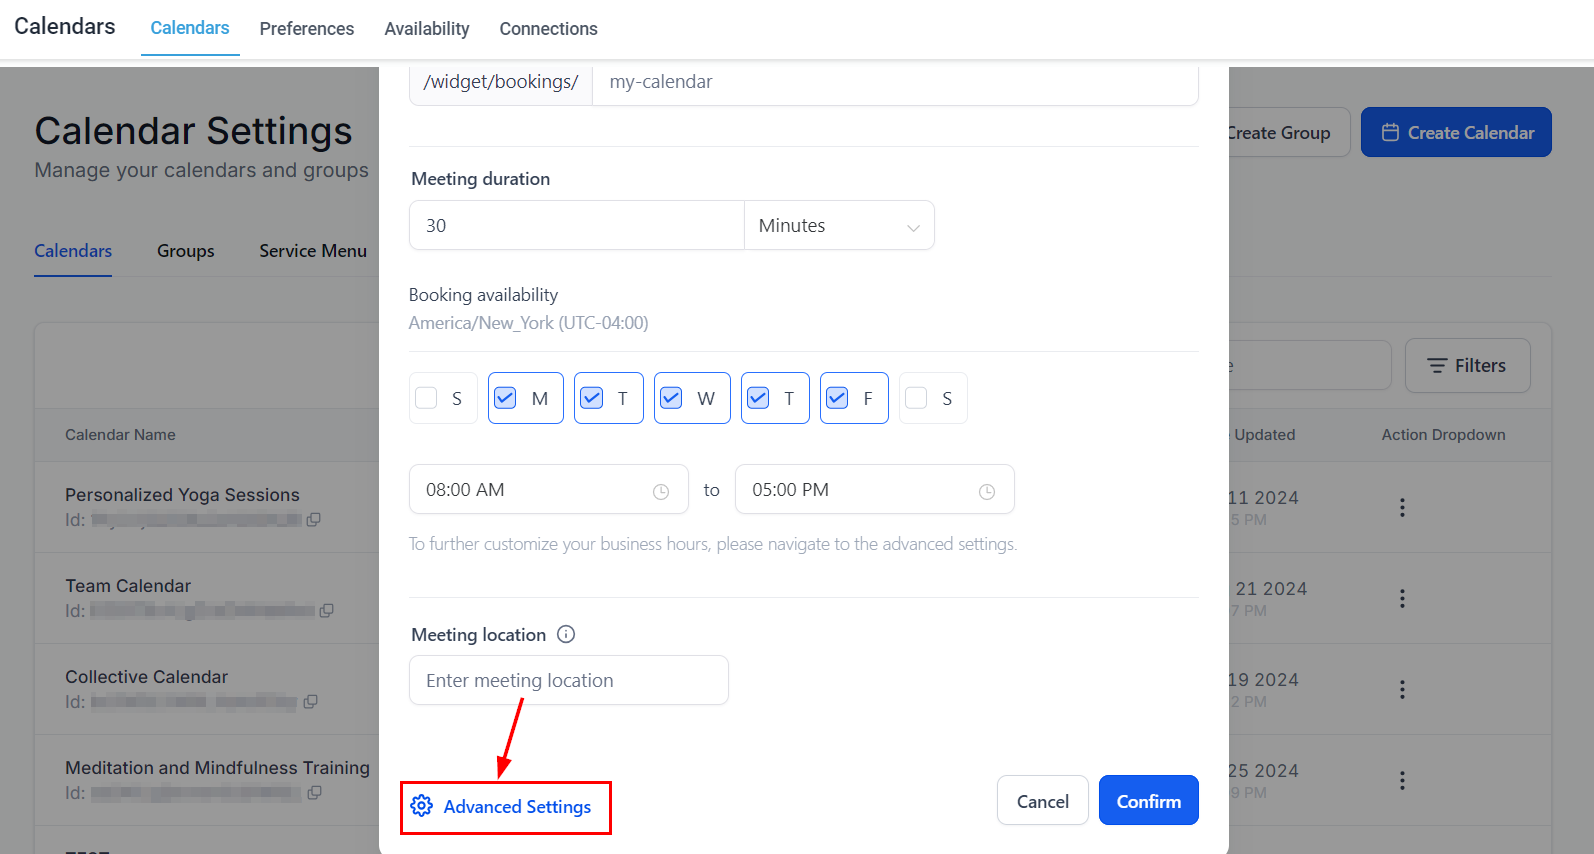
Advanced Settings
Alternatively, you can navigate to the Advanced Settings of the calendar for more detailed customization options.
The Advanced Settings involves six key steps:
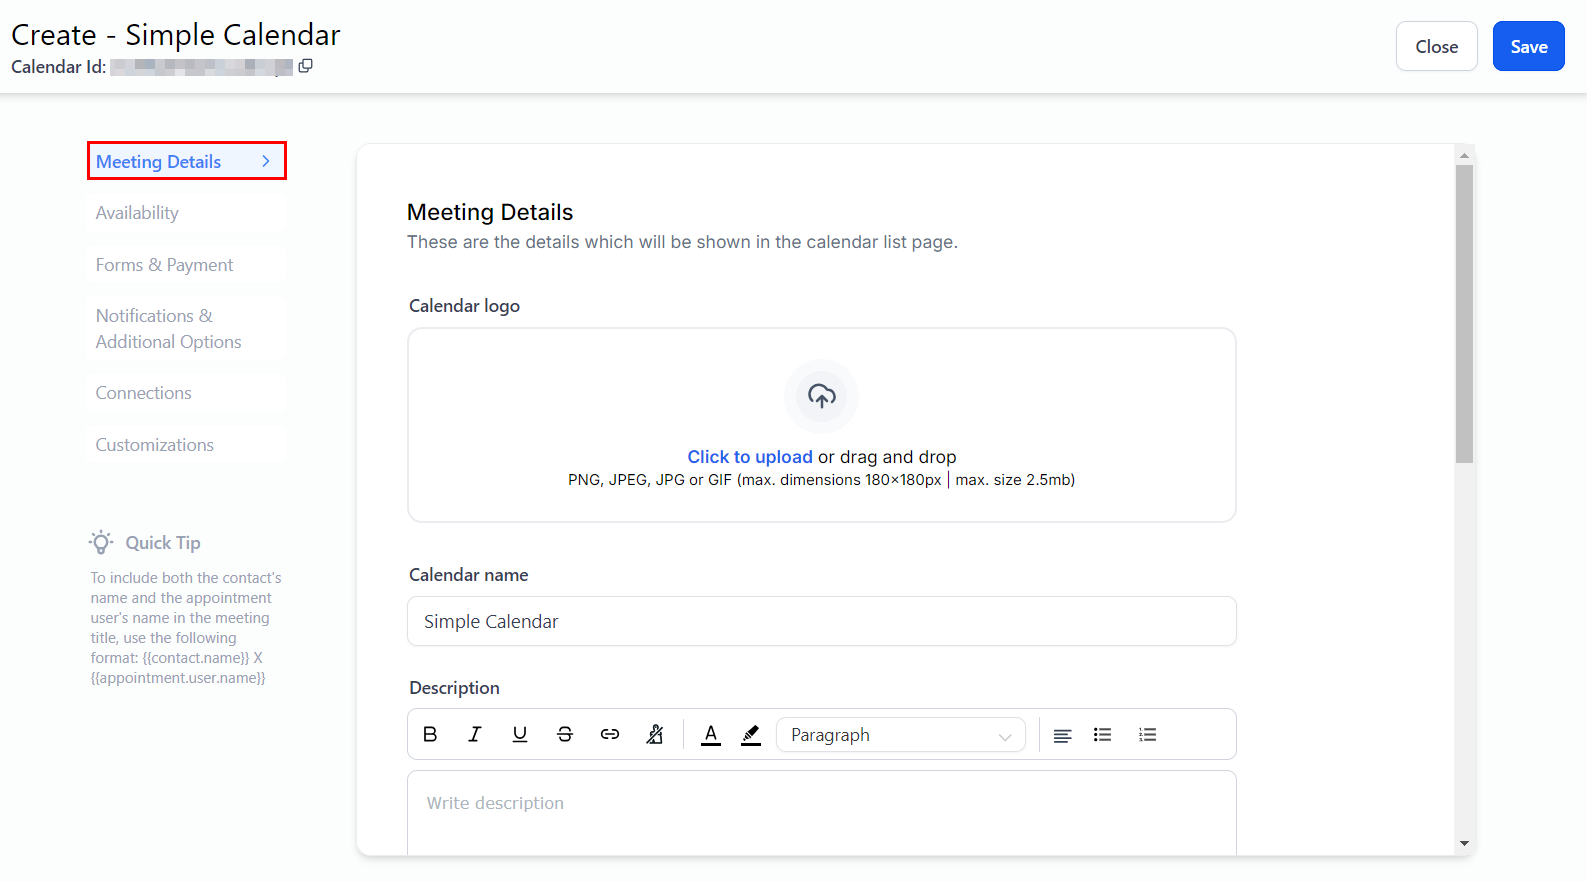
Step 1: Meeting Details
The Meeting Details section allows you to enhance the design and functionality of the Calendar List page by adding important details such as the name, description, and meeting location of your appointments.
Calendar Logo: Upload the image to be displayed in the Calendar List Page.
Calendar Name: Adjust the name of the calendar if required.
Description: Provide additional details about the calendar's subject, visible to those scheduling appointments.
Group: Add the Calendar to a Calendar Group by selecting the respective group from the dropdown.
Custom URL: Adjust the calendar's slug if required.
Meeting Invite Title: The title will appear in your calendar and confirmation emails.
Meeting Location: Manually input the meeting location or use the pre-configured option.
Event Color: Select a color for your calendar's events to help organize meetings.
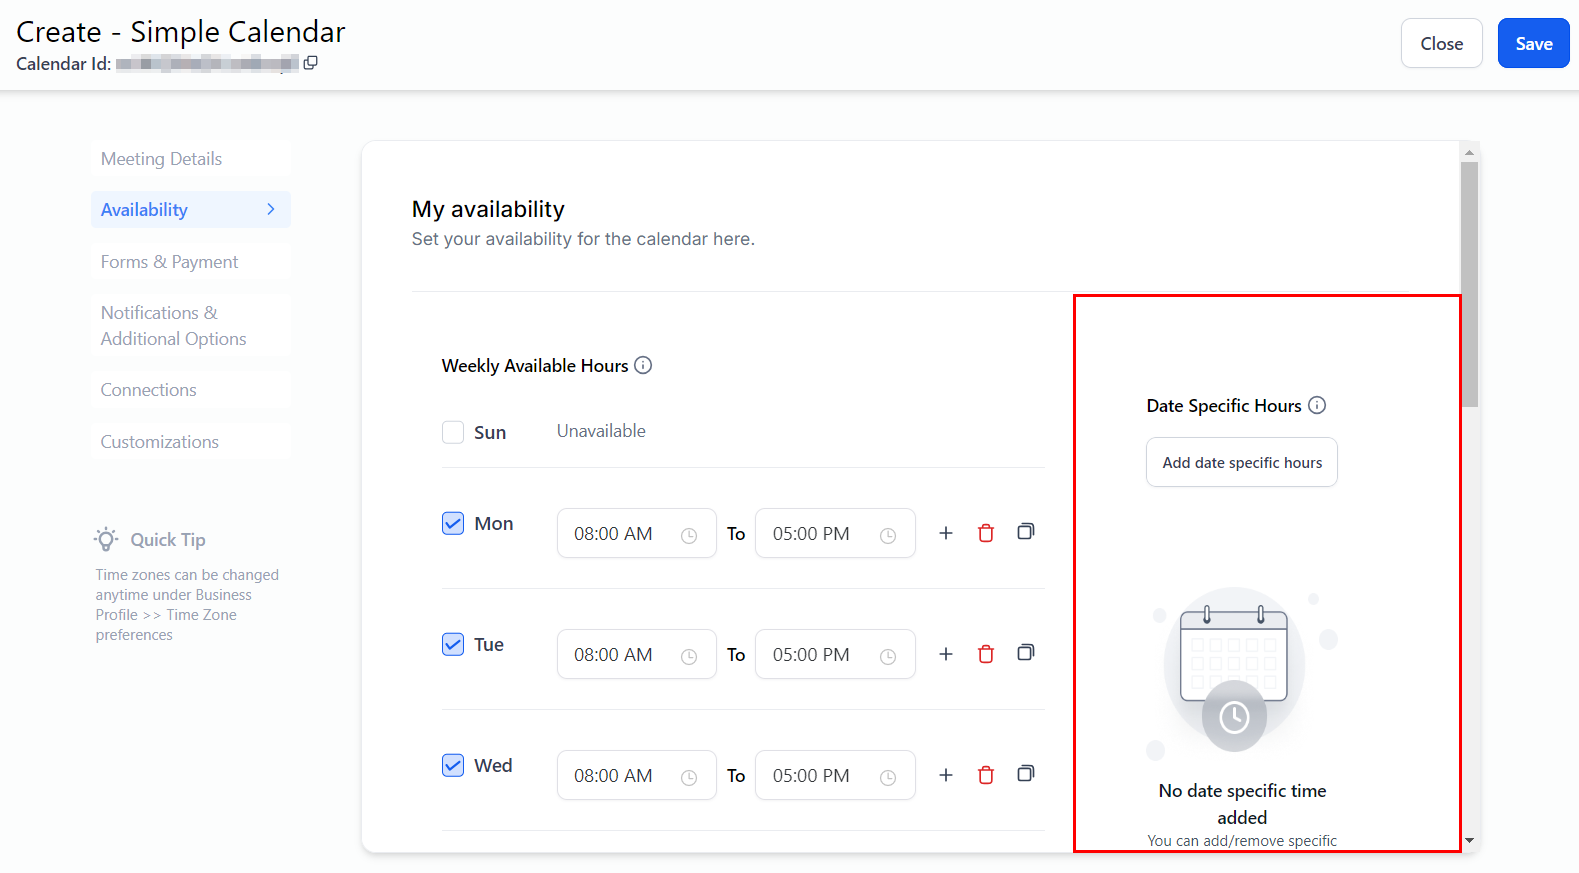
Step 2: Availability
This section manages your calendar's time settings, including the general days and times available for appointments. Here, you can configure the schedule for recurring meetings and adjust settings for when appointment slots are open for booking.
Weekly Available Hours
Select the boxes beside the dates to indicate that the days are available for booking. Then, set the corresponding time slots.
Date Specific Hours
Add the specific hours for dates with an irregular schedule.
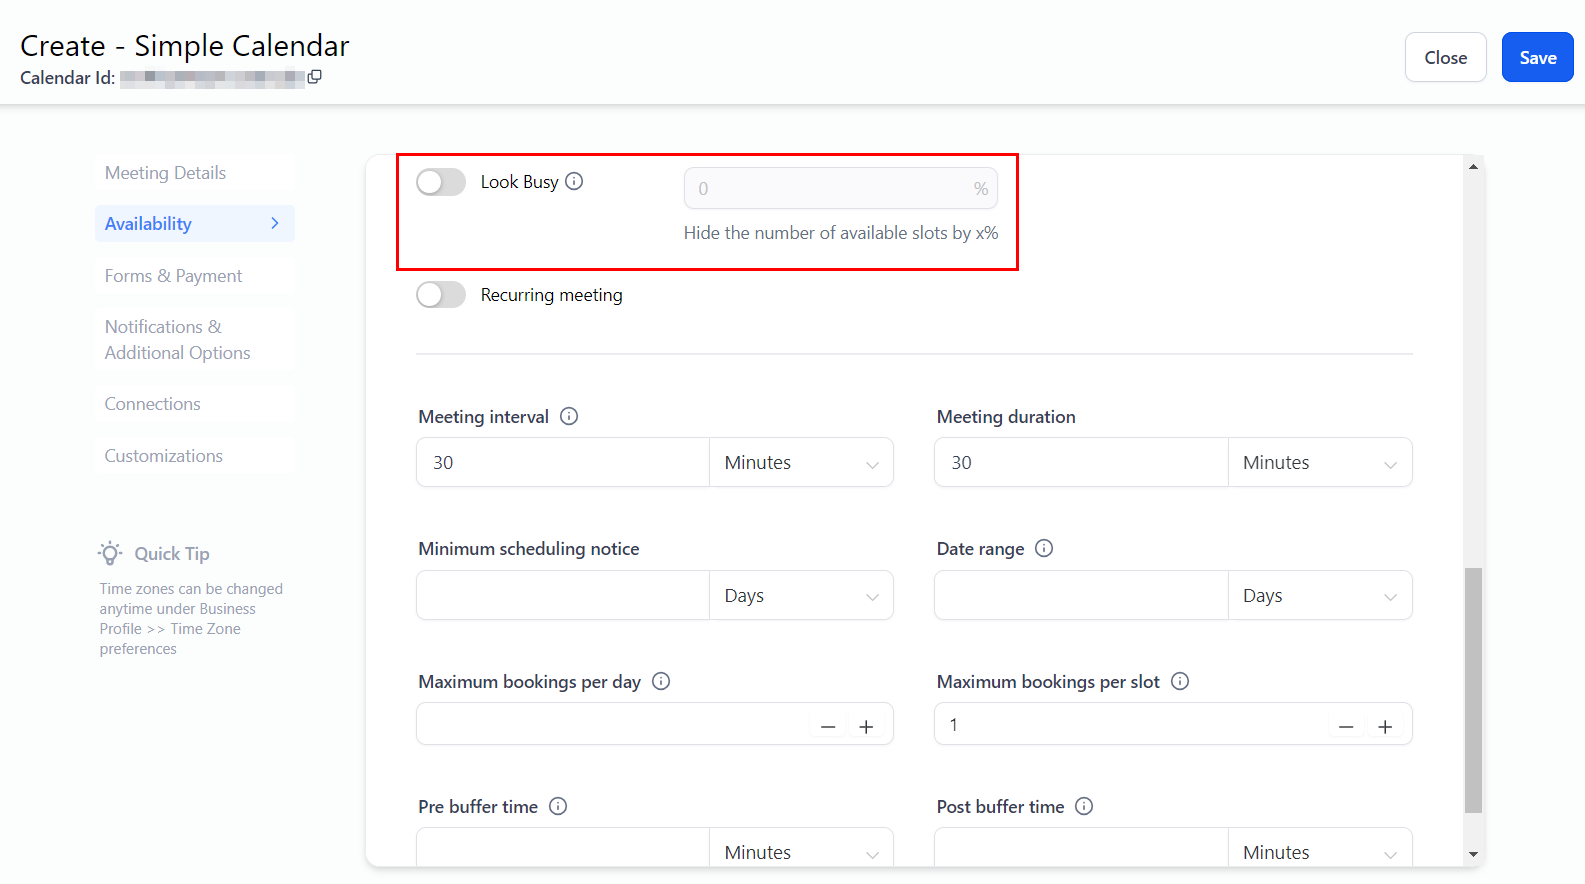
Look Busy
When you activate the "Look Busy" feature, you can define a percentage of time slots to conceal from your overall availability. This percentage is then randomly hidden from the scheduling widget. As new appointments are booked, the visible slots will appear unchanged until the actual number of available slots aligns with what is being shown. Once this occurs, the widget will display only the true remaining available slots.
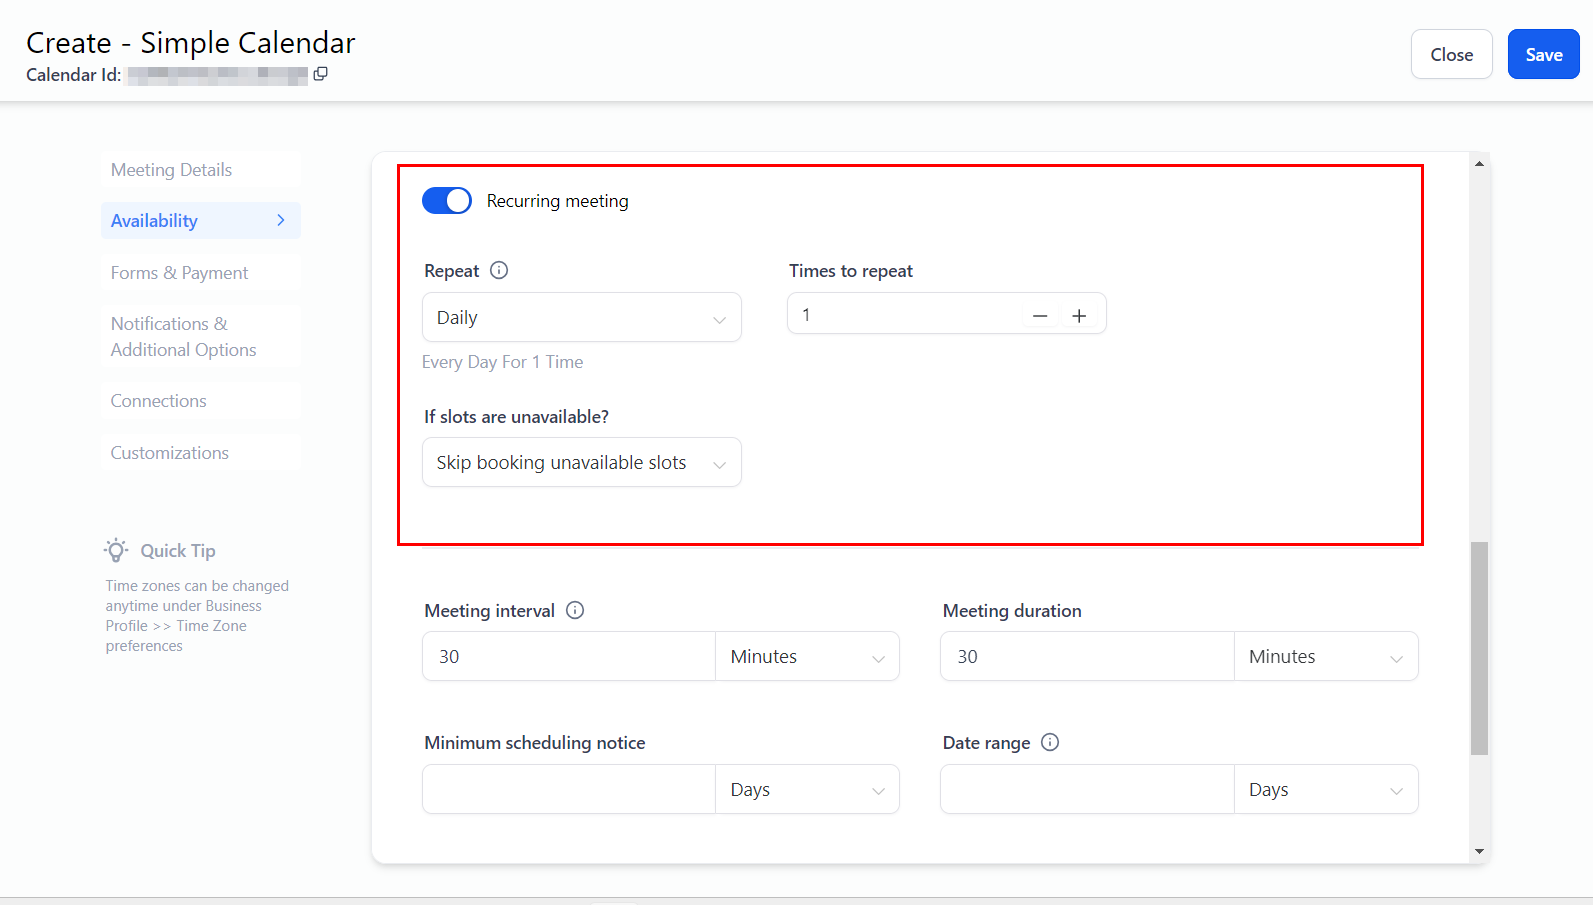
Recurring Meeting
Enable this option for recurring meetings. Set the desired frequency for the appointment and the total number of consecutive occurrences. For time slots that are unavailable, you can choose to skip those slots, reschedule the appointment in the next available slot, or continue booking regardless of availability.
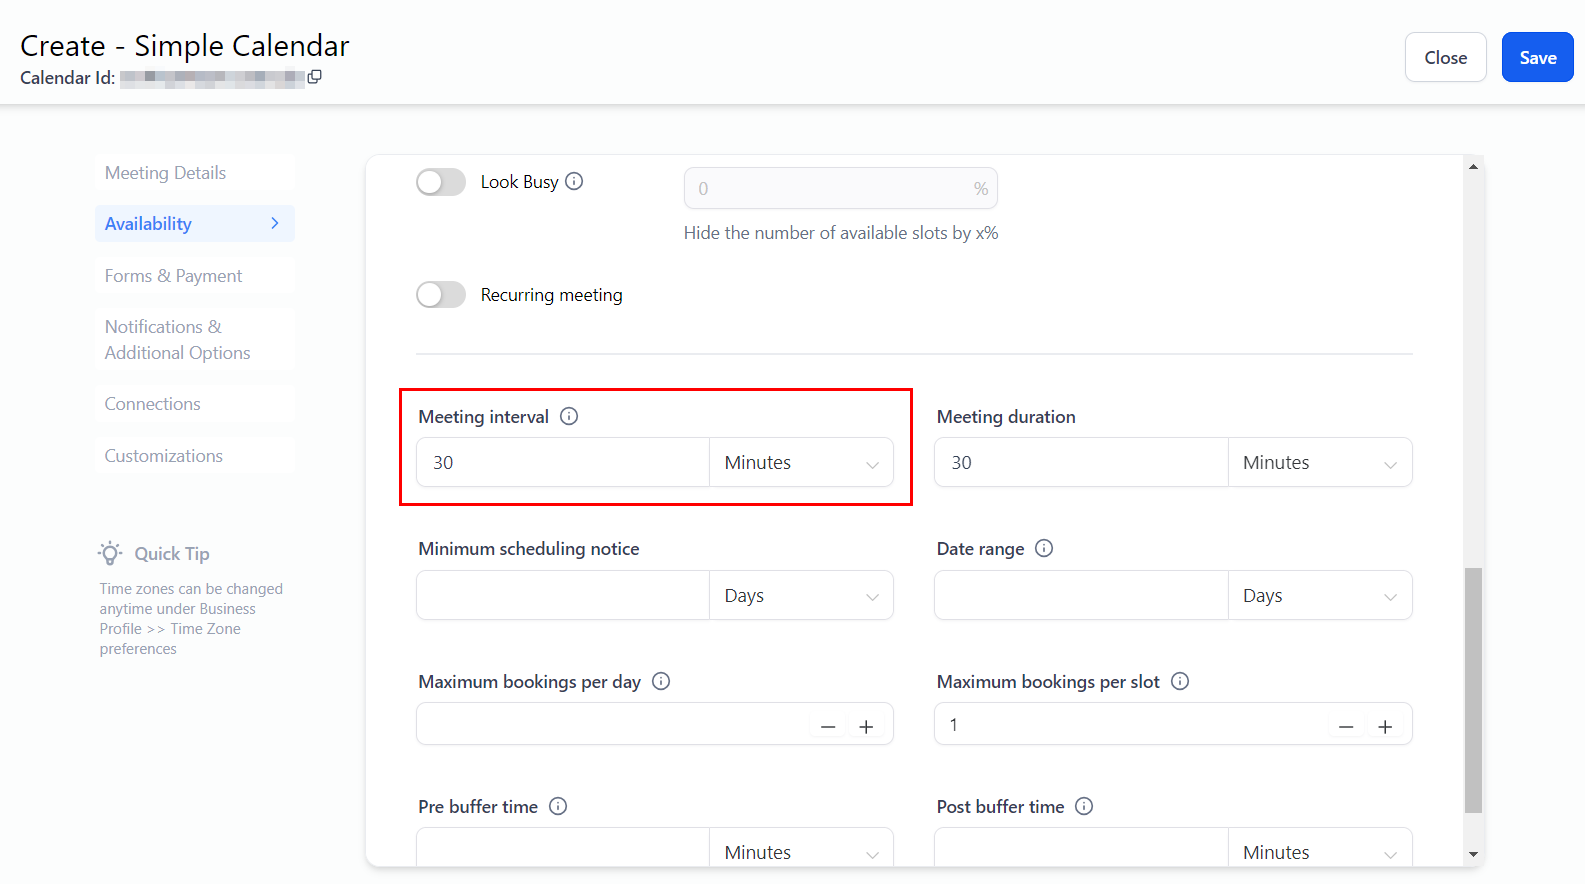
Meeting Interval
This setting determines the interval for available time slots. For instance, if you set a 30-minute interval, available time slots will be displayed every 30 minutes (e.g., 10:00 am, 10:30 am, 11:00 am).
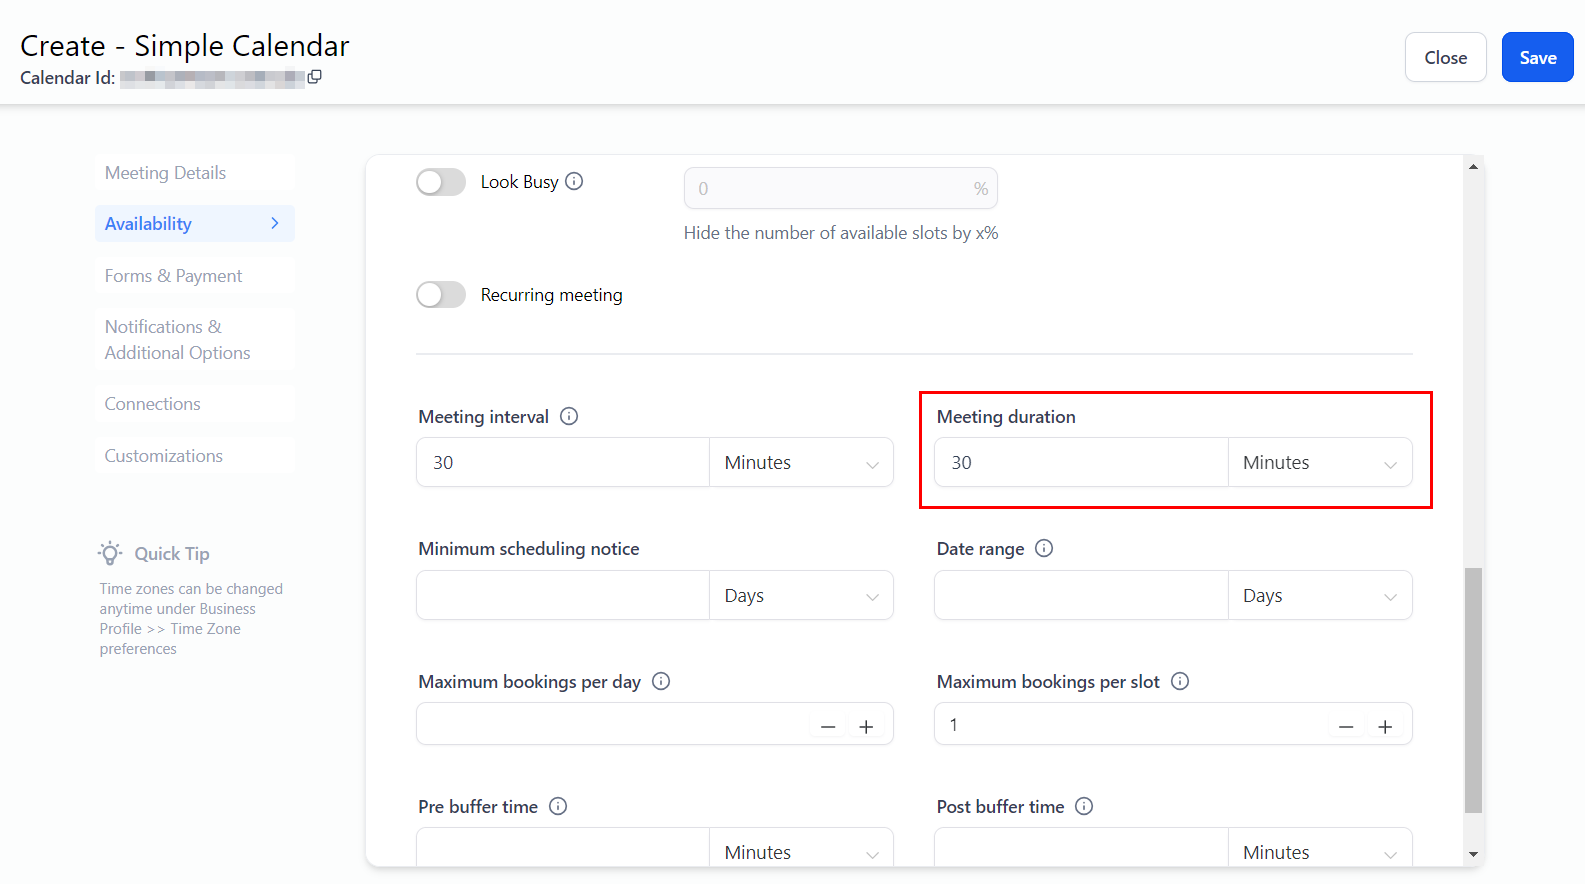
Meeting Duration
The meeting duration feature allows you to define the length of each appointment or meeting. This setting determines how much time will be allocated for each session.
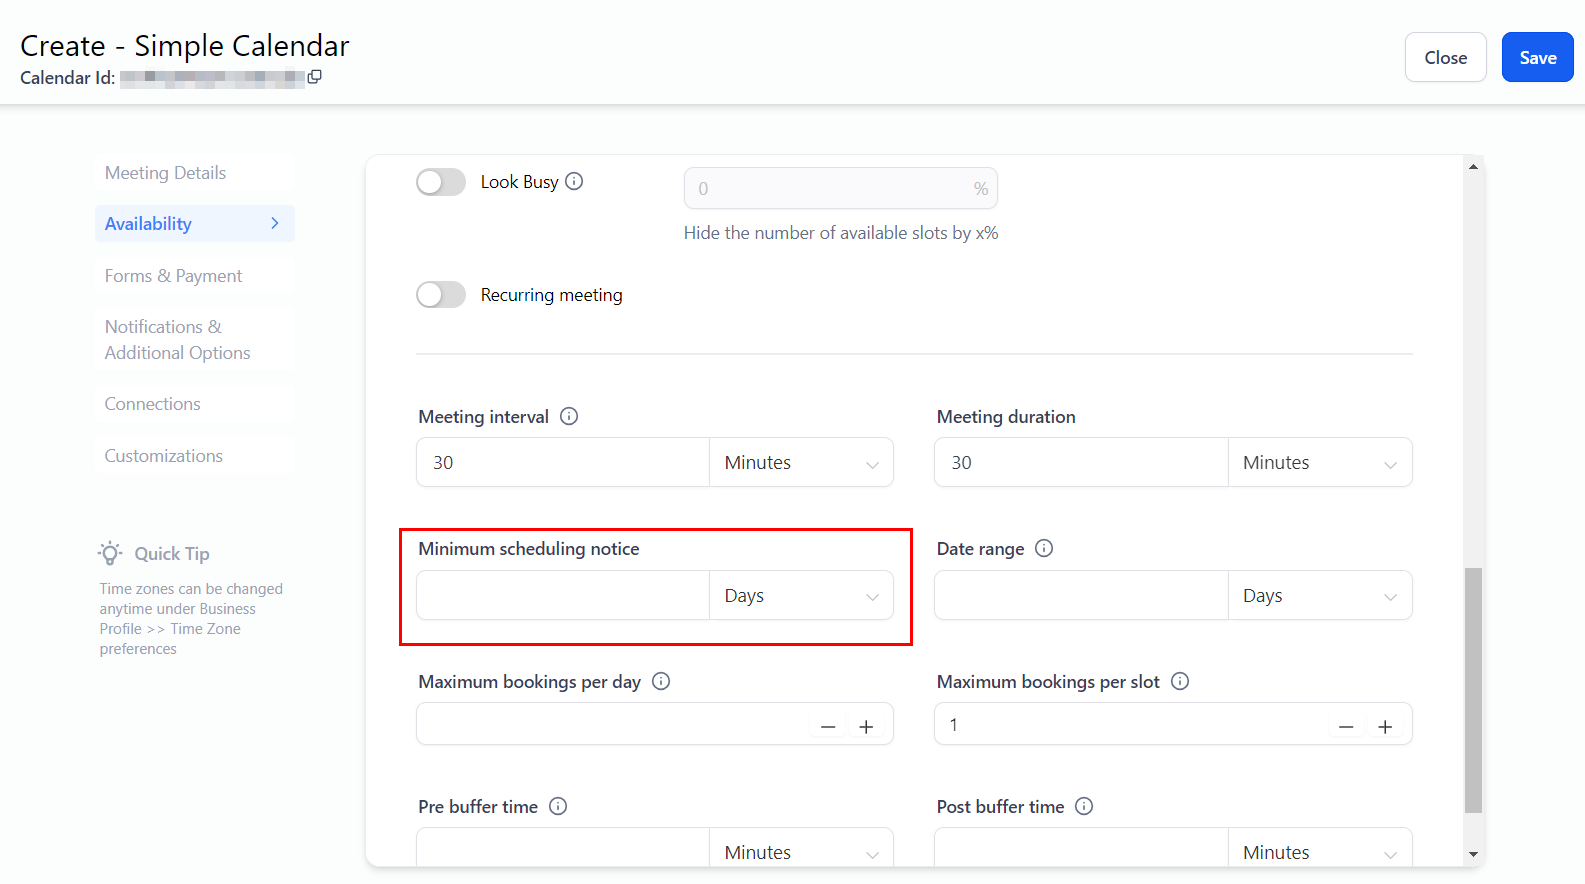
Minimum Scheduling Notice
This setting determines the minimum lead time required for booking appointments in your calendar, helping you avoid unexpected meetings. For instance, if you select a 2-day lead time, no one will be able to book a time slot less than 48 hours in advance.
Date Range
This defines how far in advance an appointment can be scheduled. For example, if you set this to a month, customers can't select a date two months away from the time of booking.
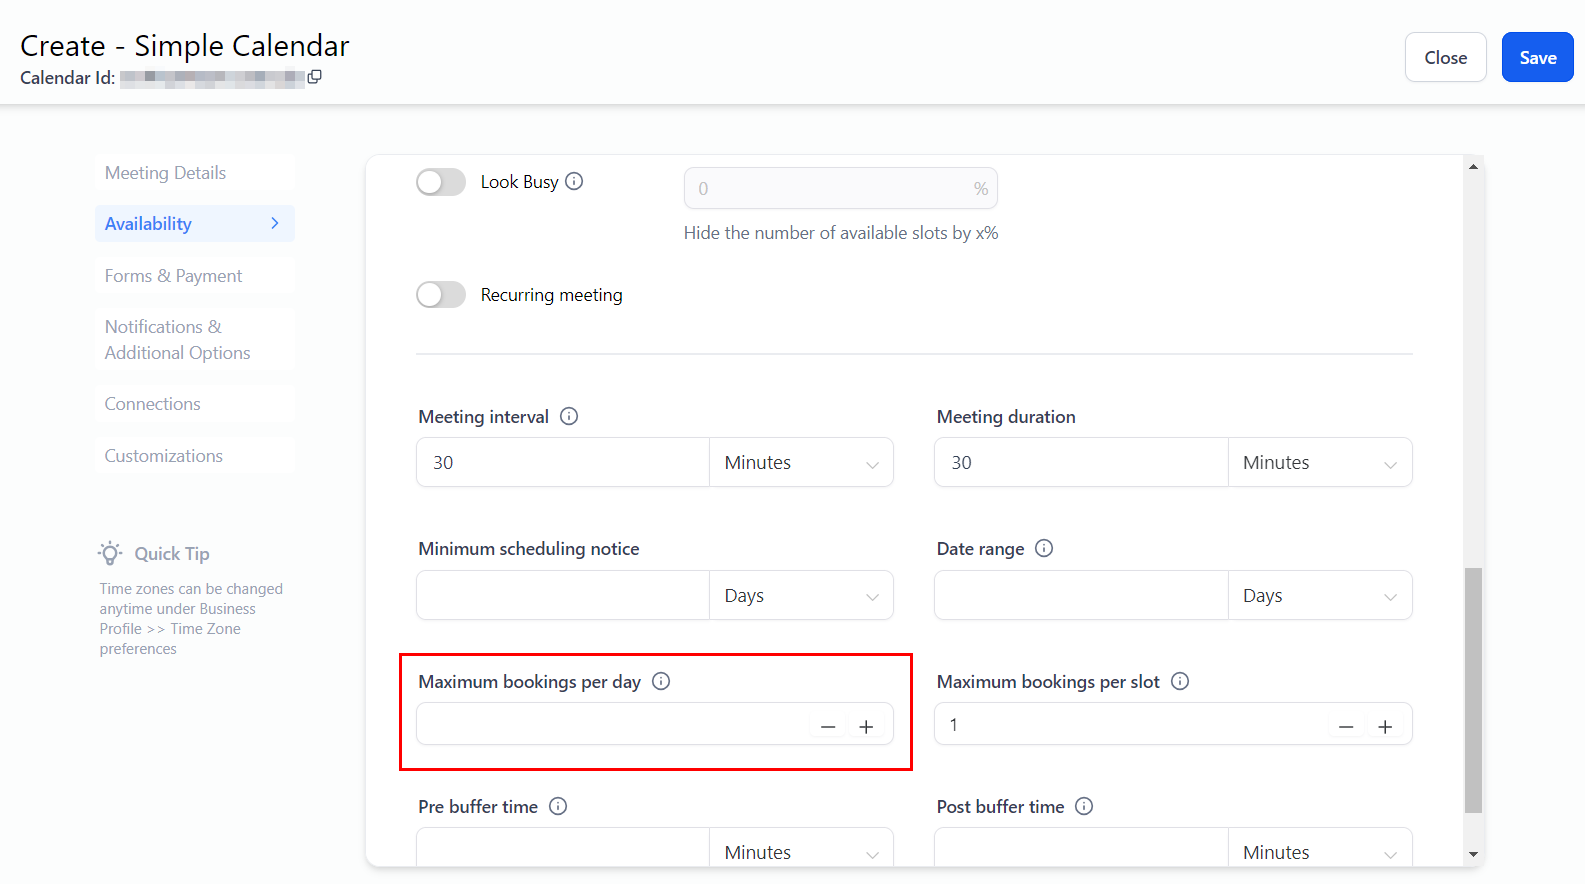
Maximum Bookings Per Day
This setting allows you to specify the maximum number of appointments of this type that can be accommodated in a single day.
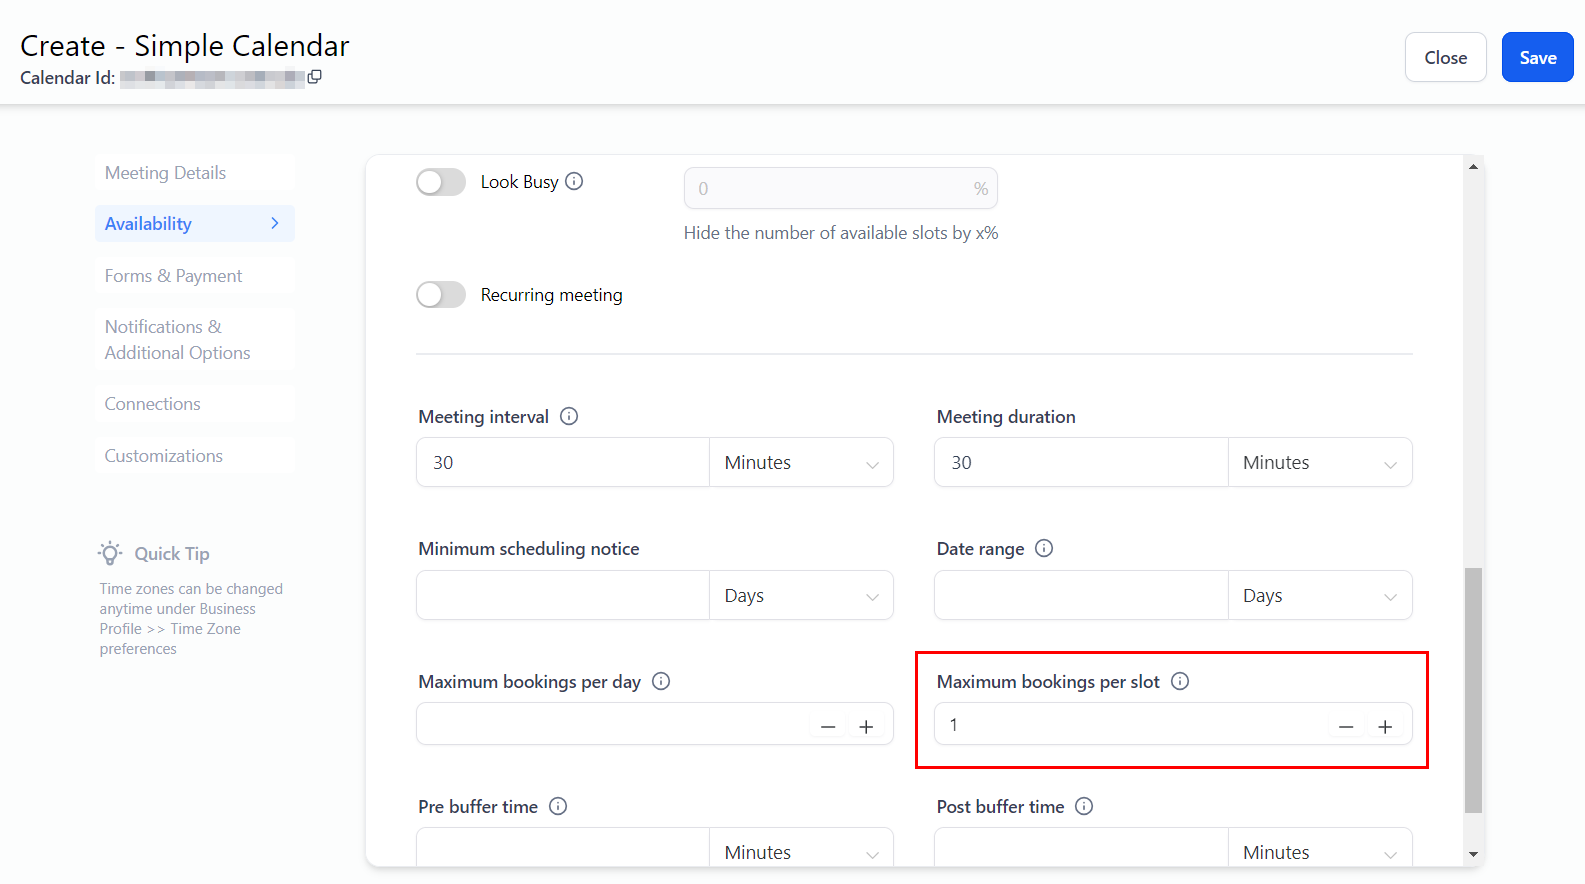
Maximum Bookings Per Slot
This setting allows you to specify the maximum number of appointments that can be accommodated in a single slot.
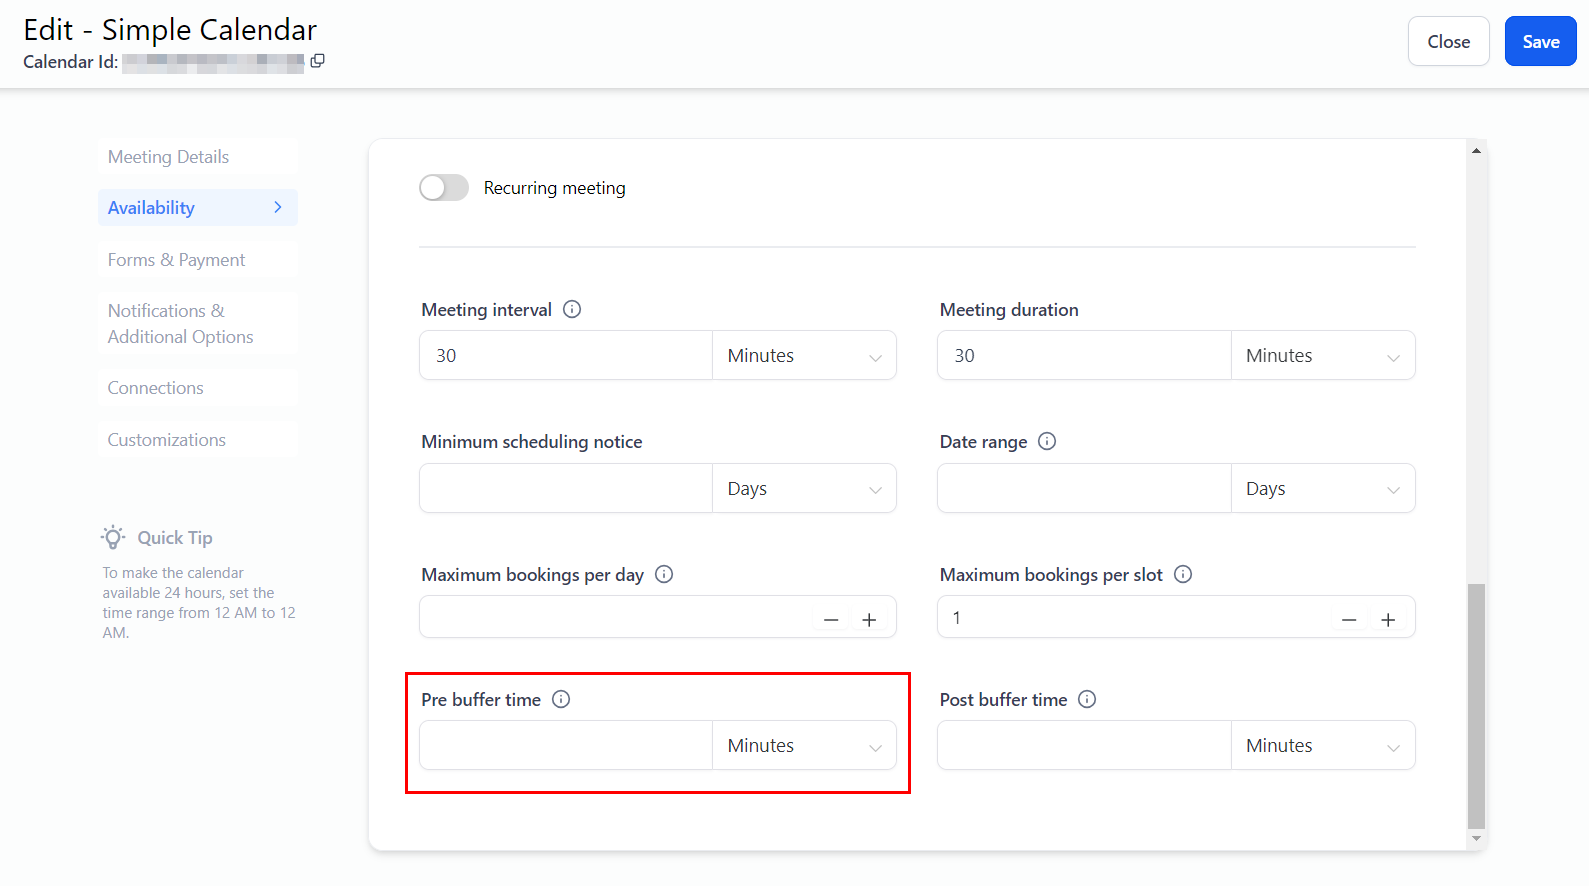
Pre-buffer Time
Pre-buffer refers to the additional time allocated before an appointment, providing extra time to prepare or transition between meetings.
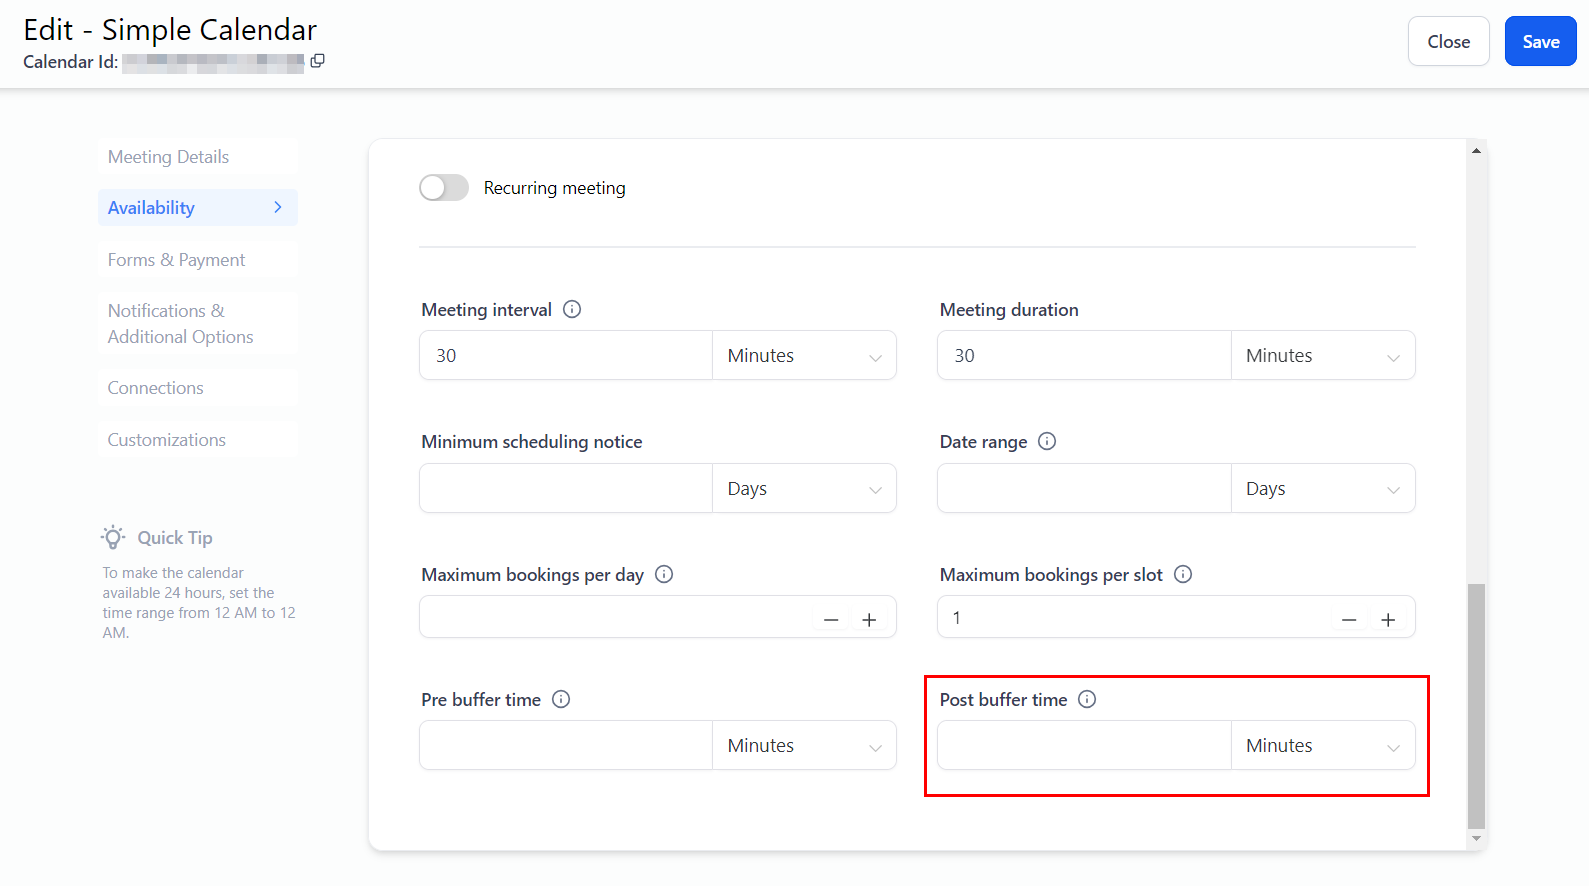
Post-buffer Time
Post-buffer refers to the extra time scheduled after an appointment, offering additional time to conclude tasks or prepare for the next meeting.
Step 3: Forms & Payment
To change the way you collect information about the contact booking the appointment or collect deposits/fees related to the booking use one of the following sections:
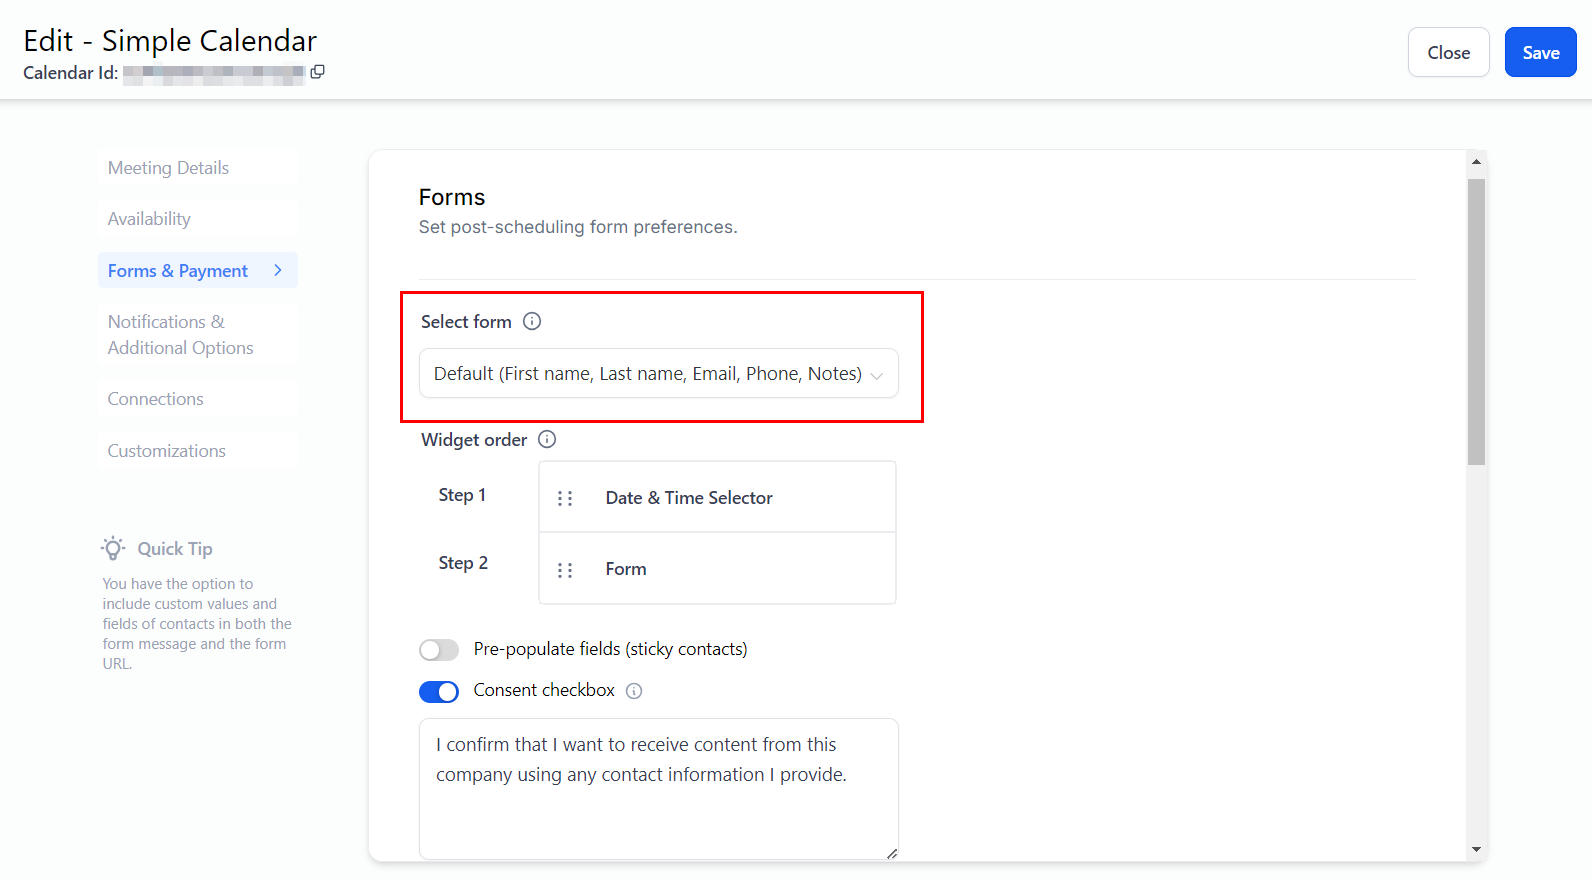
Select Form
Here, you can choose the form this calendar uses to book the appointment from the dropdown menu.
Widget Order
This will set the order in which the contacts fill out the form and book their appointment.
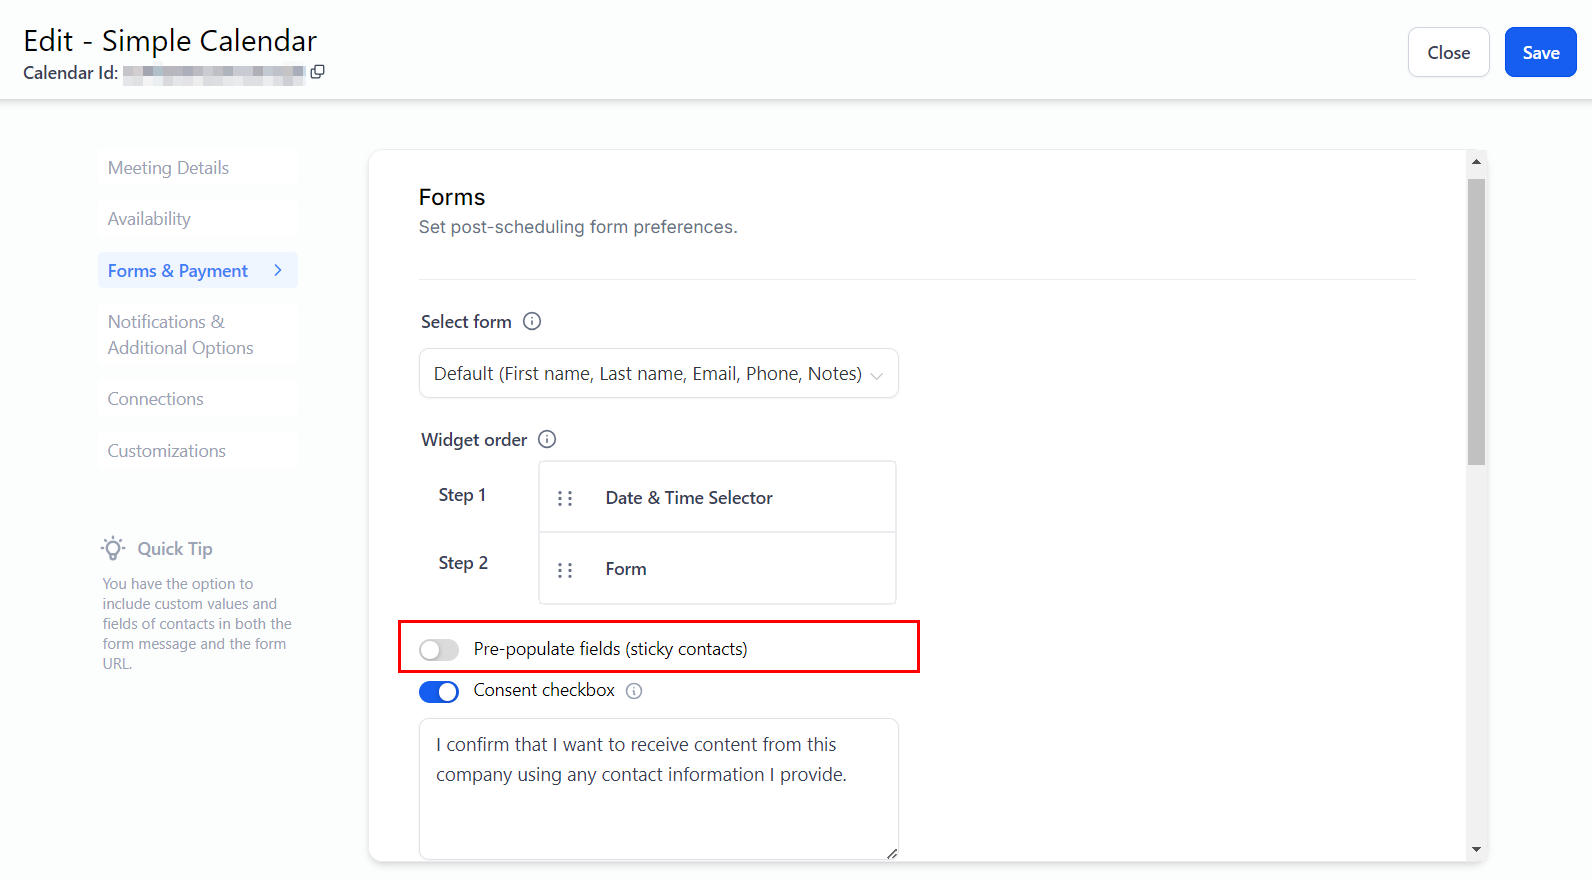
Pre-populate Fields
Also known as sticky contact, this will grab the information of any forms previously filled in that IP address.
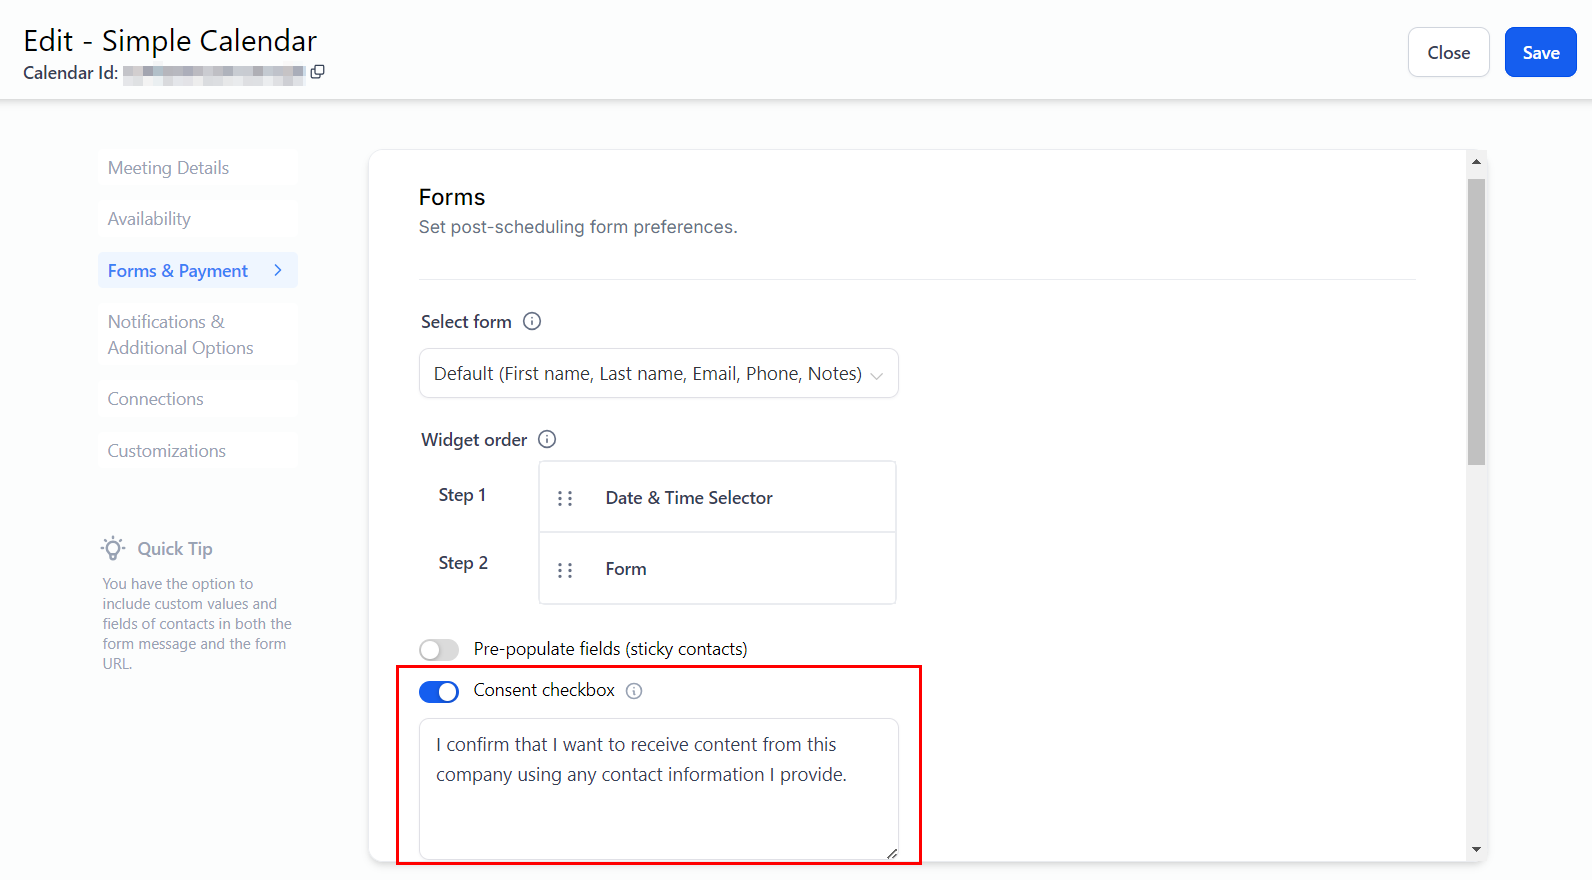
Consent Checkbox
This option enables you to secure consent from clients to be contacted again when they provide their contact information during the appointment booking process.
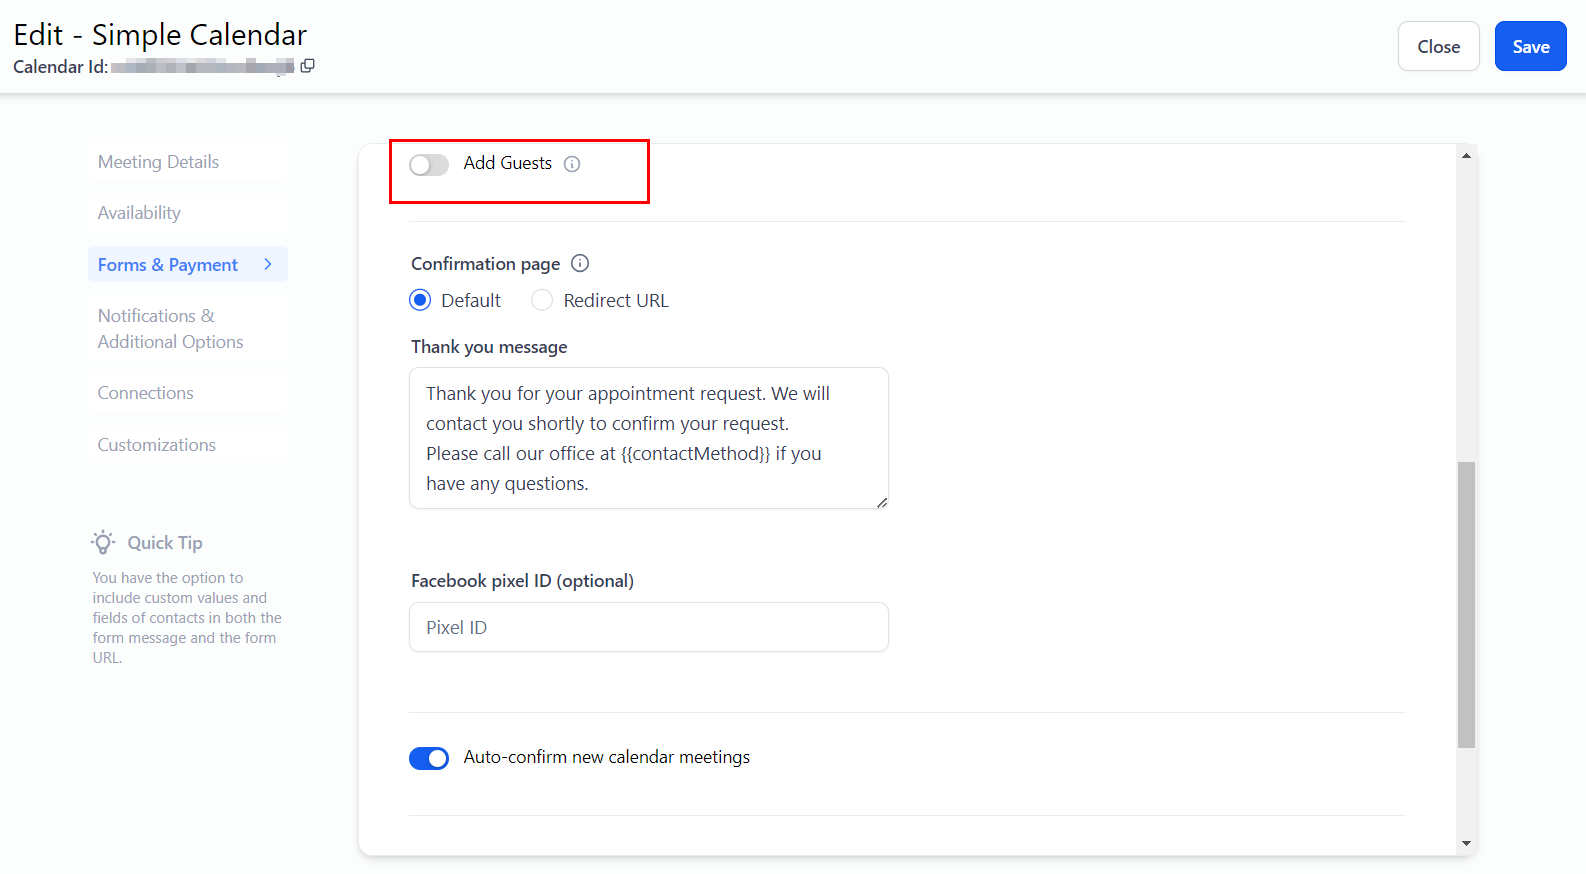
Add Guests
When enabled, this option allows the individual who booked the appointment to send invitations to multiple attendees, enabling them to join the meeting.
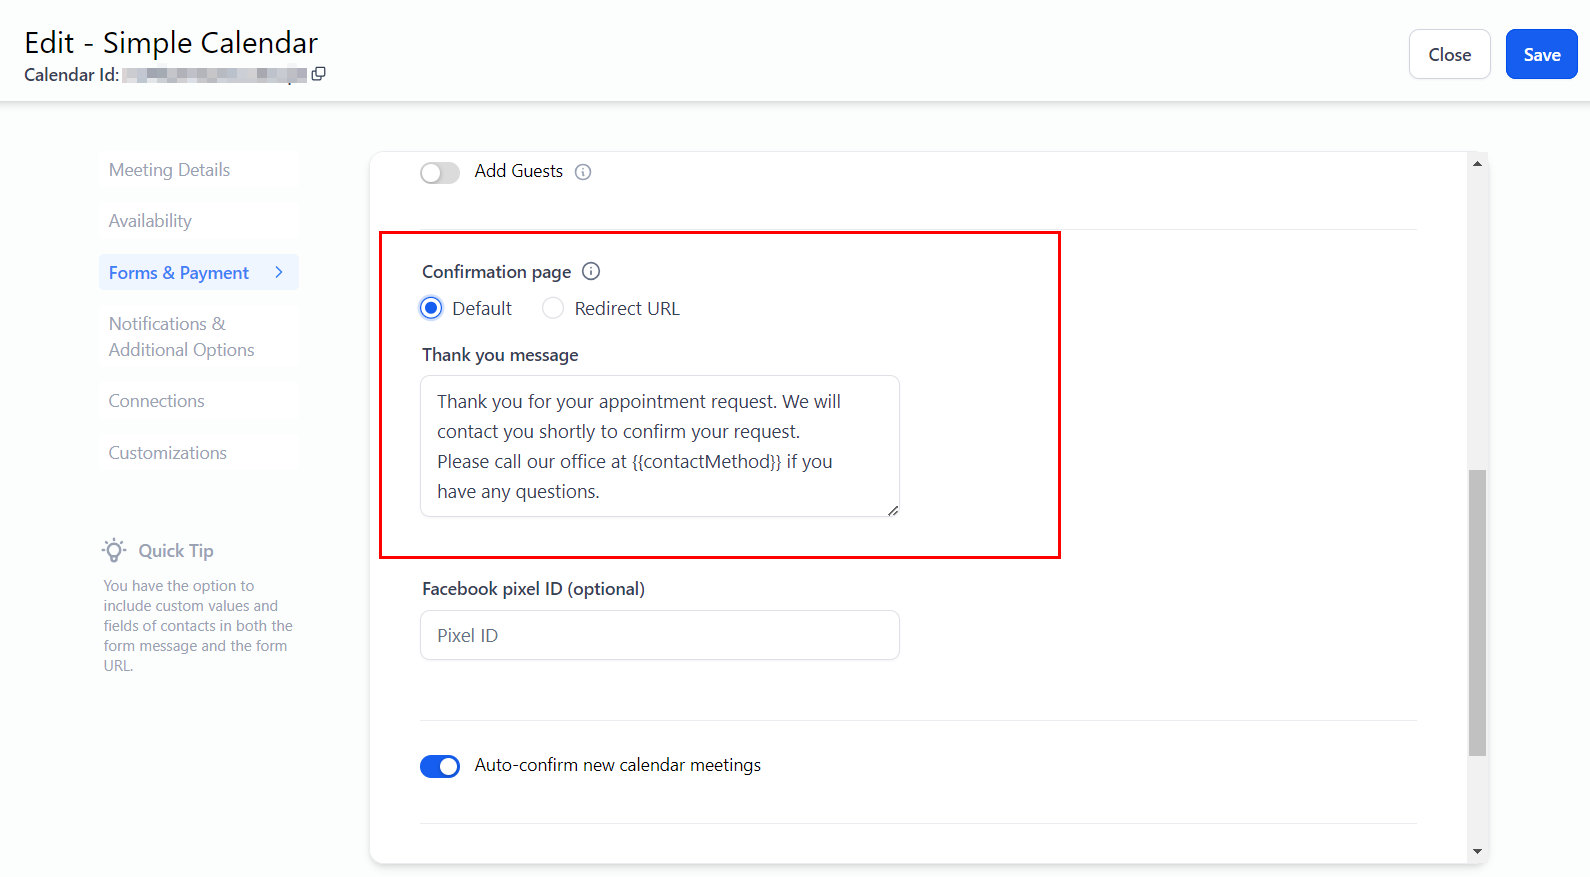
Confirmation Page
This option determines what is displayed after a booking is made. By selecting "Default," you can set a custom message on the same page. Alternatively, by choosing "Redirect URL," you can direct the contact to a website of your choice.
Facebook Pixel ID
To track new appointment bookings with your Facebook Ads Manager add your Facebook Pixel here.
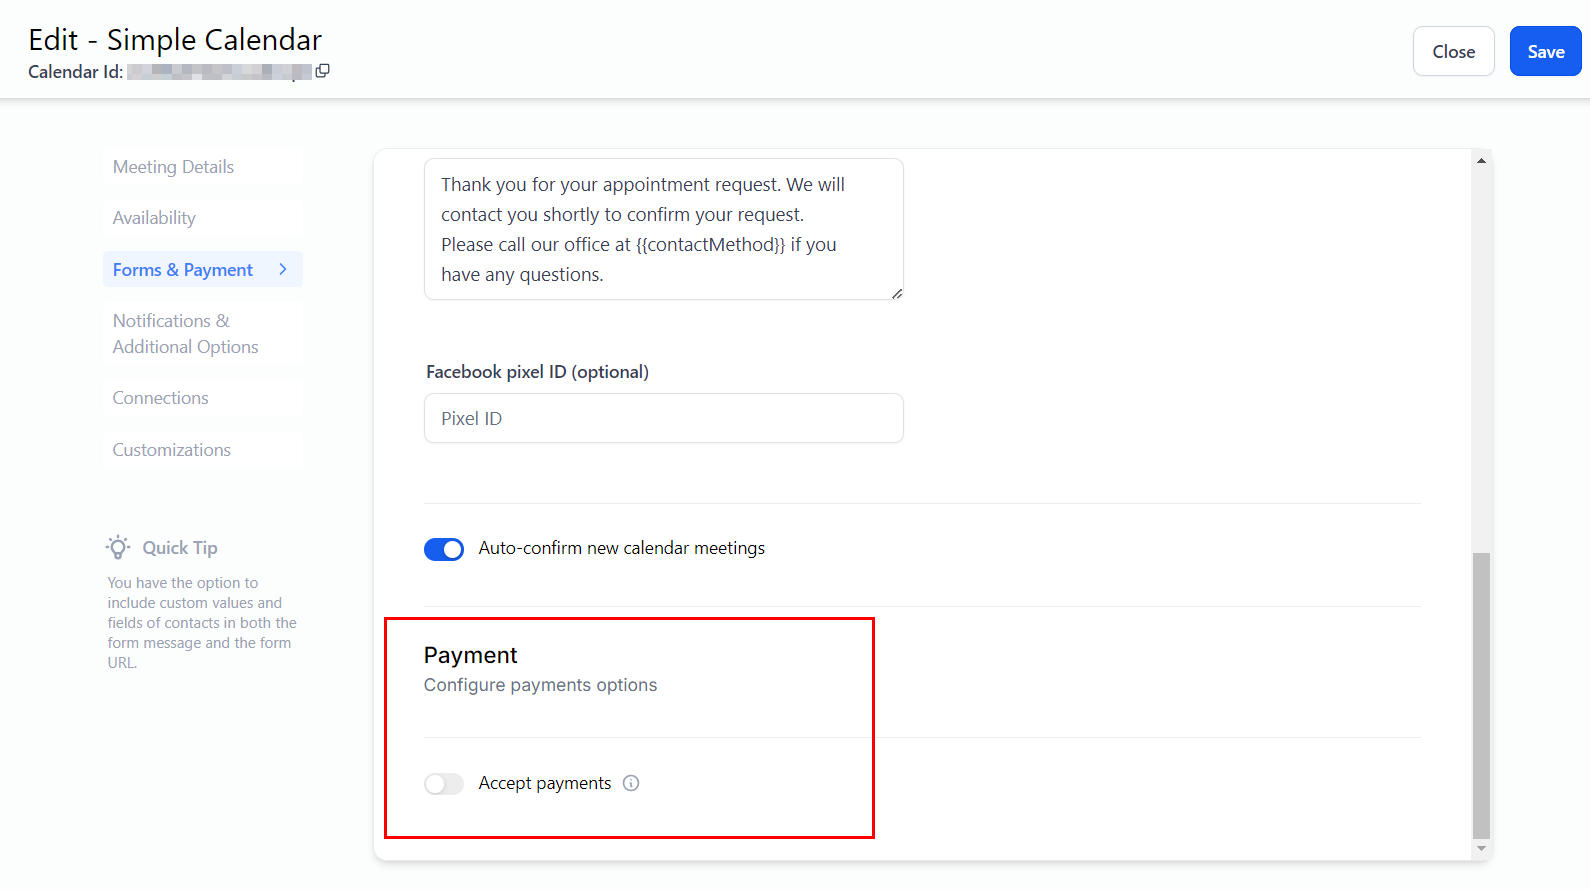
Payment
By enabling this option, you can take payment for the appointment at the moment of booking. To learn more about this section in particular please refer to the article “Add Payments to Appointments”.
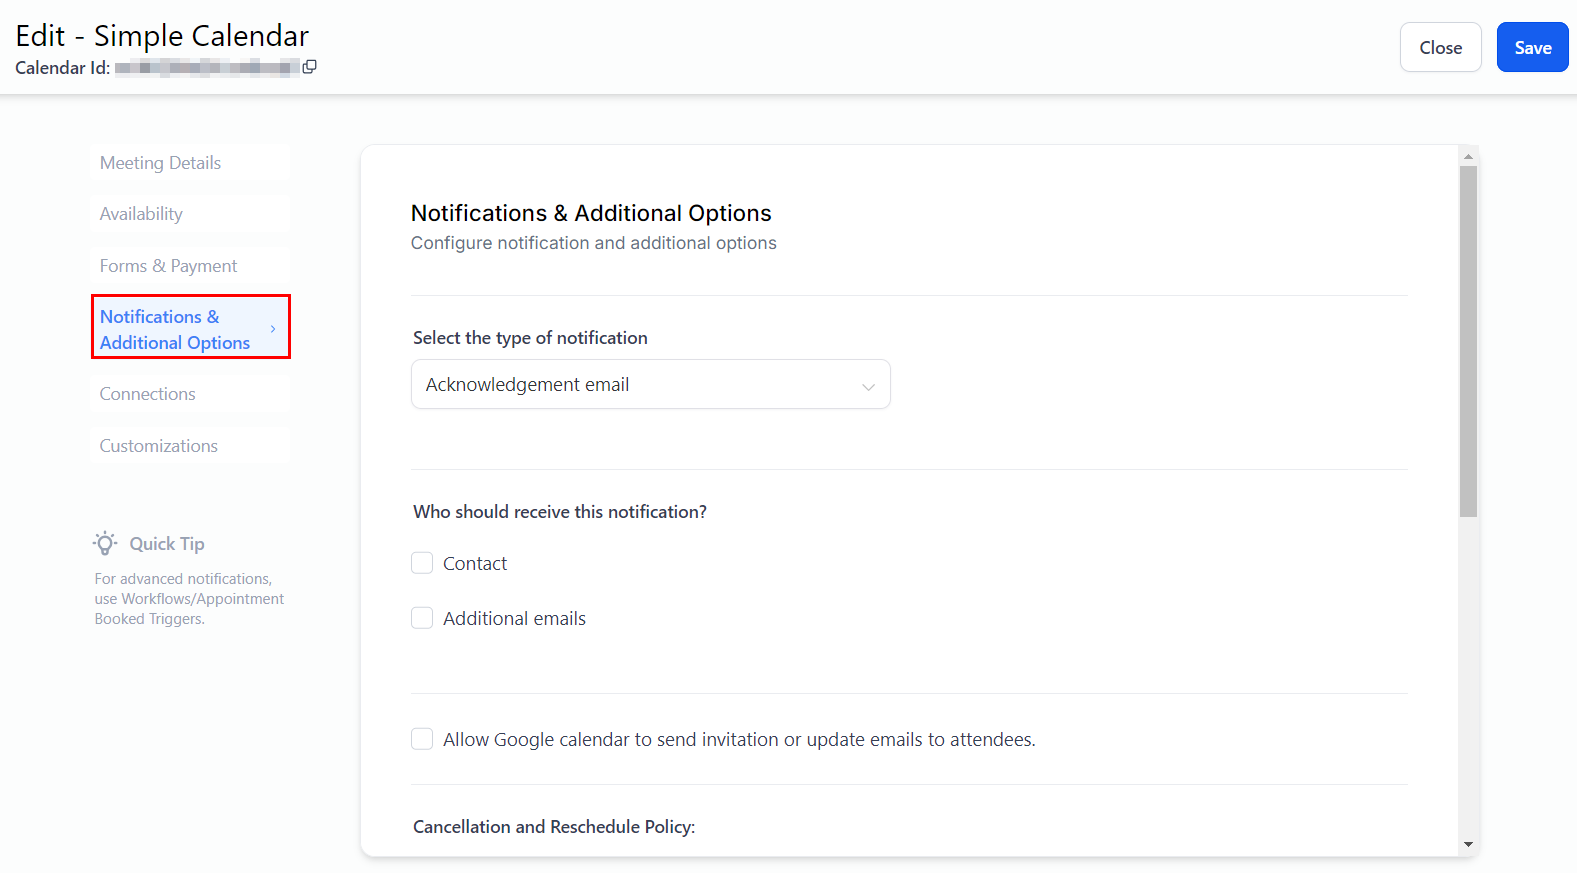
Step 4: Notifications & Additional Options
Within this section, you can set your notification preferences and configure additional options.
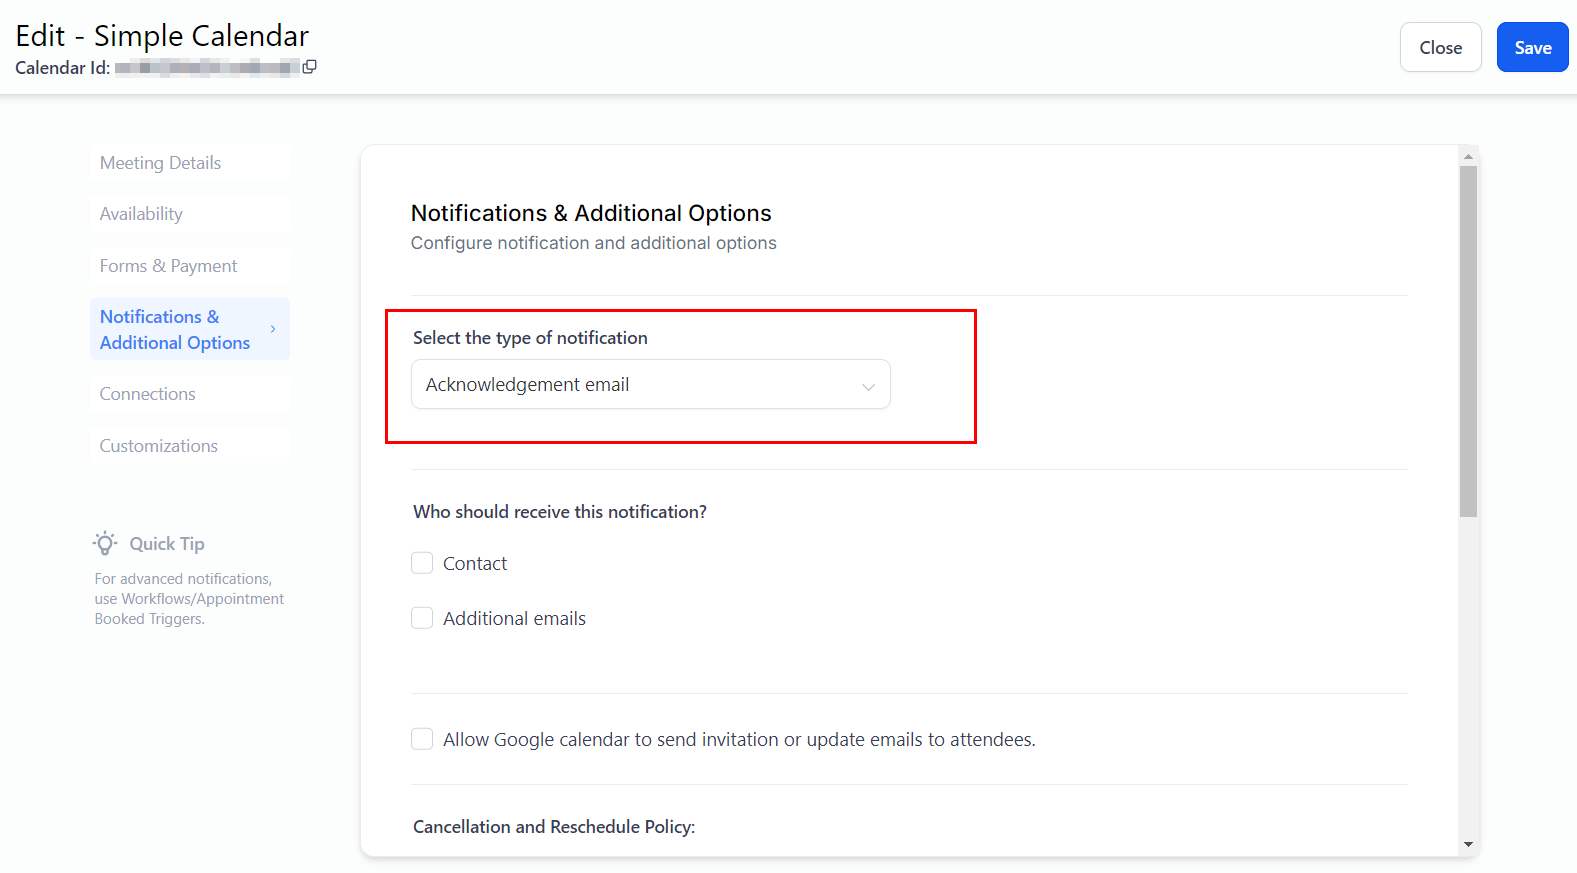
Notification Type
The acknowledgment email will be selected by default. If other options are present, choose how the notification should be sent.
Recipient
Choose whether to send the notification to the contact booking the appointment, or other specified emails.
Google Calendar Invite
By enabling this option, an email notification will be sent whenever you make changes to the appointment if the appointment was scheduled on a Google Calendar.
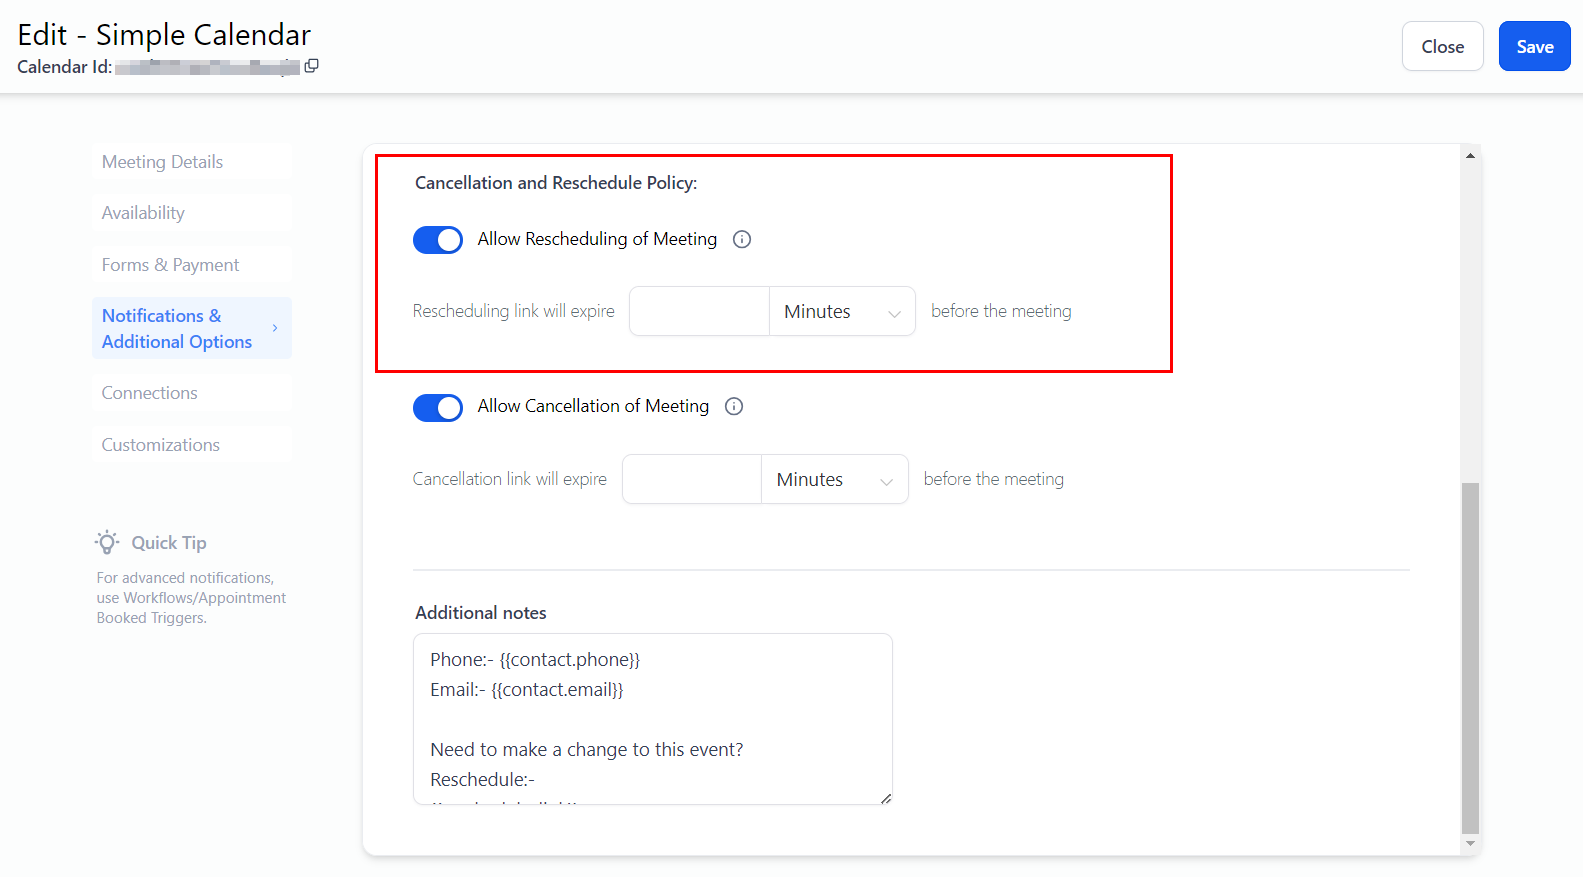
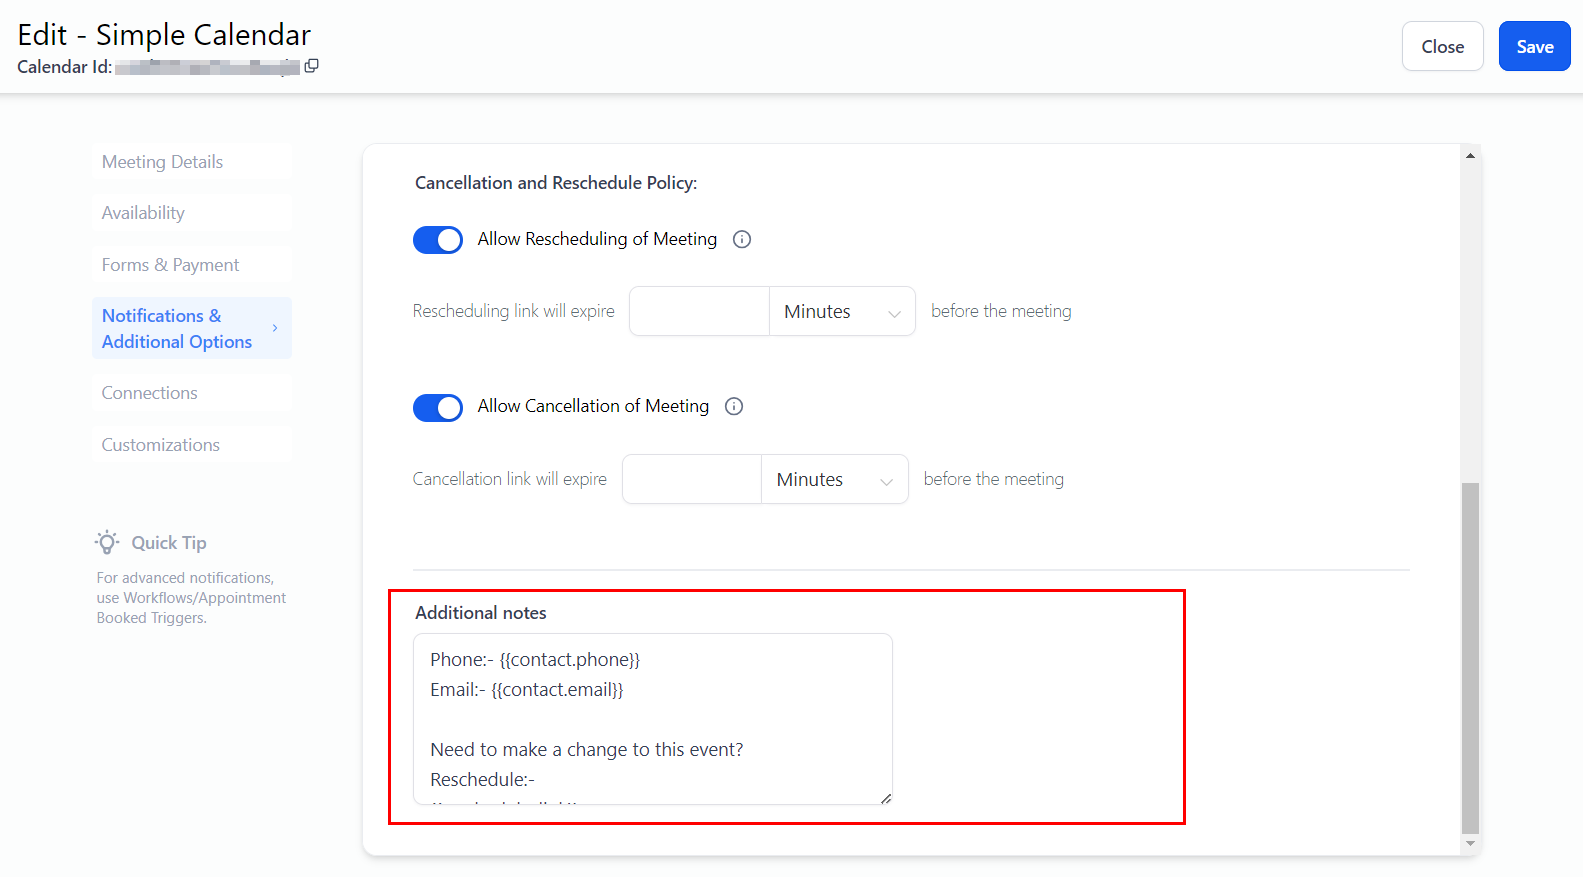
Reschedule Policy
When enabled, a rescheduling link will be included in the additional notes section of the calendar invite. This link will also be added to the calendar invite itself. It will expire according to the configured time before the meeting starts, preventing the booker from rescheduling the meeting after this period.
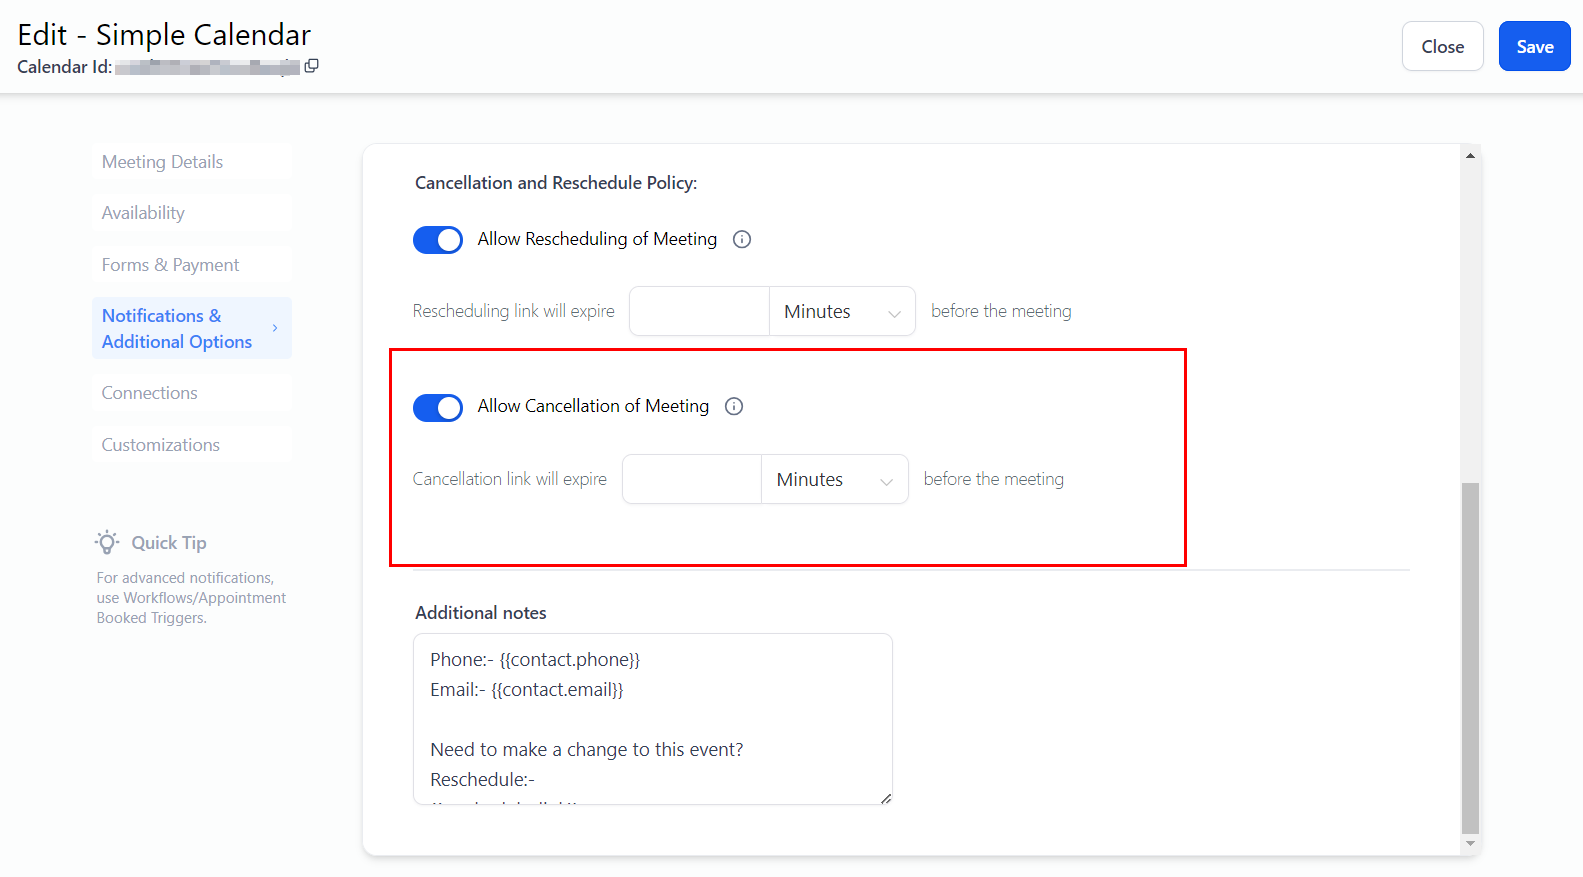
Cancellation Policy
When enabled, a cancellation link will be added to both the additional notes section and the calendar invite. This link will expire based on the configured time before the meeting starts, preventing the booker from canceling the meeting after this period.
Additional Notes
Modify the notes added to the calendar invite within this field.
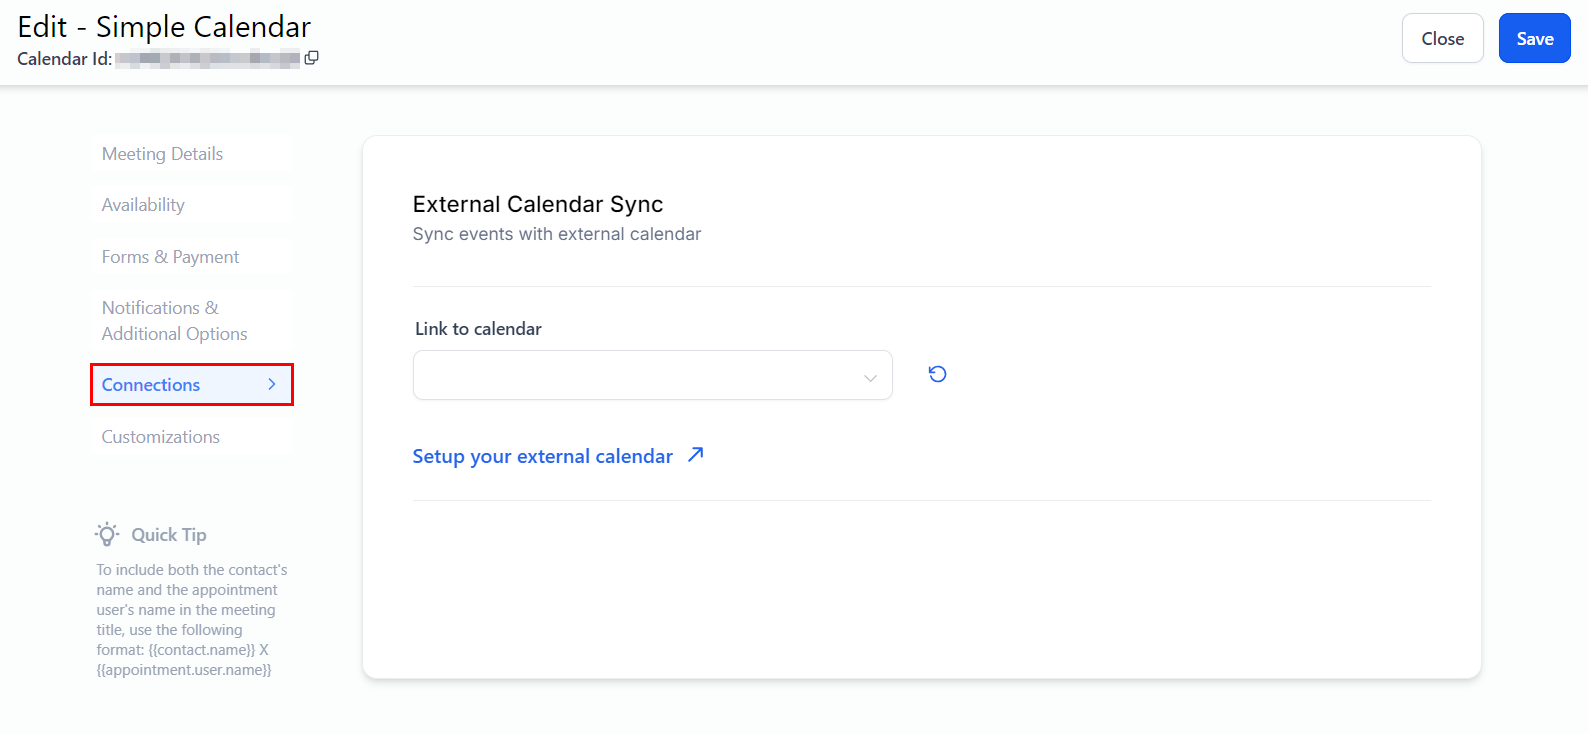
Step 5: Connections
Sync your appointments with external calendars like Google or Outlook. Choose between one-way, two-way, or smart sync based on your needs.
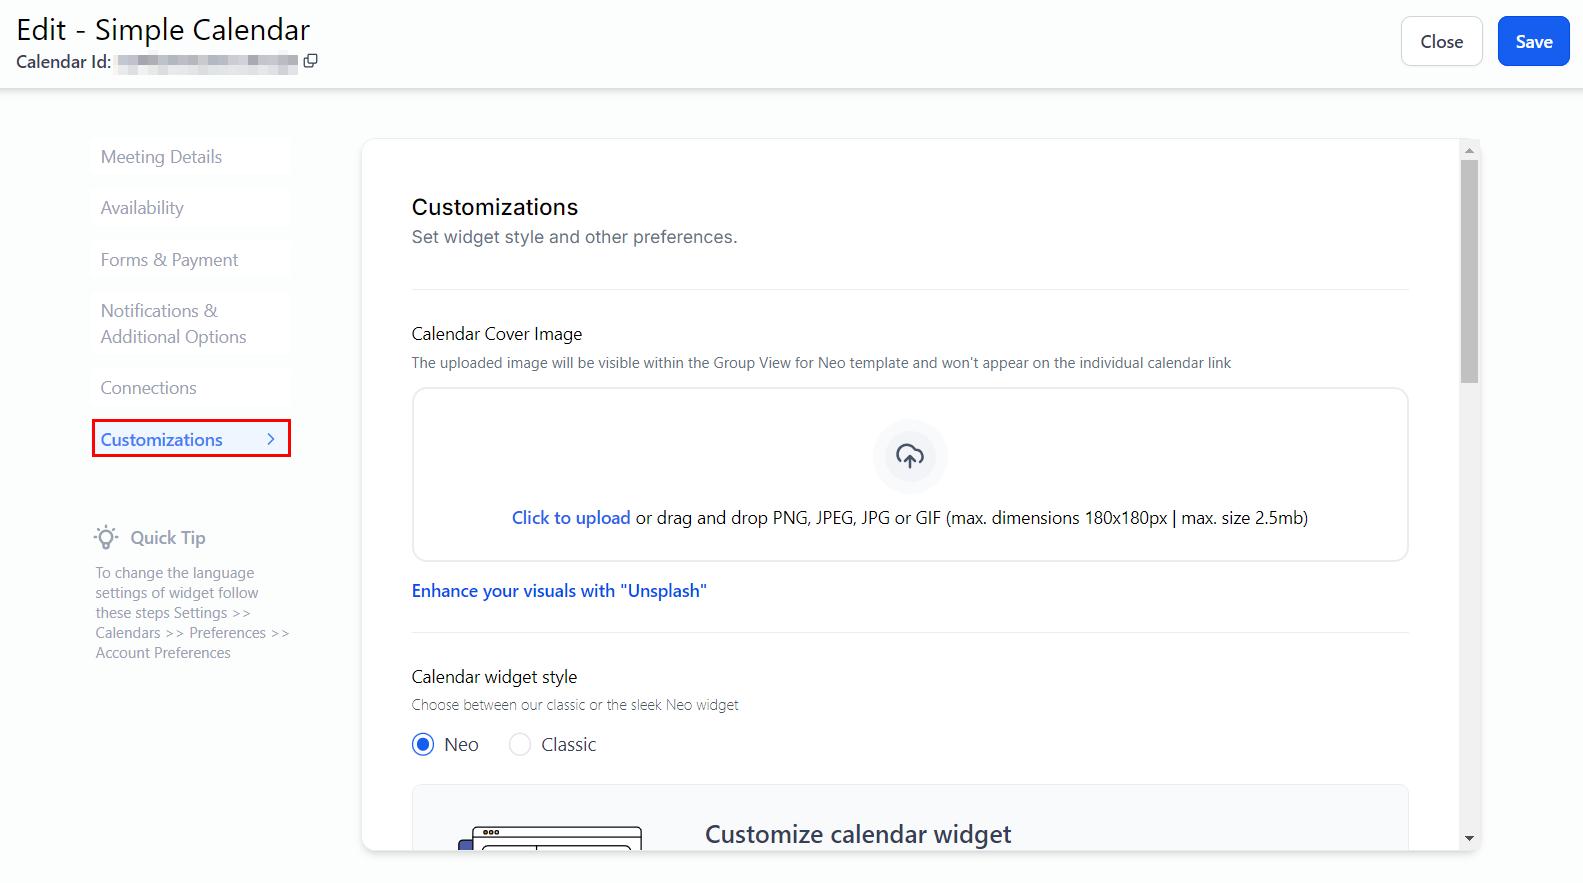
Step 6: Customizations
Customize your calendar by adding a cover image, adjusting the style and colors, modifying the button text, and tailoring the displayed information. This level of personalization allows you to align the calendar with your brand and preferences.
Cover Image
The uploaded image will be displayed in the Group View for the Neo template but will not appear on the individual calendar link.
Calendar Widget Style
Select between our classic widget and the modern Neo widget.
Primary Color
Customize the color scheme for buttons, dates, time slots, and actions to align with your brand or personal preferences.
Background Color
ChatGPT said:
Select the background color that will serve as the backdrop for both the date-time selector and the appointment form, enhancing the visual appeal and ensuring consistency with your brand
Button Text
Personalize the text displayed on the button used for booking appointments to align with your brand's tone and messaging. This customization allows you to tailor the button's call-to-action to better engage with your users.
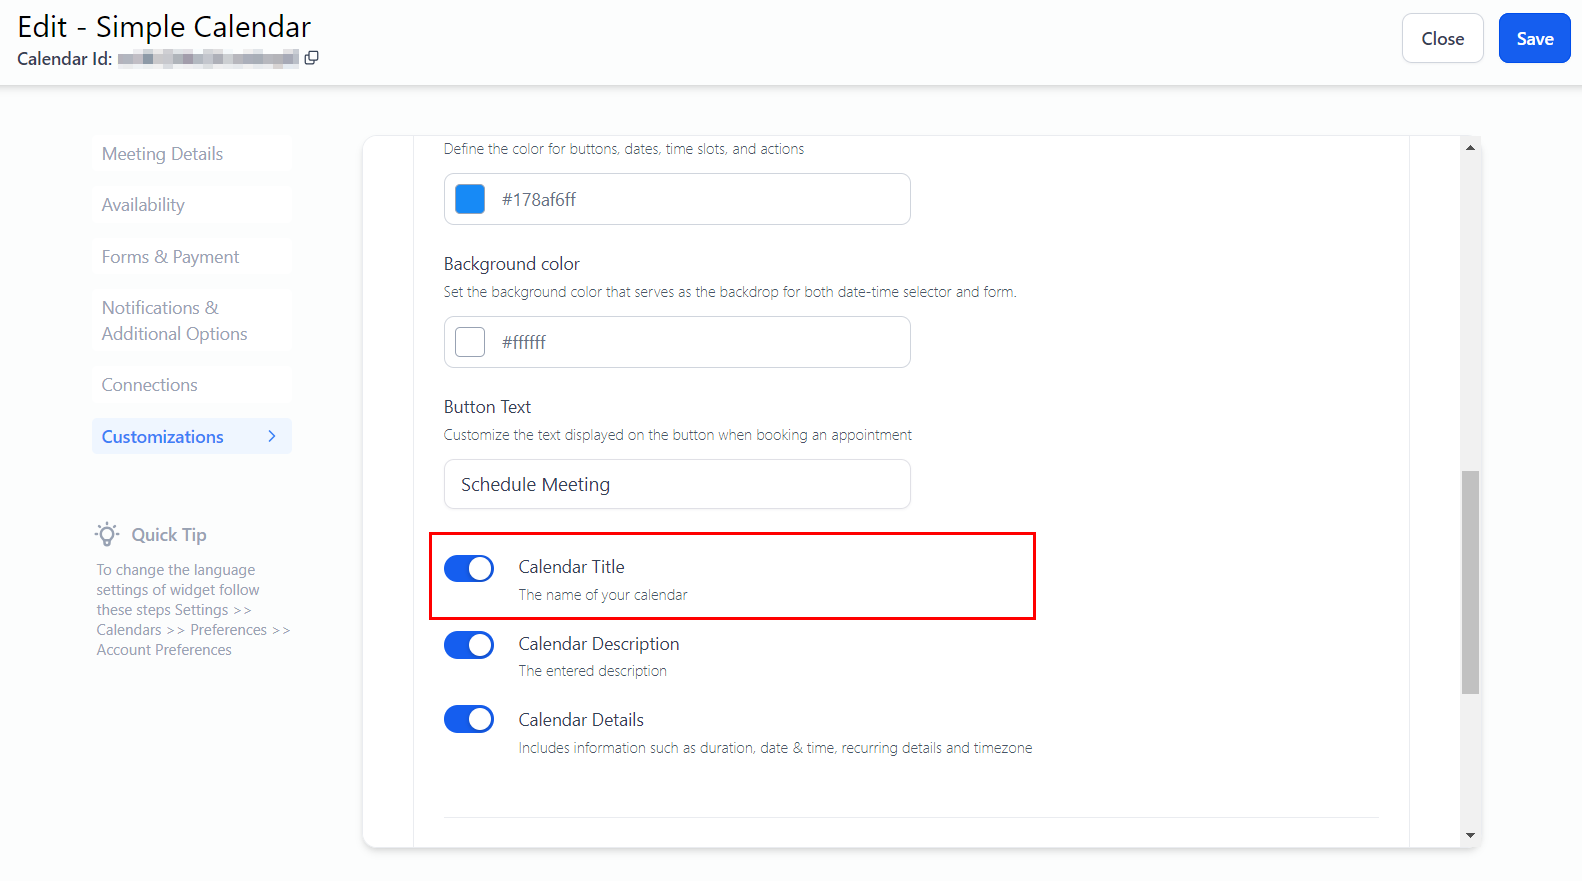
Calendar Title
When enabled, the name of your calendar will be displayed.
Calendar Description
When enabled, the calendar description will be displayed.
Calendar Details
When enabled, calendar information such as the appointment's duration, date and time, recurring details, and time zone settings will be displayed.
Custom Code
Insert custom code for advanced functionality.
Save the calendar, then close the modal to complete the setup process!
By following these steps, you can efficiently set up an Simple Calendar and customize its settings to suit your needs. Whether you're managing appointments for a single user or a team, this feature ensures that your calendar remains organized and accessible. With proper configuration, you'll streamline your scheduling process and enhance the overall efficiency of your operations.